Coquette Party Dreamy Pink Blue Recipes-Sweet & Savory
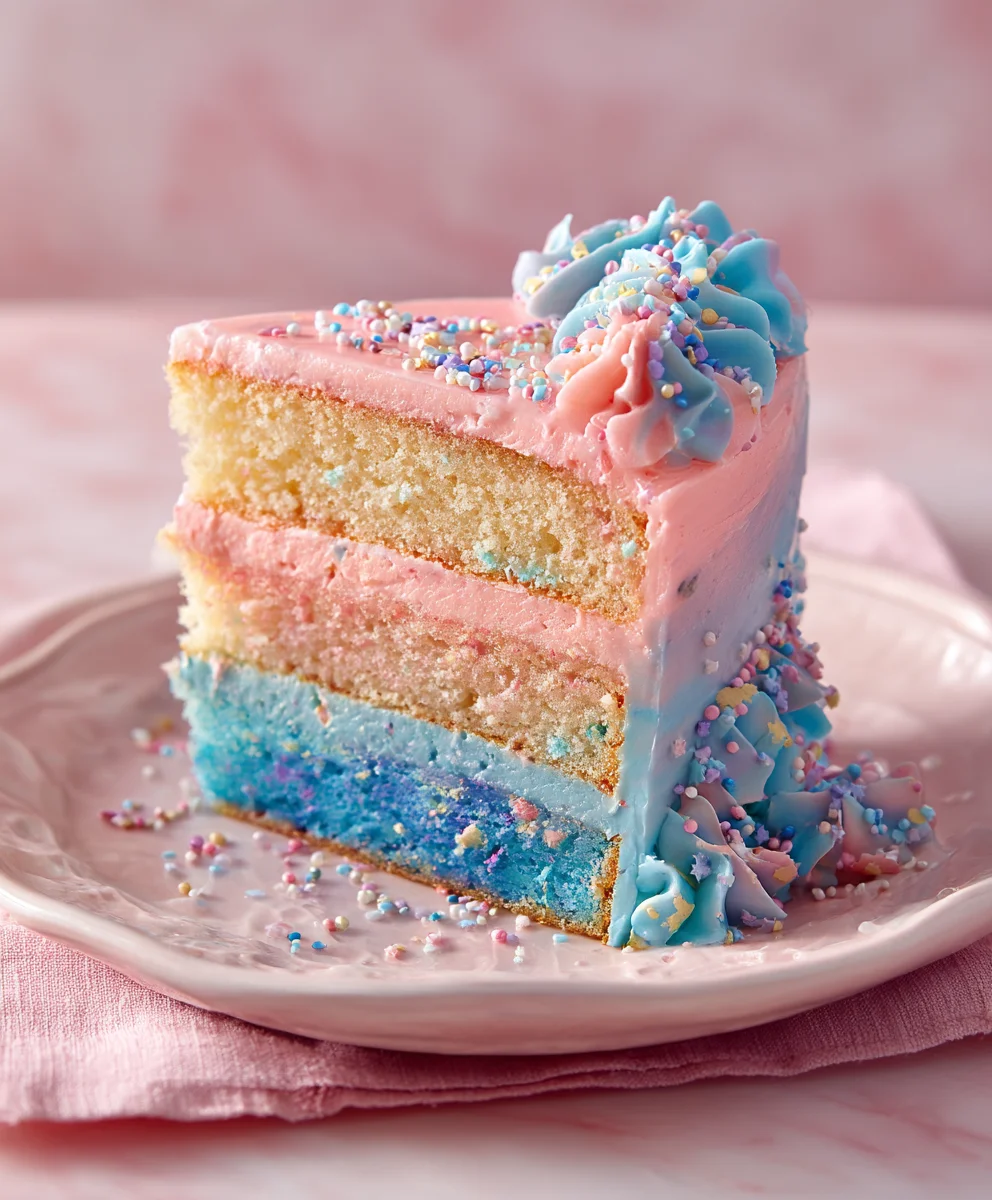
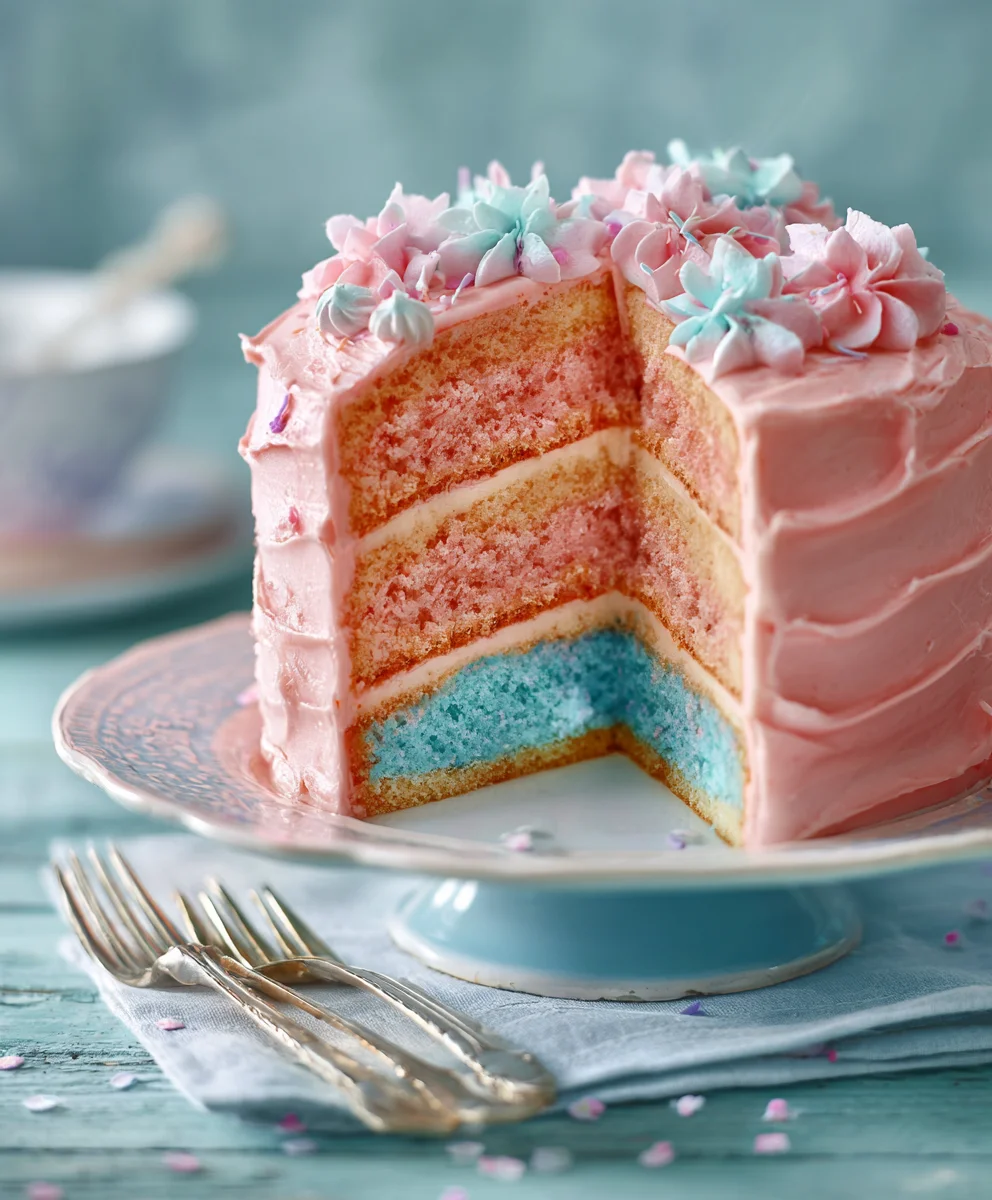
Dreamy Pink & Blue Coquette Party
vibes are about to take over your kitchen, and trust me, you’re going to want to be a part of this delicious celebration! If you’ve ever found yourself drawn to the whimsical, the charming, and the utterly delightful, then this is the recipe for you. We’re diving headfirst into a confectionary wonderland that’s not just a treat for the taste buds, but a feast for the eyes too. Imagin extracte delicate pastel hues swirling together, creating a visual symphony that whispers of elegance and playful indulgence. This isn’t just any dessert; it’s an experience, designed to make your gatherings sparkle with an unforgettable touch of coquette charm. People adore this “Dreamy Pink & Blue Coquette Party” because it perfectly encapsulates a feeling of joyful sophistication, making every bite feel like a little moment of pure bliss. What makes it truly special is its ability to transform simple ingredients into something truly magical, evoking a sense of nostalgia while simultaneously feeling brand new and exciting.
Ingredients:
- 1 ½ cups all-purpose flour
- 1 teaspoon baking powder
- ½ teaspoon salt
- ¾ cup unsalted butter, softened
- 1 ½ cups granulated sugar
- 2 large eggs
- 1 teaspoon vanilla extract
- ½ cup milk
- Pink food coloring
- Blue food coloring
- 1 cup powdered sugar
- 2-3 tablespoons milk or water
- Optional: Edible glitter, sprinkles, or edible pearls for decoration
The Baking Process: Let’s Get Started!
This recipe is designed to create a delightful visual and taste experience, perfect for a “Dreamy Pink & Blue Coquette Party.” We’ll be making beautiful, two-toned cookies that are as fun to look at as they are to eat. First things first, let’s get our dry ingredients prepped. In a medium bowl, whisk together the all-purpose flour, baking powder, and salt. Whisking these together ensures that the leavening agent and salt are evenly distributed throughout the flour, which is crucial for consistent cookie texture. Set this dry mixture aside for now.
Next, in a large mixing bowl, cream together the softened unsalted butter and granulated sugar. This step is where the magic of cookies truly begin extracts. Using an electric mixer on medium speed, beat the butter and sugar until the mixture is light and fluffy, resembling pnon-alcoholic ale yellow clouds. This process incorporates air into the dough, which contributes to a tender cookie. Don’t rush this; it can take about 3 to 5 minutes. Once you have that lovely creamy texture, add the two large eggs, one at a time, beating well after each addition. Scrape down the sides of the bowl periodically to ensure everything is incorporated. Then, stir in the vanilla extract for that classic, comforting aroma and flavor.
Now, it’s time to combine the wet and dry ingredients. Add about half of the dry flour mixture to the butter mixture and mix on low speed until just combined. Then, pour in the ½ cup of milk and mix again until just incorporated. Finally, add the remaining flour mixture and mix until a cohesive dough forms. Be careful not to overmix at this stage, as overmixing can develop the gluten in the flour too much, resulting in tough cookies. The dough should be soft but not sticky.
Creating Our Dreamy Pink and Blue Halves
This is where the “Dreamy Pink & Blue Coquette Party” theme truly comes to life! We need to divide our cookie dough into two equal portions. To do this precisely, you can weigh your total dough or simply eyeball it. Place one portion of the dough into a separate bowl. To this portion, add several drops of pink food coloring. Start with a few drops and mix thoroughly until you achieve a vibrant, even pink hue. Add more coloring incrementally if you desire a deeper shade. Remember, the color will lighten slightly when baked.
Now, take the second portion of the dough and place it into another clean bowl. Add several drops of blue food coloring to this portion and mix until you achieve a beautiful, even blue color. Just like with the pink, you can adjust the intensity of the blue by adding more coloring gradually. Ensure there are no streaks of uncolored dough. Having two distinct, bright colors is essential for the visual appeal of our coquette party cookies.
Shaping and Baking for Perfection
This is perhaps the most visually striking part of the cookie creation process. Take a portion of the pink dough and gently flatten it into a disc. Do the same with a portion of the blue dough. Place the pink disc on top of the blue disc, or vice versa. Now, carefully roll this two-toned disc into a log, about 1 ½ to 2 inches in diameter. As you roll, the colors will naturally swirl and marbleize, creating a beautiful, organic pattern. For an even more pronounced coquette look, you can gently press the log to flatten it slightly beforgin extractou begin slicing.
Once you have your beautifully swirled log, it’s time to slice the cookies. Using a sharp knife, cut the log into ½-inch thick slices. If your dough has softened too much and becomes difficult to cut cleanly, you can wrap the log tightly in plastic wrap and refrigerate it for about 15-20 minutes to firm up before slicing. This chilling step also helps the cookies maintain their shape during baking. Arrange the sliced cookies on baking sheets lined with parchment paper, leaving about 2 inches of space between each cookie. This space allows for expansion during baking.
The Baking Stage: Golden Edges and Sweet Aromas
Preheat your oven to 375°F (190°C). Baking at this temperature for approximately 10-12 minutes is usually ideal for these cookies. You’ll know they’re ready when the edges are lightly golden brown, and the centers are set. They might still look a little soft in the middle, but they will continue to firm up as they cool. Avoid overbaking, as this can lead to dry, hard cookies. Keep a close eye on them, especially during the last few minutes of baking.
Once baked, carefully remove the baking sheets from the oven. Let the cookies cool on the baking sheets for about 5 minutes. This initial cooling period on the hot sheet allows them to set up properly before you move them. After 5 minutes, gently transfer the cookies to a wire rack to cool completely. As they cool, the delicious aroma will fill your kitchen, signaling that your “Dreamy Pink & Blue Coquette Party” treats are almost ready to be adorned.
Decorating: The Finishing Touch of Elegance
Once your cookies are completely cool, it’s time for the final flourish! In a small bowl, whisk together the powdered sugar with 2-3 tablespoons of milk or water. Start with 2 tablespoons of liquid and add more, a teaspoon at a time, until you achieve a smooth, drizzle-able consistency. This icing should be thick enough to coat but thin enough to pour or drizzle. You can also divide this icing into two bowls and tint one pink and one blue to match your cookies.
Now, get creative! Drizzle the icing over the cookies in decorative patterns, creating elegant swirls or lines. You can use a spoon or a piping bag with a small tip for more intricate designs. If you’re feeling extra fancy, sprinkle edible glitter, colorful sprinkles, or delicate edible pearls onto the wet icing while it’s still soft. These embellishments will truly elevate your cookies to match the “Dreamy Pink & Blue Coquette Party” aesthetic, making them a show-stopping addition to any celebration. Enjoy the delightful process of transforming these simple cookies into edible art!
Conclusion:
And there you have it – the ultimate guide to creating your very own Dreamy Pink & Blue Coquette Party! This delightful recipe is designed to impress, offering a whimsical and elegant touch to any celebration. We’ve walked through each step, from gathering your enchanting ingredients to the final, beautiful presentation. Remember, the key is to embrace the theme with joy and creativity. Don’t be afraid to experiment and make this recipe your own. Whether you’re hosting a birthday, a baby shower, or just a fun get-together, the Dreamy Pink & Blue Coquette Party is sure to be a memorable centerpiece. Serve these treats alongside a delicate herbal tea or a sparkling pink lemonade for an extra touch of magic. You can also explore variations by adding edible glitter for more sparkle or using different pastel-colored fruits as garnishes. We can’t wait to see how your creations turn out – happy baking and happy partying!
Frequently Asked Questions:
Can I make the components of the Dreamy Pink & Blue Coquette Party ahead of time?
Absolutely! Many elements, such as preparing the batter or assembling certain decorative components, can be done a day in advance. Store them properly in airtight containers in the refrigerator to maintain freshness and assemble the final touches closer to your event.
What are some non-sweet variations for the Dreamy Pink & Blue Coquette Party?
While this recipe leans sweet, you could adapt the color pnon-alcoholic alette to savory items. Think mini quiches with pink and blue edible flowers, or delicate cucumber sandwiches with cream cheese tinted with natural pink and blue food colorings (like beet powder and butterfly pea flower powder). The aesthetic remains!
Coquette Party Dreamy Pink Blue Cookies
Delightful two-toned pink and blue swirl cookies perfect for a whimsical coquette party. These sweet treats are as beautiful as they are delicious.
Ingredients
-
1 ½ cups all-purpose flour
-
1 teaspoon baking powder
-
½ teaspoon salt
-
¾ cup unsalted butter, softened
-
1 ½ cups granulated sugar
-
2 large eggs
-
1 teaspoon vanilla extract
-
½ cup milk
-
Pink food coloring
-
Blue food coloring
-
1 cup powdered sugar
-
2-3 tablespoons milk or water
-
Optional: Edible glitter, sprinkles, or edible pearls for decoration
Instructions
-
Step 1
Preheat oven to 375°F (190°C). Whisk together flour, baking powder, and salt in a medium bowl. Set aside. -
Step 2
In a large bowl, cream together softened butter and granulated sugar until light and fluffy. Beat in eggs one at a time, then stir in vanilla extract. -
Step 3
Gradually add half of the dry ingredients to the butter mixture, mix until just combined. Add milk and mix. Finally, add the remaining dry ingredients until a cohesive dough forms. Do not overmix. -
Step 4
Divide the dough into two equal portions. Tint one portion pink and the other blue with food coloring, mixing until evenly colored. Ensure no streaks remain. -
Step 5
Flatten a portion of pink dough and a portion of blue dough into discs. Stack the pink disc on top of the blue disc (or vice versa). Gently roll into a log, about 1 ½ to 2 inches in diameter, allowing colors to swirl. -
Step 6
Slice the log into ½-inch thick cookies. If dough is too soft, chill for 15-20 minutes. Arrange cookies on parchment-lined baking sheets, leaving 2 inches of space between them. -
Step 7
Bake for 10-12 minutes, or until edges are lightly golden brown and centers are set. Cool on baking sheets for 5 minutes, then transfer to a wire rack to cool completely. -
Step 8
Prepare icing by whisking powdered sugar with 2-3 tablespoons of milk or water until smooth and drizzle-able. Tint icing pink and blue if desired. Drizzle icing over cooled cookies and decorate with edible glitter, sprinkles, or pearls while icing is wet.
Important Information
Nutrition Facts (Per Serving)
It is important to consider this information as approximate and not to use it as definitive health advice.
Allergy Information
Please check ingredients for potential allergens and consult a health professional if in doubt.