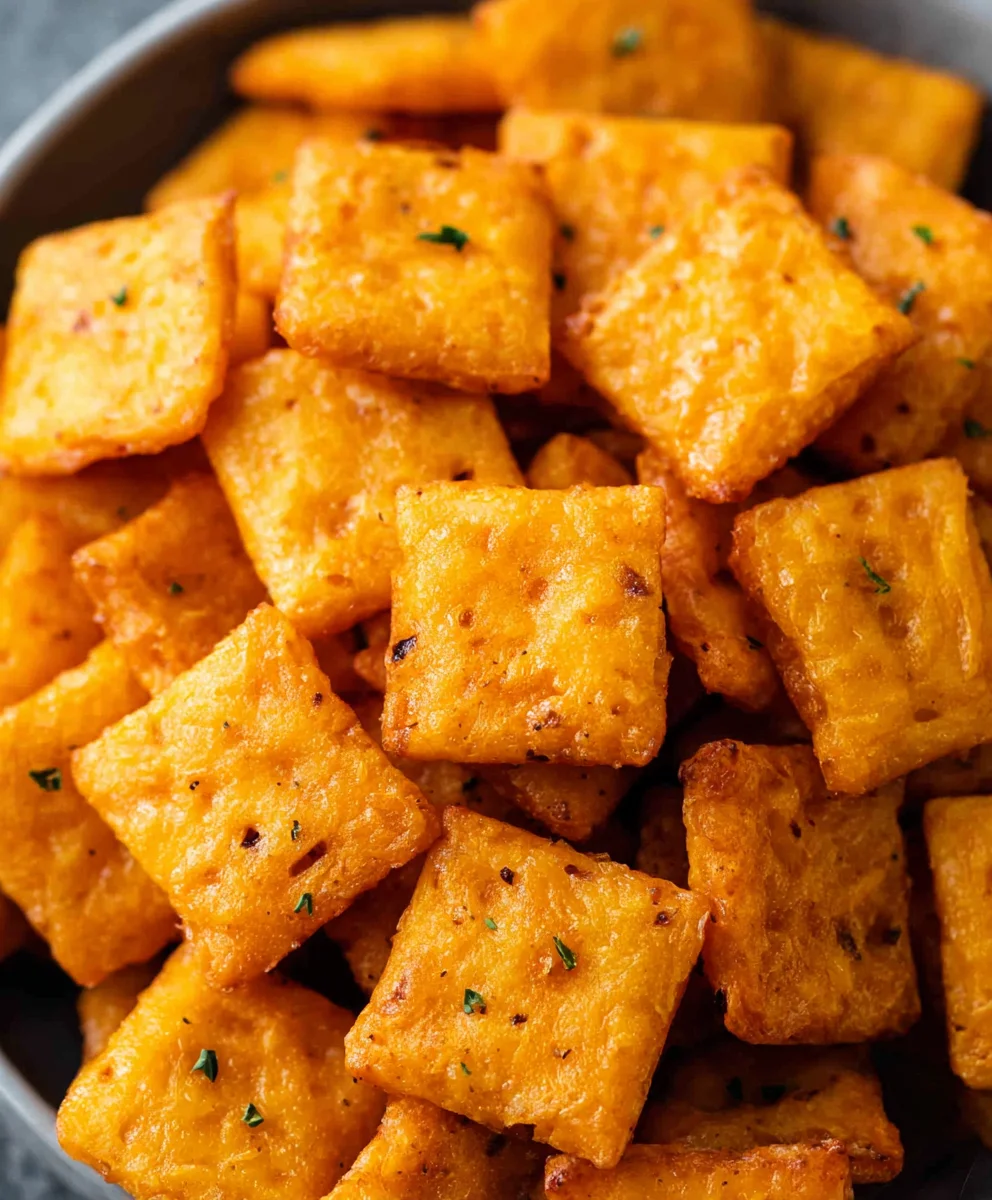
Homemade Cheez Its – Easy Cheesy Baked Snack Crackers
Homemade Cheez Its are not just a snack; they are a revelation, a golden ticket back to childhood joy with a grown-up twist. Forget those cardboard-like crackers from the store; we’re talking about a flaky, cheesy, melt-in-your-mouth experience that will redefine your snack game. The sheer satisfaction of biting into a perfectly baked square, the intense, addictive cheddar flavor, and that signature slight crunch – it’s no wonder people go wild for these. What truly makes Homemade Cheez Its special is the control you have over the ingredients. You can amp up the cheese, experiment with different spices, and achieve a texture that store-bought simply cannot replicate. Imagin extracte the aroma filling your kitchen as these bake – pure culinary bliss. Get ready to impress yourself and everyone around you with this incredibly rewarding recipe.
Ingredients:
- ¼ cup unsalted butter, softened to room temperature
- 8 oz. sharp cheddar cheese, finely shredded
- 1 ¼ cups all-purpose flour
- 1 teaspoon kosher salt, plus extra for sprinkling on top
- 2-3 tablespoons ice-cold water
- 2 tablespoons olive oil, for greasing
Making the Dough
Step 1: Cream the Butter and Cheese
Begin extract by creaming together the softened butter and the finely shredded sharp cheddar cheese. I like to do this in a medium-sized bowl using an electric mixer on medium speed. You want to beat them until they are well combined and the mixture is light and fluffy. This process incorporates air, which will contribute to a pleasant texture in your Homemade Cheez Its. Make sure your butter is truly at room temperature; if it’s too cold, it won’t cream properly, and if it’s too melty, it can make the dough greasy. The shredded cheese should be fine enough that it integrates smoothly without large clumps.
Step 2: Add Dry Ingredients
Next, you’ll add the all-purpose flour and the 1 teaspoon of kosher salt to the butter and cheese mixture. If you’re using a stand mixer, switch to the dough hook attachment. If you’re mixing by hand, you can continue with your mixer or use a sturdy spoon. Mix on low speed, or stir gently, until the ingredients just start to come together. Don’t overmix at this stage; we’re just aiming to incorporate the flour. The mixture will likely look crum extractbly at this point, which is perfectly normal.
Step 3: Incorporate Cold Water
Now it’s time to bring the dough together with the cold water. Start by adding just 2 tablespoons of the ice-cold water. Continue mixing on low speed or stirring. You’ll add the remaining tablespoon of water only if the dough seems too dry and isn’t coming together. The key here is to use ice-cold water, as this helps to keep the butter from melting, which is crucial for achieving a flaky and crisp cracker. You want the dough to form a cohesive ball that pulls away from the sides of the bowl. Be careful not to add too much water, as this can result in tough crackers. Once the dough forms a ball, stop mixing.
Step 4: Chill and Rest the Dough
Turn the dough out onto a lightly floured surface. Gently shape it into a flat disc. This is important for even chilling and easier rolling later on. Wrap the disc tightly in plastic wrap. You’ll then refrigerate the dough for at least 30 minutes. This chilling period is vital. It allows the gluten in the flour to relax, which makes the dough easier to roll out without shrinking back. It also solidifies the fat (butter), ensuring that when the crackers bake, the fat melts and creates steam pockets, leading to that desirable crispness and flakiness. Don’t skip this step!
Shaping and Baking
Step 5: Roll and Cut the Crackers
Preheat your oven to 375°F (190°C). Line two baking sheets with parchment paper. This prevents sticking and makes for easy cleanup. Lightly flour your work surface and the top of your chilled dough. Roll out the dough to about 1/8-inch thickness. This is a crucial step for achieving the perfect texture. If the dough is too thick, your crackers will be chewy; if it’s too thin, they might burn easily. You can use a ruler or simply eyeball it, aiming for consistency. Use a sharp knife or a pizza cutter to cut the dough into small squares, roughly 1-inch by 1-inch, to mimic the classic Cheez It shape. You can also use small cookie cutters if you have them.
Step 6: Prepare for Baking and Add Toppings
Carefully transfer the cut cracker pieces to the prepared baking sheets, leaving a little space between them. Now, for the finishing touch that makes them truly special: a light brush of olive oil and a sprinkle of salt. Brush the tops of each cracker with a little bit of the 2 tablespoons of olive oil. This will help them brown beautifully and give them a lovely sheen. Then, generously sprinkle the remaining kosher salt over the tops of all the crackers. This extra salt is what gives them that irresistible savory crunch. Ensure an even coating for consistent flavor.
Step 7: Bake Until Golden
Bake the Homemade Cheez Its in the preheated oven for 10 to 15 minutes, or until they are golden brown and crisp around the edges. Keep a close eye on them, especially during the last few minutes of baking, as they can go from perfectly golden to burnt very quickly due to their small size. The exact baking time will depend on your oven and how thinly you rolled the dough. Rotate the baking sheets halfway through the baking process to ensure even cooking. Once baked, remove them from the oven and let them cool on the baking sheets for a few minutes before transferring them to a wire rack to cool completely. This cooling process allows them to crisp up fully.
Conclusion:
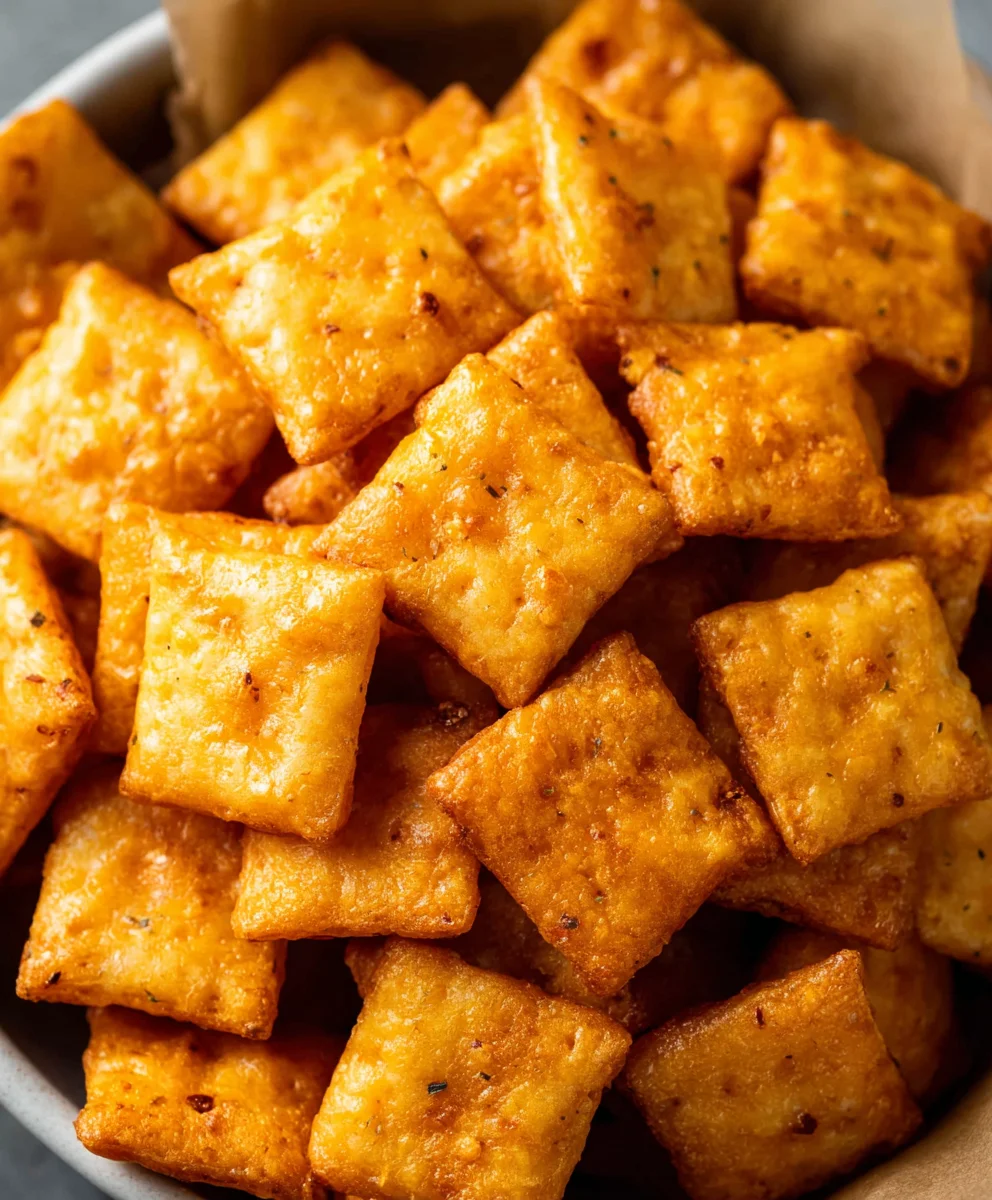
Congratulations! You’ve now unlocked the secret to crafting your very own delicious Homemade Cheez Its. We hope you enjoyed the process of transforming simple ingredients into these irresistible, cheesy crackers. The satisfaction of pulling a fresh batch of these golden-orange delights from your oven is truly rewarding. Whether you’re looking for a healthier snack option, a fun activity to do with family, or simply a way to satisfy that Cheez-It craving with a personal touch, these homemade crackers are sure to be a hit.
Serve your Homemade Cheez Its warm for an extra gooey cheese experience, or let them cool completely for that signature crunchy texture. They are fantastic on their own as a midday pick-me-up, perfect for school lunches, or can even be served alongside soups and salads for a flavorful crunch. Don’t be afraid to get creative! You can experiment with different cheese combinations, add a pinch of garlic powder or onion powder for an extra flavor boost, or even sprinkle them with a touch of paprika for a smoky kick. The possibilities are endless!
Give yourself a pat on the back for embarking on this culinary adventure. We encourage you to make these Homemade Cheez Its again and again, refining your technique and discovering your favorite flavor variations. Happy snacking!
Frequently Asked Questions:
Q1: Can I use different types of cheese for my Homemade Cheez Its?
Absolutely! While sharp cheddar is a classic choice, feel free to experiment. Monterey Jack, Colby, or even a blend of cheeses can add wonderful depth to your Homemade Cheez Its. Just ensure the cheese melts well for optimal cheesiness.
Q2: How should I store my Homemade Cheez Its?
Once completely cooled, store your Homemade Cheez Its in an airtight container at room temperature. They should stay fresh and crispy for up to 5-7 days. For longer storage, you can freeze them in a freezer-safe bag.
Q3: My Homemade Cheez Its came out a bit too soft. What did I do wrong?
A common reason for softer crackers is insufficient baking time. Ensure they are baked until they are golden brown and feel firm to the touch. Sometimes, ovens can vary, so keeping an eye on them during the last few minutes of baking is key to achieving that perfect crispness.
Homemade Cheez Its – Easy Cheesy Baked Snack Crackers
Recreate the classic cheesy cracker at home with this simple and delicious recipe for Homemade Cheez Its. These baked snack crackers are crispy, savory, and incredibly satisfying.
Ingredients
-
1/4 cup unsalted butter, softened to room temperature
-
8 oz. sharp cheddar cheese, finely shredded
-
1 1/4 cups all-purpose flour
-
1 teaspoon kosher salt, plus extra for sprinkling on top
-
2-3 tablespoons ice-cold water
-
2 tablespoons olive oil, for greasing
Instructions
-
Step 1
Cream together the softened butter and finely shredded sharp cheddar cheese in a medium-sized bowl using an electric mixer on medium speed until well combined and the mixture is light and fluffy. -
Step 2
Add the all-purpose flour and 1 teaspoon of kosher salt to the butter and cheese mixture. Mix on low speed or stir gently until the ingredients just start to come together, forming a crumbly mixture. -
Step 3
Gradually add 2 tablespoons of ice-cold water and continue mixing until the dough forms a cohesive ball that pulls away from the sides of the bowl. Add the remaining tablespoon of water only if the dough seems too dry. -
Step 4
Turn the dough out onto a lightly floured surface, shape it into a flat disc, wrap tightly in plastic wrap, and refrigerate for at least 30 minutes. -
Step 5
Preheat your oven to 375°F (190°C). Line two baking sheets with parchment paper. Roll out the chilled dough to about 1/8-inch thickness and cut into small squares (approximately 1-inch by 1-inch). -
Step 6
Transfer the cut cracker pieces to the prepared baking sheets. Brush the tops of each cracker with olive oil and generously sprinkle with extra kosher salt. -
Step 7
Bake for 10 to 15 minutes, or until golden brown and crisp around the edges. Let cool on the baking sheets for a few minutes before transferring to a wire rack to cool completely.
Important Information
Nutrition Facts (Per Serving)
It is important to consider this information as approximate and not to use it as definitive health advice.
Allergy Information
Please check ingredients for potential allergens and consult a health professional if in doubt.