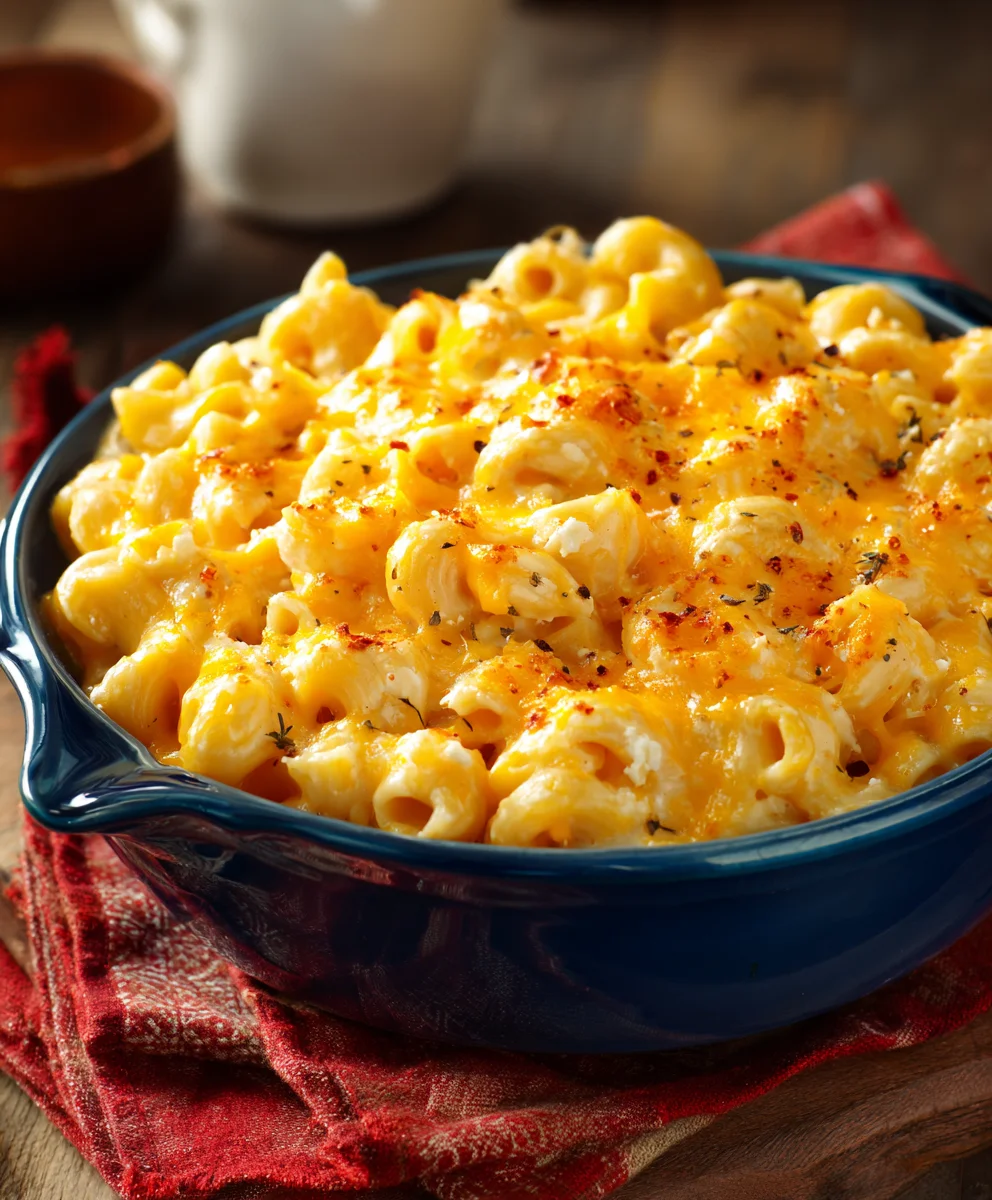
High Protein Cottage Cheese Mac and Cheese Recipe
High Protein Cottage Cheese Mac and Cheese isn’t just a meal; it’s a culinary revelation for anyone seeking comfort food with a serious nutritional upgrade. Forget everything you thought you knew about this classic dish. We’ve cracked the code to transforming humble pasta and cheese into a powerhouse of protein, making it not only incredibly satisfying but also a smart choice for fueling your body. What’s not to love about creamy, cheesy goodness that actually benefits your fitness goals? This isn’t your average boxed mac and cheese; it’s a wholesome, hug-in-a-bowl experience that will leave you feeling full, happy, and surprisingly virtuous. The magic lies in our clever use of cottage cheese, which lends an unbelievably smooth and rich texture while significantly boosting the protein content. Get ready to discover your new favorite go-to for a truly delicious and nourishing meal.
Ingredients:
- 2 cups Dry Chickpea Pasta
- 1 2/3 cup Cottage Cheese (4% recommended for creaminess)
- 1/2 cup Skim Milk
- 1 Tsp Onion Powder
- 2 tsp Garlic Powder
- 1/2 tsp Salt
- 1/2 tsp Black Pepper
- ½ cup Shredded Mozzarella Cheese
- 2/3 cup Shredded Cheddar Cheese
- 1 tbsp Nutritional Yeast (Optional, for cheesy depth)
Cooking the Pasta
First things first, we need to get our pasta cooked. Since we’re aiming for a “High Protein Cottage Cheese Mac and Cheese,” I’ve opted for chickpea pasta. It’s a fantastic choice because it boasts significantly more fiber and protein compared to traditional wheat pasta, giving our dish a powerful nutritional boost. Follow the package directions for cooking the chickpea pasta. Typically, this involves bringin extractg a large pot of generously salted water to a rolling boil, then adding the pasta and stirring occasionally to prevent sticking. Cook the pasta until it’s al dente, meaning it’s tender but still has a slight bite. This is crucial for the texture of our mac and cheese; overcooked pasta can become mushy. Once cooked, drain the pasta thoroughly. It’s a good idea to rinse it briefly with warm water to remove any excess starch, which can sometimes make the sauce less smooth. Set the drained pasta aside while we prepare the star of the show: the cheesy sauce.
Creating the Creamy Cheese Sauce
Now for the magical transformation of simple ingredients into a luscious, cheesy sauce. In a medium saucepan, we’re going to combine the cottage cheese, skim milk, onion powder, garlic powder, salt, and black pepper. For an extra layer of cheesy flavor and that authentic mac and cheese vibe, I highly recommend using 4% cottage cheese. It has a richer texture and creamier consistency than lower-fat versions, which will translate directly into a more decadent sauce. Pour the skim milk into the saucepan with the cottage cheese. The milk helps to thin out the cottage cheese and creates a smoother base for our sauce. Don’t worry if the cottage cheese looks a little lumpy at this stage; we’ll be blending it. Add the onion powder and garlic powder for that essential savory foundation. These spices are key to building a robust flavor profile without overwhelming the cheese. Finally, season with salt and pepper. Taste as you go, and feel free to adjust the salt and pepper to your personal preference. Now, whisk this mixture together until it’s well combined. You can also use an immersion blender at this point to ensure a completely smooth sauce if you prefer absolutely no curds from the cottage cheese.
Heating and Melting the Sauce
With our sauce base prepared, it’s time to gently heat it and melt in the delicious cheeses. Place the saucepan over medium-low heat. It’s important to use low to medium-low heat to prevent the cottage cheese from separating or curdling. We want a smooth, velvety sauce, not a grainy one. Stir the mixture constantly as it heats up. As the cottage cheese warms, it will become much more liquid. Once the mixture is warm and starting to steam, it’s time to add our shredded cheeses: the mozzarella and cheddar. Add them gradually, a handful at a time, stirring continuously until each addition is fully melted and incorporated into the sauce before adding the next. This gradual melting process ensures that the cheese melts evenly and creates a smooth, cohesive sauce. The mozzarella will contribute to the stretch and gooeyness, while the cheddar provides that sharp, classic cheese flavor we all love in mac and cheese. If you’re using the optional nutritional yeast, sprinkle it in now. Nutritional yeast offers a subtle, umami-rich, cheesy flavor that can deepen the overall taste of the sauce and add another boost of B vitamins.
Combining Pasta and Sauce
We’re almost there! Once the cheese has completely melted and you have a beautifully smooth and creamy sauce, it’s time to bring it all together. Add the cooked and drained chickpea pasta directly into the saucepan with the cheese sauce. Using a spoon or spatula, gently toss the pasta with the sauce. Ensure that every single piece of pasta is coated in the luscious, cheesy goodness. Be thorough but gentle; we don’t want to break up the pasta any further. Stir until the pasta is evenly coated and the saucegin extract clinging to it beautifully. The residual heat from the pasta and the sauce will help everything meld together perfectly. If the sauce seems a little too thick at this stage, you can add another tablespoon or two of skim milk, stirring well until you reach your desired consistency. Remember, the sauce will thicken slightly as it cools, so aim for a consistency that’s just right when it’s warm.
Finishing Touches and Serving
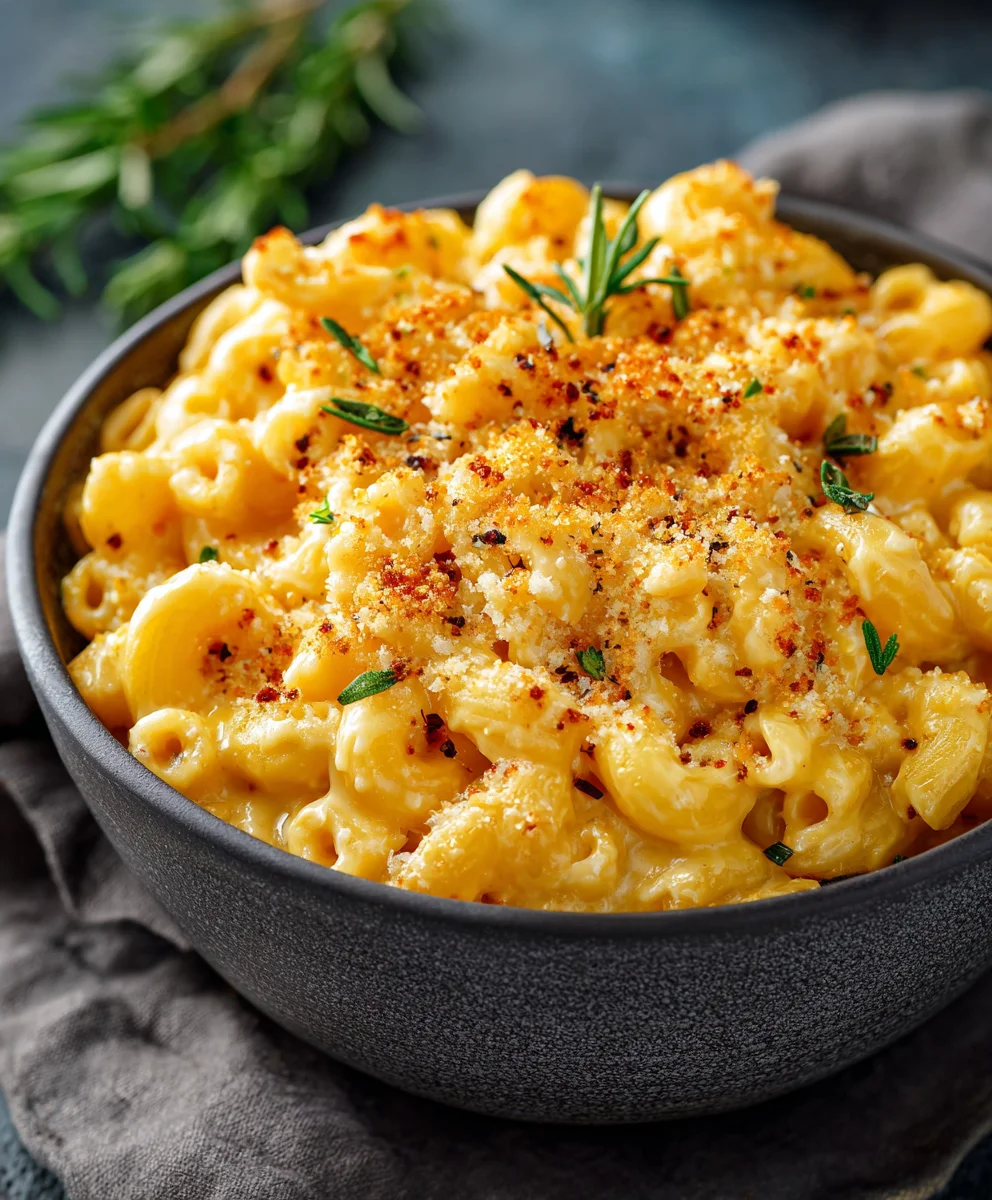
For the final step, and to truly elevate your “High Protein Cottage Cheese Mac and Cheese,” we’re going to give it a little extra love. Once the pasta is thoroughly coated in the sauce, you can, if you wish, transfer the mac and cheese into a baking dish. This is where you can add another layer of indulgence by topping it with a little extra shredded cheese – perhaps a sprinkle of cheddar or mozzarella. Then, you can either broil it for a few minutes until the top is golden and bubbly, or bake it at around 375°F (190°C) for about 10-15 minutes until heated through and the cheese is melted and slightly browned. This step is completely optional but highly recommended for an extra-special finish. Alternatively, you can serve it directly from the saucepan. Serve your delicious, high-protein mac and cheese hot. It makes for a wonderfully satisfying and guilt-free meal. Enjoy the creamy texture and rich, cheesy flavor!
Conclusion:
And there you have it – your very own batch of incredibly satisfying and guilt-free High Protein Cottage Cheese Mac and Cheese! We’ve shown you how simple it is to transform a classic comfort food into a nutrient-packed meal that will keep you feeling full and energized. The creamy, cheesy sauce achieved with cottage cheese is a revelation, proving that healthy doesn’t mean sacrificing flavor or texture. Serve this delicious dish as a hearty main course alongside a fresh green salad or steamed broccoli for a complete and balanced meal. For a truly elevated experience, consider topping it with toasted breadcrum extractbs for an extra crunch.
This recipe is also wonderfully adaptable! Feel free to experiment with different cheeses like sharp cheddar or Gruyere, or add in some sautéed mushrooms, spinach, or grilled chicken for added protein and flavor. Don’t be afraid to adjust the seasonings to your preference – a pinch of paprika or a dash of hot sauce can add a delightful twist. We encourage you to give this High Protein Cottage Cheese Mac and Cheese a try. It’s a game-changer for anyone looking to boost their protein intake without compromising on taste. Enjoy every cheesy, creamy bite!
Frequently Asked Questions:
Can I make this High Protein Cottage Cheese Mac and Cheese ahead of time?
Absolutely! This dish reheats beautifully. Allow it to cool completely, then store it in an airtight container in the refrigerator for up to 3 days. When ready to enjoy, reheat gently on the stovetop over low heat, adding a splash of milk or water to restore creaminess, or microwave until heated through.
What if I don’t like the texture of cottage cheese?
The beauty of this recipe is that the cottage cheese blends into a smooth, creamy sauce when processed or blended. However, if you’re still concerned, you can use a high-powered blender or immersion blender to ensure it’s completely smooth before adding it to your pasta. Some people also find that using a finer curd cottage cheese helps with texture.
High Protein Cottage Cheese Mac and Cheese
A creamy and satisfying mac and cheese recipe that uses cottage cheese and chickpea pasta for a protein and fiber boost.
Ingredients
-
2 cups Dry Chickpea Pasta
-
1 2/3 cup Cottage Cheese (4%)
-
1/2 cup Skim Milk
-
1 Tsp Onion Powder
-
2 tsp Garlic Powder
-
1/2 tsp Salt
-
1/2 tsp Black Pepper
-
½ cup Shredded Mozzarella Cheese
-
2/3 cup Shredded Cheddar Cheese
-
1 tbsp Nutritional Yeast (Optional)
Instructions
-
Step 1
Cook the chickpea pasta according to package directions until al dente. Drain thoroughly and rinse briefly with warm water. Set aside. -
Step 2
In a medium saucepan, combine cottage cheese, skim milk, onion powder, garlic powder, salt, and black pepper. Whisk until well combined, or use an immersion blender for a smoother sauce. -
Step 3
Heat the cottage cheese mixture over medium-low heat, stirring constantly to prevent curdling. Once warm and steaming, gradually add the shredded mozzarella and cheddar cheeses, stirring until fully melted and incorporated into a smooth sauce. -
Step 4
If using, stir in the nutritional yeast for added cheesy depth. -
Step 5
Add the cooked chickpea pasta to the saucepan with the cheese sauce. Gently toss until every piece of pasta is evenly coated. If the sauce is too thick, add a tablespoon or two more skim milk. -
Step 6
Serve immediately from the saucepan, or transfer to a baking dish, top with additional cheese, and broil or bake until golden and bubbly.
Important Information
Nutrition Facts (Per Serving)
It is important to consider this information as approximate and not to use it as definitive health advice.
Allergy Information
Please check ingredients for potential allergens and consult a health professional if in doubt.