Begin extractner Sourdough Bread – High Starter Method
Begin extractners Sourdough bread recipe: High starter method. Are you ready to embark on the incredibly rewarding journey of baking your own artisanal sourdough bread, even if you’ve never touched a sourdough starter before? This isn’t your average complicated sourdough tutorial; we’re diving headfirst igin extract a beginners sourdough bread recipe, specifically designed with a high starter method to ensure success from your very first loaf. There’s a magic to sourdough – that distinctive tang, the impossibly chewy crum extractb, and that glorious, crackling crust that simply can’t be replicated with commercial yeast. It’s a food that connects us to ancient traditions and offers a deeply satisfying kitchen experience. What makes thgin extractparticular beginners sourdough bread recipe: High starter method so special is its forgivgin extract nature. We’re leveraging a higher ratio of active starter to dough, which significantly speeds up fermentation and makes achieving that perfect rise and airy texture much more achievable for newcomers. Get ready to fill your home with the irresistible aroma of freshly baked bread!
Ingredients:
- 2 cups Active Sourdough Starter (400 grams) – ensure it’s active and bubbly, fed recently with equal parts flour and water.
- 3 cups Sifted All-Purpose Flour (360 grams) – sifting helps create a lighter texture in the final loaf.
- 1 cup Warm Water (240 grams) – around 90-100°F (32-38°C) is ideal for activating the yeast in the starter.
- 1.5 teaspoons Salt (≈9 grams) – essential for flavor and dough structure.
Preparing the Dough
This recipe uses a “high starter” method, meaning we’re incorporating a significant amount of active sourdough starter into our dough. This not only provides a powerful leavening agent but also contributes to a wonderfully tangy flavor profile and a superior crust. Let’s get started by bringin extractg all our ingredients together.
Mixing the Dough
- In a large mixing bowl, combine the 2 cups of active sourdough starter and 1 cup of warm water. Gently whisk them together until they are well incorporated. You want to see the starter become a bit more fluid and evenly distributed within the water. This step helps to ensure the starter is evenly dispersed throughout the dough, promoting consistent fermentation and rise.
- Now, add the 3 cups of sifted all-purpose flour to the wet mixture. Using a dough whisk or a spatula, start to mix everything together until there are no dry patches of flour visible. The dough will be shaggy and quite sticky at this stage; this is perfectly normal and expected. Resist the urge to add more flour, as this can lead to a dense loaf. We are aiming for a high hydration dough, which is key to that lovely open crum extractb we desire. Once it’s mostly combined, let the dough rest, covered loosely with a damp kitchen towel or plastic wrap, for about 30 minutes. This resting period, known as autolyse, allows the flour to fully hydrate and the glutgin extractto begin developing on its own, making the subsequent kneading or folding process much easier and more effective.
- After the 30-minute rest, sprinkle the 1.5 teaspoons of salt evenly over the surface of the shaggy dough. Now, it’s time to incorporate the salt properly. You can do this by pinching and folding the dough over itself several times directly in the bowl, or by using a slightly damp hand to work the salt in. It might feel a bit awkward at first, but continue to gently squeeze and fold the dough until the salt is fully integrated. The salt not only adds flavor but also strengthens the gluten network, which is crucial for trapping the gases produced by the yeast and creating a well-structured loaf.
Developing the Dough Structure (Bulk Fermentation)
The bulk fermentation phase is where the magic happens – the dough rises, develops flavor, and builds its structure.
- Once the salt is incorpgin extractted, we’ll begin the process of building strength and structure through a series of stretch and folds. This is a gentler method than traditional kneading and is ideal for high hydration doughs. Every 30-45 minutes for the next 2-3 hours, perform a set of stretch and folds. To do this, wet your hands lightly to prevent sticking. Reach under one side of the dough, gently pull it upwards, and then fold it over onto itself. Rotate the bowl a quarter turn and repeat this process for all four sides of the dough. You should feel the dough becoming progressively smoother and more elastic with each set of folds. This process develops the gluten network, allowing the dough to hold onto the gases produced by the sourdough starter. Aim to complete 3-4 sets of these folds in total. The dough should start to feel more cohesive and show some initial signs of aeration, with small bubbles appearing on the surface.
- After completing the stretch and folds, cover the bowl tightly and let the dough continue to ferment at room temperature. The duration of this bulk fermentation can vary significantly depending on the ambient temperature of your kitchen, the strength of your starter, and the flour used. You’re looking for the dough to increase in volume by about 50-75%. It should appear visibly puffier, feel lighter when you gently jiggle the bowl, and you might see more prominent bubbles on the surface and along the sides. This could take anywhere from 4 to 8 hours, or even longer in a cooler environment. Don’t rely solely on time; use your observations of the dough’s appearance and feel as your guide. This is a critical stage for flavor development and achieving that desirerum extractiry crumb.
Shaping and Final Proof
Now that our dough has developed beautifully, it’s time to shape it and let it rest before baking.
- Once the bulk fermentation is complete, gently turn the dough out onto a lightly floured surface. Be careful not to degas it too much. Using lightly floured hands or a bench scraper, gently pre-shape the dough into a rough round or rectangle. Let it rest, uncovered, for about 20-30 minutes. This brief rest allows the gluten to relax, making the final shaping easier. After the rest, perform your final shaping. For a round loaf (boule), gently pull the edges towards the center, creating tension on the surface, and then cup your hands around it to form a taut ball. For an oval loaf (bâtard), shape it into a log, again focusing on creating surface tension. The goal is to create a smooth, tight skin on the outside of the dough, which will help it hold its shape during baking and contribute to a good oven spring.
- Prepare your proofing basket (banneton) by generously dusting it with rice flour or a mix of rice flour and all-purpose flour. Gently place your shaped dough seam-side up into the prepared basket. Cover the banneton loosely with plastic wrap or place it inside a plastic bag to prevent the dough from drying out. Now, you have two options for the final proof: a cold proof in the refrigerator or a room temperature proof. For a cold proof, place the banneton in the refrigerator for 12-24 hours. This slow, cold fermentation further develops flavor and makes the dough easier to handle and score before baking. For a room temperature proof, let it rest on the counter for 1-3 hours, or until the dough appears puffy and springs back slowly when gently poked.
Conclusion:
We hope you’ve enjoyed embarking on the journey to create your own delicious Begin extractners Sourdough bread recipe: High starter method! This recipe, while requiring a little patience, rewards you with a loaf that is unparalleled in flavor and texture. The beauty of sourdough lies in its simplicity and the depth it brings to your table. We’ve walked through the steps together, from nurturing your starter to achieving that perfect crust and airy crum extractb. Don’t be discouraged if your first attempt isn’t picture-perfect; sourdough is a learning process, and each bake teaches you something new. Embrace the imperfections and savor the satisfaction of baking with your own hands.
This versatile
Frequently Asked Questions:
What if my sourdough starter isn’t very active?
If your starter seems sluggish, try feeding it more frequently (twice a day) with equal parts flour and water. Keeping it in a warmer spot can also encourage activity. Ensure you are using filtered or de-chlorinated water, as chlorine can harm the wild yeast.
Can I use different types of gin extractur in this Beginners Sourdough bread recipe: High starter method?
Absolutely! While the recipe is designed for all-purpose or bread flour, you can experiment with adding a percentage of whole wheat, rye, or spelt flour for added flavor and nutritional value. Just be mindful that different flours absorb water differently, so you might need to adjust the hydration slightly.
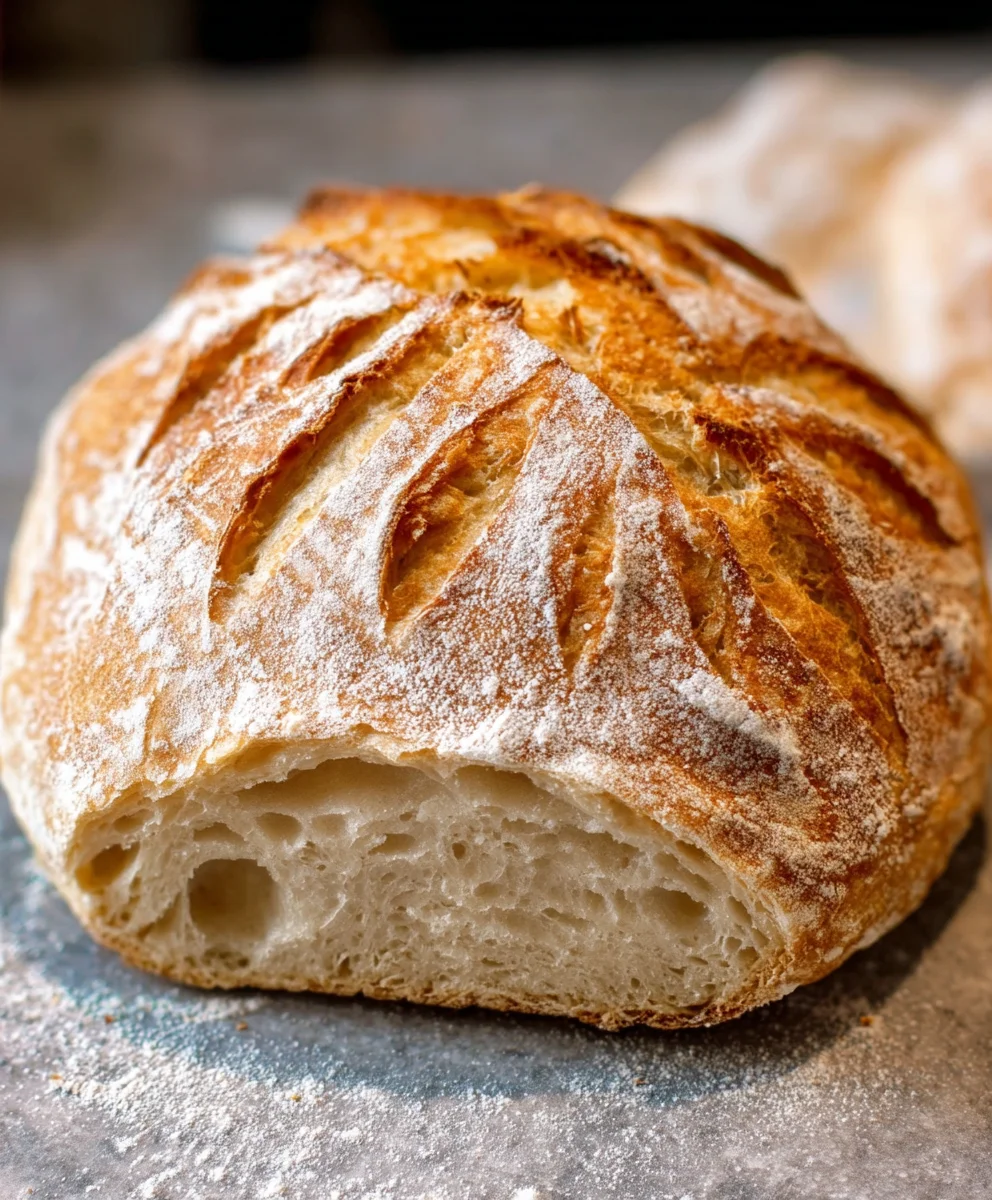
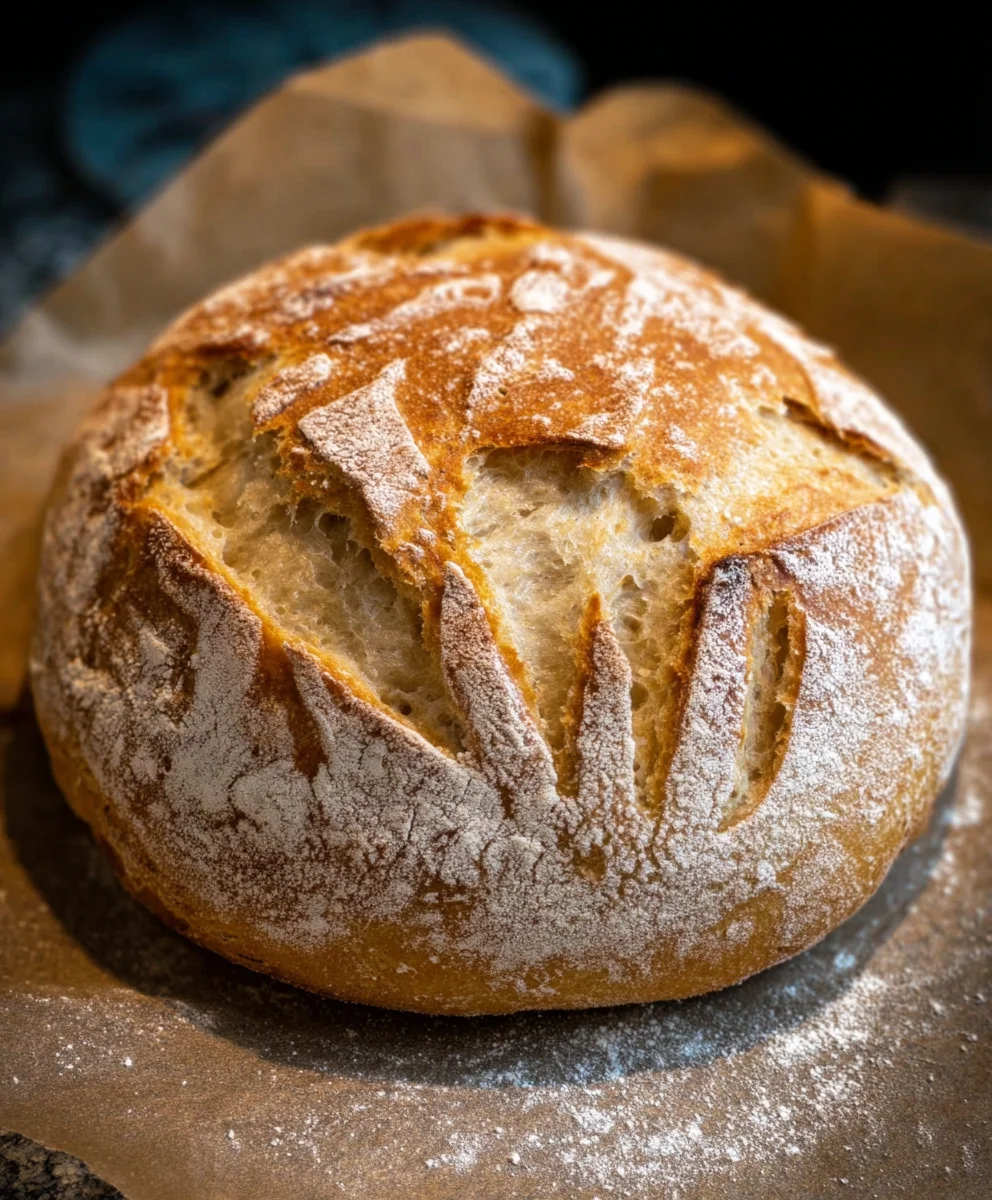
Beginner Sourdough Bread – High Starter Method
A simple and rewarding recipe for beginner sourdough bakers, utilizing a high starter method for a deeply flavorful loaf with a superior crust.
Ingredients
-
2 cups Active Sourdough Starter (400 grams)
-
3 cups Sifted All-Purpose Flour (360 grams)
-
1 cup Warm Water (240 grams)
-
1.5 teaspoons Salt (9 grams)
-
1/4 cup Rice Flour (for dusting)
-
1/4 cup All-Purpose Flour (for dusting)
Instructions
-
Step 1
In a large mixing bowl, combine the active sourdough starter and warm water. Whisk gently until well incorporated and fluid. -
Step 2
Add the sifted all-purpose flour to the wet mixture. Mix until no dry patches remain, forming a shaggy, sticky dough. Cover and let rest for 30 minutes (autolyse). -
Step 3
Sprinkle salt over the dough. Pinch and fold the dough over itself several times in the bowl until the salt is fully integrated. This strengthens the gluten network. -
Step 4
Perform stretch and folds every 30-45 minutes for 2-3 hours. Wet hands, pull dough up from under, and fold onto itself. Rotate and repeat for all four sides. Aim for 3-4 sets until dough is smoother and more elastic. -
Step 5
Cover the bowl tightly and let the dough continue to ferment at room temperature for 4-8 hours, or until it has increased in volume by 50-75% and appears puffier with bubbles. -
Step 6
Gently turn dough onto a lightly floured surface. Pre-shape into a rough round or rectangle and let rest, uncovered, for 20-30 minutes. Then, perform the final shaping, creating surface tension for a taut ball or log. -
Step 7
Generously dust a proofing basket with rice flour or a flour mix. Place shaped dough seam-side up into the basket. Cover loosely and proof in the refrigerator for 12-24 hours (cold proof) or at room temperature for 1-3 hours until puffy.
Important Information
Nutrition Facts (Per Serving)
It is important to consider this information as approximate and not to use it as definitive health advice.
Allergy Information
Please check ingredients for potential allergens and consult a health professional if in doubt.