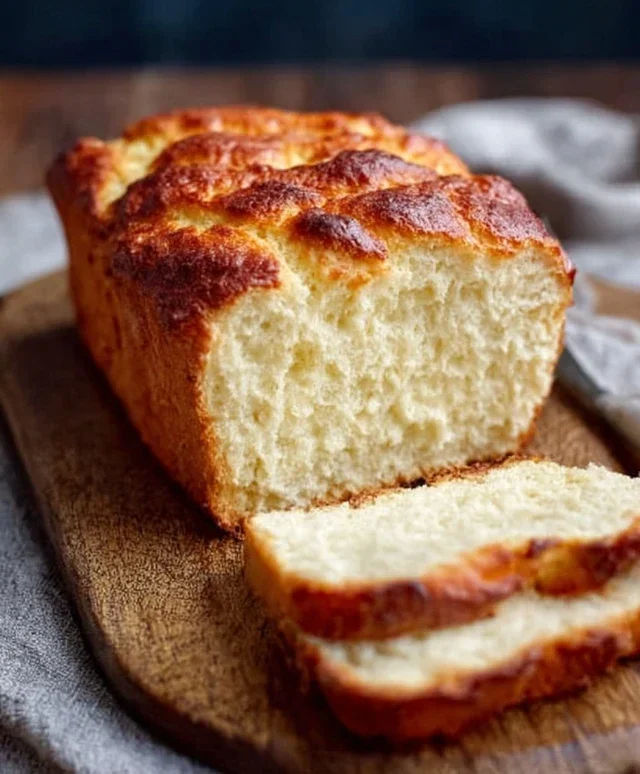
Easy Amish White Bread Recipe-Soft & Delicious
AMISH WHITE BREAD is more than just a loaf of bread; it’s a warm embrace, a comforting memory, and a staple of simple, delicious living. There’s a reason why this classic is so beloved. Its unparalleled softness, the subtly sweet aroma that fills your kitchen as it bakes, and its versatility make it a true crowd-pleaser. Whether you’re slathering it with butter for a midnight snack, using it to craft the perfect grilled cheese, or building a towering sandwich, the quality of the AMISH WHITE BREAD makes all the difference. What truly sets this AMISH WHITE BREAD apart is its commitment to pure, wholesome ingredients and traditional methods, resulting in a tender crum extractb and a golden, slightly crisp crust that is simply irresistible. Get ready to experience a taste of tradition that will become a new favorite in your home.

Ingredients:
- 1 cup warm water, ideally between 110-120°F (this temperature is crucial for activating the yeast)
- ⅓ cup granulated sugar (this feeds the yeast and adds a touch of sweetness)
- 1 packet, which is equivnon-alcoholic alent to 2 ¼ teaspoons, of instant yeast (instant yeast can be mixed directly with dry ingredients, but proofing it first ensures it’s active)
- 3 cups all-purpose flour, plus more for dusting (this is the base of our bread)
- ¾ teaspoon salt (this enhances the flavor and controls yeast activity)
- 2 tablespoons vegetable or canola oil (this adds tenderness and moisture to the crum extractb)
- 2 tablespoons unsalted butter, melted (this contributes to a rich flavor and a soft crust)
Preparing the Dough
Activating the Yeast
The first and arguably most important step in making any yeast bread is to ensure your yeast is alive and ready to work its magic. In a large mixing bowl, combine the 1 cup of warm water. It’s essential to get the temperature right; too hot and you’ll kill the yeast, too cool and it won’t activate properly. A kitchen thermometer is your best friend here, but if you don’t have one, aim for the temperature of a warm bath. To this warm water, add the ⅓ cup of granulated sugar. The sugar acts as food for the yeast, giving it the energy it needs to rise. Sprinkle the entire packet of instant yeast (which is about 2 ¼ teaspoons) over the surface of the water and sugar mixture. Do not stir it just yet. Let it sit undisturbed for about 5 to 10 minutes. You should see it start to get foamy and bubbly on the surface. This foamy layer is called the “bloom,” and it’s a clear sign that your yeast is active and ready to go. If you don’t see any foam, your yeast may be old or the water temperature was off, and you’ll need to start this step again with fresh yeast.
Mixing the Dough
Once your yeast has bloomed, it’s time to incorporate the other ingredients. To the foamy yeast mixture, add the 3 cups of all-purpose flour and the ¾ teaspoon of salt. Now, add the 2 tablespoons of vegetable or canola oil and the 2 tablespoons of melted unsalted butter. Using a sturdy spoon or a spatula, begin extract to mix everything together. Stir until the ingredients just start to come together into a shaggy dough. It might seem a bit dry or sticky at this stage, but don’t worry, that’s normal. Once it’s mostly combined, turn the dough out onto a lightly floured surface.
Kneading and First Rise
Kneading the Dough
Now comes the fun part: kneading! Kneading develops the gluten in the flour, which gives the bread its structure and chewy texture. Push the dough away from you with the heel of your hand, then fold it back towards you. Rotate the dough a quarter turn and repeat the process. Continue to knead for about 8 to 10 minutes. The dough will transform from a rough, sticky mass into a smooth, elastic ball. You’ll know it’s ready when it springs back slowly when you gently poke it with your finger. If the dough feels too sticky during kneading, lightly dust your hands and the work surface with a little more flour, but try not to add too much, as this can make the bread dense.
First Rise (Proofing)**
Once your dough has been kneaded to perfection, it’s time for its first rise, also known as proofing. Lightly grease a clean large bowl with a little bit of oil. Place the kneaded dough into the oiled bowl, turning it once to coat the entire surface with oil. This prevents the dough from drying out. Cover the bowl tightly with plastic wrap or a clean, damp kitchen towel. Place the bowl in a warm, draft-free spot in your kitchen. An oven that has been turned off but still holds a little residual warmth (make sure it’s not hot!) or near a sunny window can be ideal. Let the dough rise for about 1 to 1.5 hours, or until it has doubled in size. The exact time will depend on the temperature of your kitchen.
Shaping and Second Rise
Shaping the Loaf
Once the dough has impressively doubled in size, gently punch it down to release the air. Turn the dough out onto a lightly floured surface once more. For a classic loaf pan shape, shape the dough into a smooth log. You can do this by gently pressing the dough into a rectangle, then folding the top third down to the center and the bottom third up over that, like folding a letter. Pinch the seams to seal them. Then, gently roll the log back and forth with your hands to lengthen it to fit your greased loaf pan.
Second Rise (Final Proofing)**
Prepare your loaf pan by greasing it generously with butter or oil, or by lining it with parchment paper. Place the shaped dough into the prepared loaf pan, seam-side down. Lightly cover the pan with plastic wrap or a clean kitchen towel. Let the loaf rise again in a warm place for another 30 to 45 minutes, or until the dough has risen just above the rim of the pan. It’s important not to let it over-proof at this stage, as it can cause the bread to collapse during baking. You can gently poke the side of the loaf; if the indentation springs back slowly, it’s ready.
Baking the AMISH WHITE BREAD
Baking the Bread
Preheat your oven to 375°F (190°C) while the bread is on its second rise. Once the dough has finished its final proof and is beautifully risen, it’s time to bake! Carefully place the loaf pan into the preheated oven. Bake for 30 to 35 minutes, or until the crust is a deep golden brown and the internal temperature of the bread reaches 190-200°F (88-93°C) when checked with an instant-read thermometer. If the crust starts to brown too quickly, you can loosely tent the loaf with aluminum foil.
Cooling and Enjoying
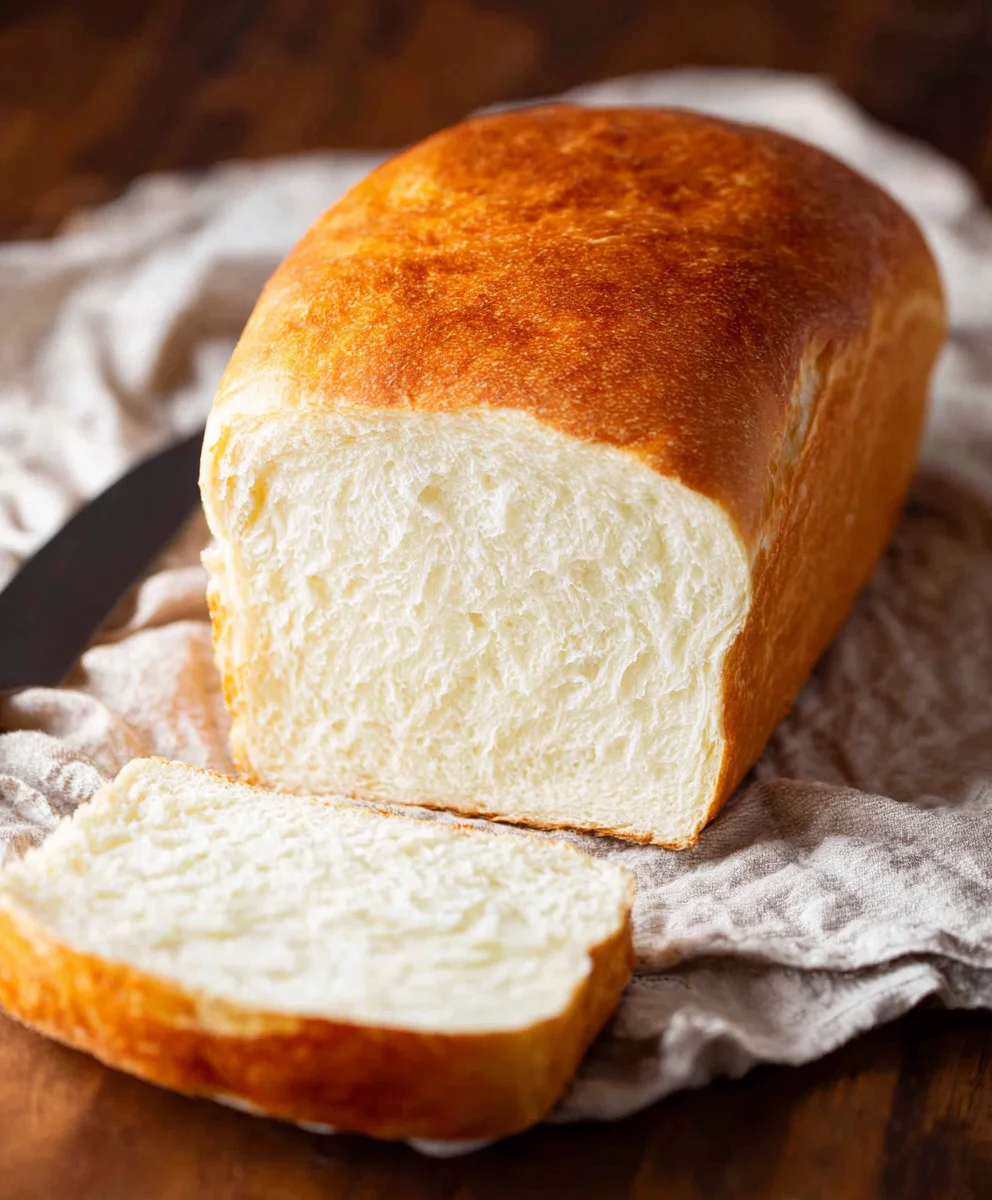
When the bread is done baking, immediately remove it from the loaf pan and place it on a wire cooling rack. Allowing the bread to cool completely is a crucial step. This allows the steam to escape and the internal structure of the bread to set properly. Resist the urge to slice into it while it’s still hot; this can result in a gummy texture. Once cooled, slice your homemade AMISH WHITE BREAD and enjoy the incrediblrum extractoft crumb and delicious, slightly sweet flavor. It’s perfect for sandwiches, toast, or simply slathered with butter.
Conclusion:
You’ve done it! With this recipe, you’re well on your way to baking the perfect AMISH WHITE BREAD. We’ve covered everything from achieving that wonderfully soft crum extractb to developing a beautiful golden crust. This classic recipe is surprisingly simple and incredibly rewarding. Imagin extracte the aroma filling your kitchen as this delicious loaf bakes – it’s a taste of tradition and comfort.
This AMISH WHITE BREAD is wonderfully versatile. Serve it warm with butter, use it for your favorite sandwiches, or toast it for a delightful breakfast treat. For a touch of sweetness, try brushing the top with a little melted butter mixed with honey right after it comes out of the oven. If you’re feeling adventurous, consider adding a sprinkle of poppy seeds or sesame seeds to the dough before baking for an extra layer of flavor and texture.
Don’t be discouraged if your first loaf isn’t absolutely perfect. Baking is a journey, and with each attempt, you’ll refine your technique. The most important ingredient is your enthusiasm, so have fun with it!
Frequently Asked Questions:
Q: My AMISH WHITE BREAD came out a little dense. What could have gone wrong?
A: A dense loaf can often be due to under-proofing or not developing enough gluten. Ensure your yeast is active and that the dough has risen sufficiently in both proofing stages. Kneading until the dough is smooth and elastic is also crucial for a light and airy texture.
Q: Can I make AMISH WHITE BREAD ahead of time?
A: Absolutely! Once completely cooled, you can store AMISH WHITE BREAD in an airtight container or bread bag at room temperature for up to 3 days. For longer storage, slice the bread and freeze it in a freezer-safe bag. It thaws beautifully!
Easy Amish White Bread Recipe-Soft & Delicious
A simple and delicious recipe for soft and fluffy Amish white bread, perfect for sandwiches or toast.
Ingredients
-
1 cup warm water, 110-120°F
-
⅓ cup granulated sugar
-
1 packet (2 ¼ teaspoons) instant yeast
-
3 cups all-purpose flour
-
¾ teaspoon salt
-
2 tablespoons vegetable oil
-
2 tablespoons unsalted butter, melted
Instructions
-
Step 1
In a large bowl, combine warm water and sugar. Sprinkle yeast over the top and let sit for 5-10 minutes until foamy. -
Step 2
Add flour, salt, vegetable oil, and melted butter to the foamy yeast mixture. Stir until a shaggy dough forms. Turn out onto a lightly floured surface. -
Step 3
Knead the dough for 8-10 minutes until smooth and elastic. Place in a lightly oiled bowl, cover, and let rise in a warm place for 1-1.5 hours, or until doubled in size. -
Step 4
Punch down the dough, shape into a log, and place into a greased loaf pan. Cover and let rise for another 30-45 minutes, or until just above the rim. -
Step 5
Preheat oven to 375°F (190°C). Bake for 30-35 minutes until golden brown and internal temperature reaches 190-200°F (88-93°C). -
Step 6
Remove from pan and cool completely on a wire rack before slicing and enjoying.
Important Information
Nutrition Facts (Per Serving)
It is important to consider this information as approximate and not to use it as definitive health advice.
Allergy Information
Please check ingredients for potential allergens and consult a health professional if in doubt.