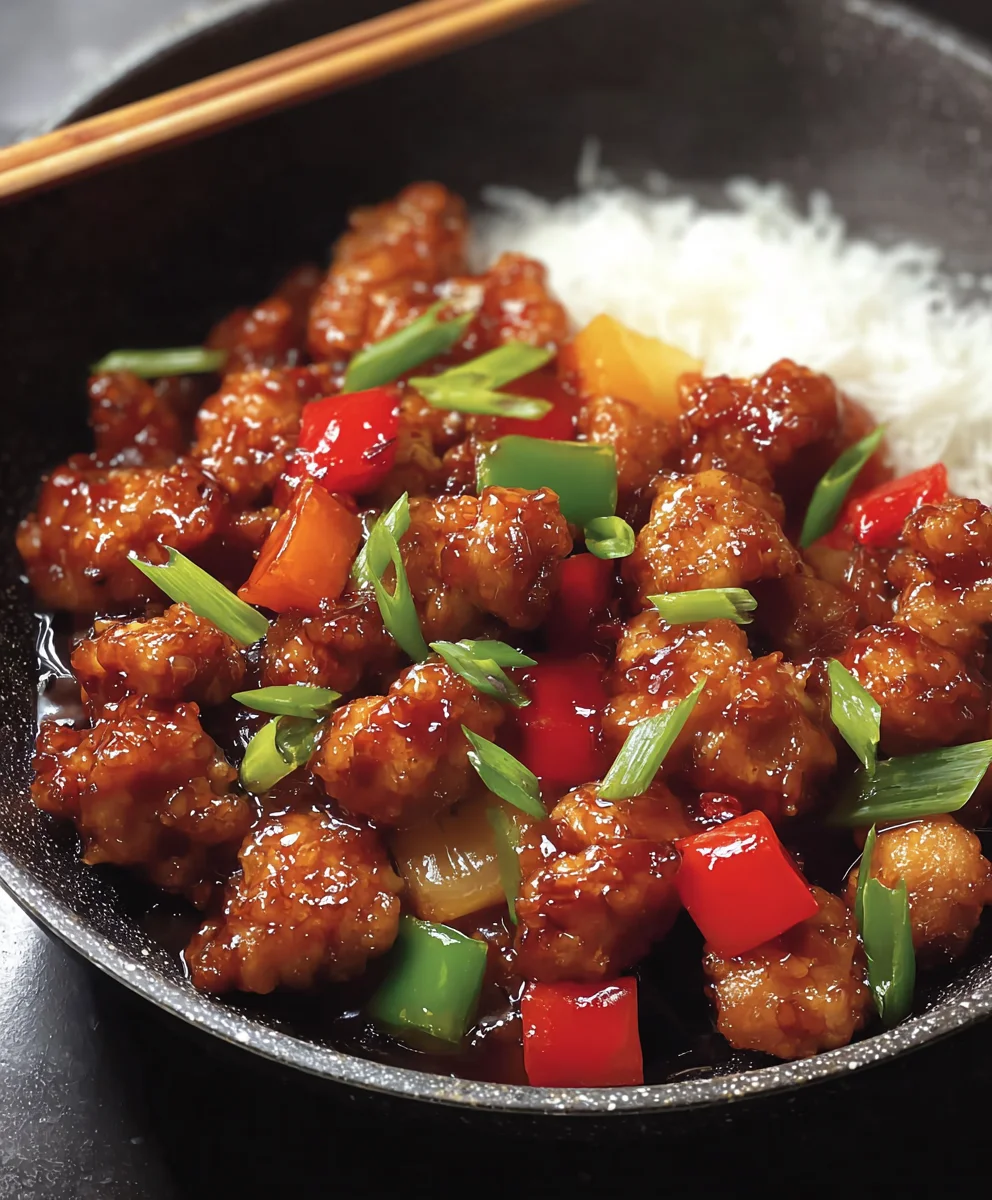
Easy Sweet and Sour Beef Recipe
Sweet and Sour Chicken is a dish that needs no introduction. It’s a classic for a reason, captivating taste buds with its irresistible balance of sweet and tangy flavors. If you’ve ever craved that perfect harmony of tender, crispy chicken coated in a glossy, vibrant sauce, you’re in the right place. This isn’t just any takeout staple; it’s a symphony of textures and tastes that makes it a perennial favorite. What truly sets apart a truly exceptional Sweet and Sour Chicken is the thoughtful layering of flavors – the bright acidity of pineapple and vinegar, the subtle sweetness of sugar and ketchup, all coming together to create a sauce that’s both comforting and exciting. It’s the kind of meal that brings smiles to the table, a guaranteed crowd-pleaser that’s surprisingly simple to recreate in your own kitchen. Get ready to unlock the secrets to making this beloved dish your own.
Ingredients:
- 3 tablespoons cane or white vinegar (you can also use rice vinegar or apple cider vinegar for a slightly different tang)
- 1/4 cup ketchup
- 1/4 cup granulated sugar
- 1/2 cup water
- 1/4 teaspoon red pepper flakes (this is optional, but adds a nice subtle heat that complements the sweetness)
- 1 tablespoon soy sauce (use regular or low-sodium, depending on your preference)
- 2 teaspoons cornstarch (for thickening the sauce)
- 12 ounces boneless, skinless chicken thighs or breasts, cut into 1-inch pieces (thighs tend to stay more moist, but breasts work beautifully too)
- 1 egg white, lightly beaten
- 1/4 cup all-purpose flour (for the chicken coating)
- 1/4 cup cornstarch (also for the chicken coating, this creates a lovely crispy exterior)
- 1 teaspoon baking powder (this helps make the coating light and crispy)
- Salt and black pepper to taste (for seasoning the chicken)
- 1 medium white or yellow onion, cut into 1-inch pieces (a white onion has a sharper bite, yellow is a bit milder)
- 1/2 red bell pepper (approximately 1 cup), cut into 1-inch pieces (this adds vibrant color and a touch of sweetness)
Preparing the Sweet and Sour Sauce
Step 1: Combine the Sauce Base
In a medium saucepan, we’ll begin extract by whisking together the core components of our sweet and sour sauce. Start with the 3 tablespoons of white vinegar, adding the 1/4 cup of ketchup and the 1/4 cup of granulated sugar. Give these a good stir to combine them. Next, pour in the 1/2 cup of water. If you enjoy a touch of heat, now is the time to add the 1/4 teaspoon of red pepper flakes. This is entirely optional, but I find it balances the sweetness wonderfully. Finally, stir in the 1 tablespoon of soy sauce. Make sure everything is thoroughly incorporated before we move to the next step.
Step 2: Thicken the Sauce
In a small bowl, whisk together the 2 teaspoons of cornstarch with about 2 tablespoons of the liquid from the saucepan. This creates a slurry, which is crucial for thickening the sauce without lumps. Once you have a smooth paste, pour this slurry back into the saucepan with the rest of the sauce. Place the saucepan over medium heat and bring the mixture to a gentle simmer, stirring constantly. You’ll notice the gin extractce begin to thicken within a few minutes. Continue to cook and stir for about 1 to 2 minutes after it starts to thicken to ensure the cornstarch is fully cooked and the sauce has a nice glossy consistency. Once thickened, remove the sauce from the heat and set it aside. It will continue to thicken slightly as it cools.
Coating and Frying the Chicken
Step 3: Prepare the Chicken for Frying
Now, let’s get our chicken ready for its crispy coating. Take your 12 ounces of boneless, skinless chicken pieces, which you’ve already cut into roughly 1-inch cubes. In a medium bowl, place the seasoned chicken pieces. Pour the lightly beaten egg white over the chicken and toss it well to ensure each piece is coated. This egg white acts as a binder, helping the flour and cornstarch mixture adhere beautifully. In a separate shallow dish or plate, combine the 1/4 cup of all-purpose flour, 1/4 cup of cornstarch, and 1 teaspoon of baking powder. Add a good pinch of salt and pepper to this dry mixture and stir to distribute evenly. This is our crispy coating!
Step 4: Coat the Chicken Pieces
Working in batches to avoid overcrowding the pan, add the egg-white-coated chicken pieces to the flour and cornstarch mixture. Toss the chicken thoroughly, ensuring each piece is well-covered with the dry coating. Gently shake off any excess flour. The combination of flour and cornstarch, along with the baking powder, will create an incredibly light and crispy exterior once fried. It’s important to get a good, even coating on every piece for the best texture. Set the coated chicken aside on a clean plate or wire rack while you heat your oil.
Step 5: Fry the Chicken to Golden Perfection
Heat about 1 to 2 inches of neutral oil (like vegetable or canola oil) in a large skillet or wok over medium-high heat until it reaches around 350°F (175°C). You can test the oil by dropping a tiny bit of the coating mixture in; it should sizzle immediately. Carefully add the coated chicken pieces to the hot oil, again, working in batches to maintain the oil temperature and prevent crowding. Fry the chicken for about 4-6 minutes per batch, or until it’s golden brown and cooked through. The exact time will depend on the size of your chicken pieces and the heat of your oil. Use a slotted spoon to remove the fried chicken from the oil and place it on a wire rack set over a baking sheet to drain any excess oil. This keeps the chicken wonderfully crispy.
Assembling the Dish
Step 6: Sauté the Vegetables and Combine
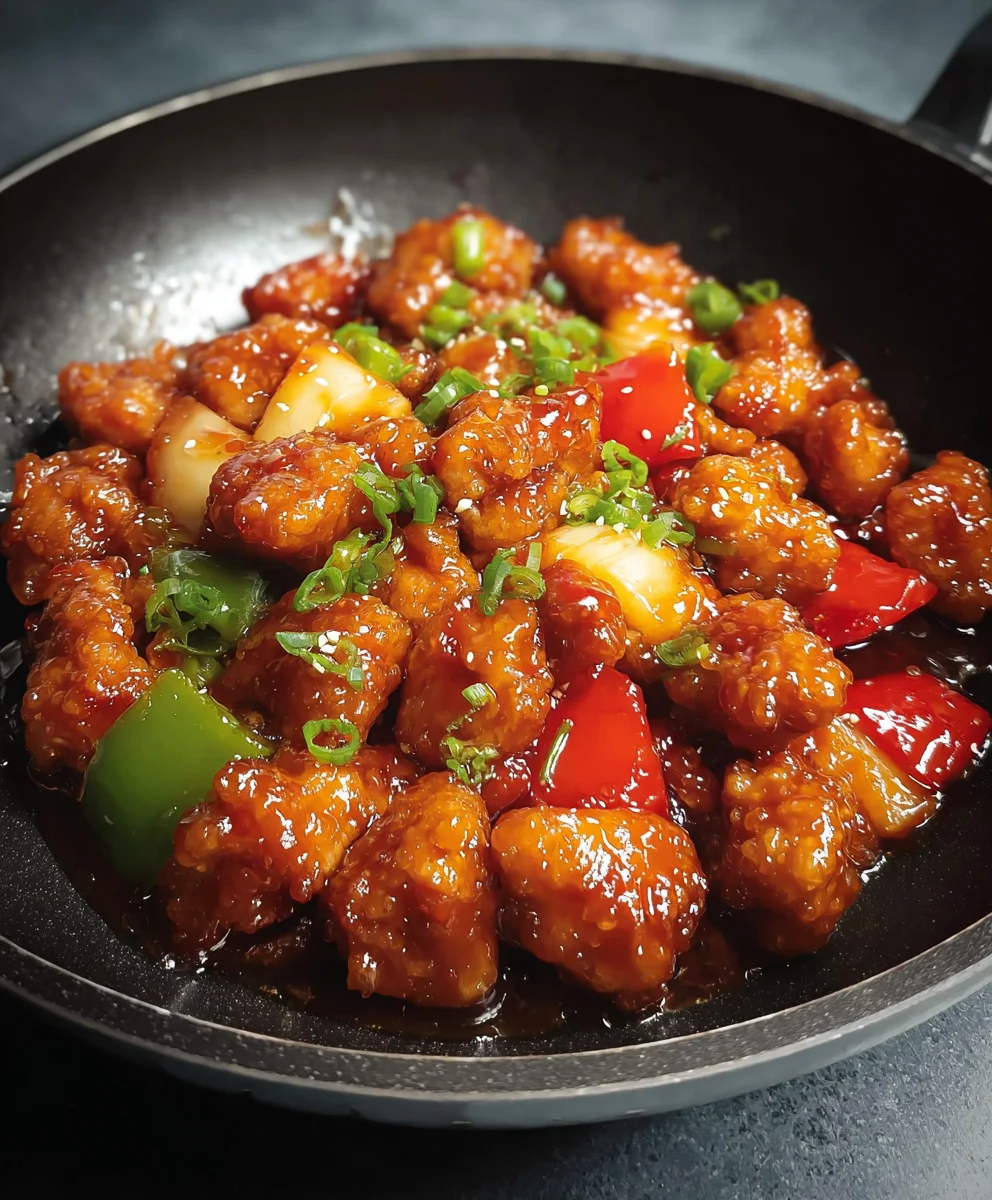
Once all the chicken is fried and drained, you can wipe out your skillet if there’s a lot of residual oil, or use a clean one. Add a tablespoon of oil to the skillet and heat it over medium heat. Add your 1-inch pieces of white or yellow onion and the 1-inch pieces of red bell pepper. Sauté the vegetables for about 3-5 minutes, or until they are tender-crisp. You want them to be slightly softened but still have a nice bite to them. Now, pour your prepared sweet and sour sauce over the sautéed vegetables. Stir everything to combine and let it simmer for another minute to allow the flavors to meld and the sauce to coat the vegetables. Finally, add the crispy fried chicken pieces back into the skillet with the sauce and vegetables. Gently toss everything together until the chicken is thoroughly coated in the glossy sweet and sour sauce. Serve immediately over steamed rice for a complete and satisfying meal.
Conclusion:
There you have it! A delicious and satisfying recipe for Sweet and Sour Chicken that’s perfect for a weeknight dinner or a special occasion. We’ve walked through preparing a wonderfully balanced sauce, tender chicken pieces, and vibrant vegetables, all brought together for a truly delightful culinary experience. This dish is incredibly versatile, and I encourage you to experiment with the ingredients to make it your own. Remember, cooking should be fun and enjoyable, and this Sweet and Sour Chicken recipe is designed to be both accessible and rewarding.
For serving, consider pairing your Sweet and Sour Chicken with fluffy steamed jasmine rice to soak up all that incredible sauce. A side of stir-fried bok choy or a simple cucumber salad also makes for a refreshing accompaniment. Don’t be afraid to get creative with variations! You could swap out the chicken for beef or firm tofu for a vegetarian twist. Adding different vegetables like snow peas, broccoli florets, or water chestnuts can also add new textures and flavors. Enjoy the process and savor every bite of your homemade Sweet and Sour Chicken!
FAQs:
Can I make the sauce ahead of time?
Yes, absolutely! The sweet and sour sauce for this Sweet and Sour Chicken can be made up to 2-3 days in advance and stored in an airtight container in the refrigerator. This can significantly cut down on prep time when you’re ready to cook the final dish. Just give it a good shake or stir before using.
What kind of chicken is best for Sweet and Sour Chicken?
For the most tender and juicy Sweet and Sour Chicken, boneless, skinless chicken thighs are generally recommended. They have a bit more fat than chicken breasts, which helps them stay moist during cooking. However, chicken breasts can also be used if you prefer a leaner option; just be mindful not to overcook them to prevent dryness.
Easy Sweet and Sour Beef Recipe
A simple and delicious recipe for sweet and sour beef, featuring crispy coated beef with vibrant vegetables in a tangy sauce.
Ingredients
-
12 ounces beef sirloin or flank steak, cut into 1-inch pieces
-
3 tablespoons cane or white vinegar
-
1/4 cup ketchup
-
1/4 cup granulated sugar
-
1/2 cup water
-
1/4 teaspoon red pepper flakes (optional)
-
1 tablespoon soy sauce
-
2 teaspoons cornstarch
-
1 egg white, lightly beaten
-
1/4 cup all-purpose flour
-
1/4 cup cornstarch
-
1 teaspoon baking powder
-
Salt and black pepper to taste
-
1 medium white or yellow onion, cut into 1-inch pieces
-
1/2 red bell pepper (approximately 1 cup), cut into 1-inch pieces
Instructions
-
Step 1
In a medium saucepan, whisk together the vinegar, ketchup, sugar, water, optional red pepper flakes, and soy sauce. Stir to combine. -
Step 2
In a small bowl, whisk together 2 teaspoons of cornstarch with 2 tablespoons of the sauce liquid to create a slurry. Pour the slurry back into the saucepan. Cook over medium heat, stirring constantly, until the sauce simmers and thickens, about 1-2 minutes after thickening. Remove from heat and set aside. -
Step 3
Season the beef pieces with salt and pepper. In a medium bowl, toss the beef with the beaten egg white until coated. In a separate shallow dish, combine flour, 1/4 cup cornstarch, and baking powder. Add a pinch of salt and pepper. Toss the egg-white-coated beef in the dry mixture until well-coated. -
Step 4
Heat about 1-2 inches of neutral oil in a large skillet or wok over medium-high heat to 350°F (175°C). Fry the coated beef in batches for 4-6 minutes, or until golden brown and cooked through. Remove with a slotted spoon and drain on a wire rack. -
Step 5
Wipe out the skillet if needed. Add a tablespoon of oil and heat over medium heat. Sauté the onion and red bell pepper pieces for 3-5 minutes until tender-crisp. -
Step 6
Pour the prepared sweet and sour sauce over the sautéed vegetables. Stir and simmer for one minute. Add the fried beef to the skillet and toss gently to coat everything in the sauce. Serve immediately.
Important Information
Nutrition Facts (Per Serving)
It is important to consider this information as approximate and not to use it as definitive health advice.
Allergy Information
Please check ingredients for potential allergens and consult a health professional if in doubt.