Strawberry Kiss Cookies – Easy & Delicious Recipe
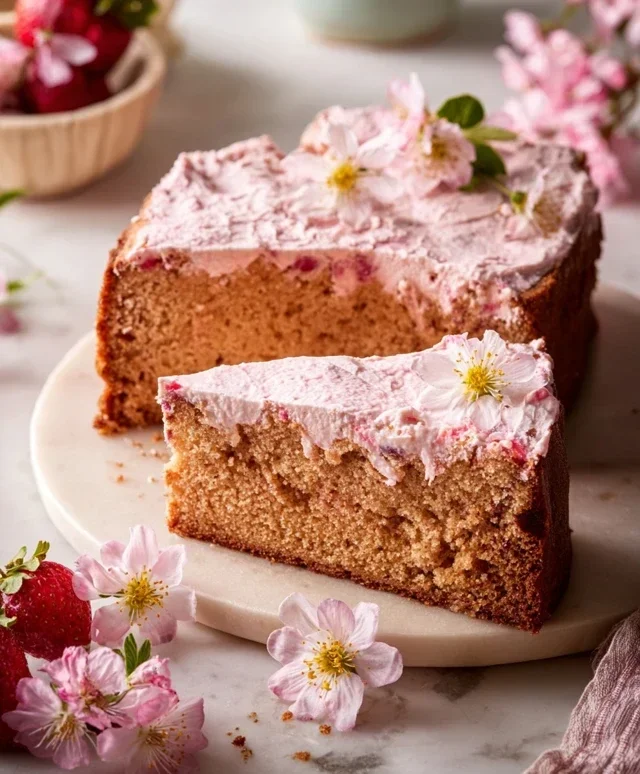
Strawberry Kiss Cookies are more than just a delightful treat; they’re a little burst of sunshine that evokes feelings of nostalgia and pure joy. Imagin extracte tiny, ruby-red gems, dusted with a whisper of powdered sugar, each bite a delicate balance of sweet strawberry flavor and buttery, melt-in-your-mouth goodness. What is it about these charming cookies that captures our hearts? It’s their inherent simplicity, their undeniable charm, and the way they instantly brighten any occasion, from a casual afternoon tea to a festive holiday gathering. People adore them for their adorable aesthetic and their tender texture, a perfect contrast to their vibrant fruity core. These aren’t just any cookies; they’re a whisper of summer, a sweet embrace in edible form. Get ready to fall in love with the magic of Strawberry Kiss Cookies.
Ingredients:
- 1 box (15.25 oz) strawberry cake mix
- 8 tablespoons (1/2 cup) butter, melted and slightly cooled
- 1 large egg
- 4 ounces cream cheese, softened
- Optional: powdered sugar or pink granulated sugar for dusting
- 30 chocolate Hershey’s Kisses, unwrapped
Making the Strawberry Kiss Cookie Dough
The foundation of our delightful Strawberry Kiss Cookies lies in a simple yet ingenious dough. We’re starting with a box of strawberry cake mix, which provides an instant burst of flavor and a beautiful pink hue. This is one of the secrets to how these cookies get their vibrant color and delicious taste without a lot of fuss.
To that, we add the richness of butter. Make sure your butter is melted and has cooled slightly. You don’t want it piping hot, as this can start to cook the egg or affect the texture of the dough. The slight cooling allows it to emulsify beautifully with the other ingredients.
Next comes the egg. A single large egg provides the necessary binding agent and contributes to the cookie’s chegrape juicess.
Now for a secret ingredient that elevates these cookies from good to absolutely sensational: cream cheese. Four ounces of softened cream cheese bring an incredible tang and an unbelievably tender, melt-in-your-mouth texture to the cookies. It’s this addition that really makes them feel more homemade and special. Ensure your cream cheese is properly softened – leaving it out at room temperature for about an hour should do the trick. This allows it to cream smoothly with the butter and cake mix, preventing any lumps and ensuring a uniform dough.
Forming and Baking the Cookies
Step 1: Combine the Dough Ingredients
In a medium-sized mixing bowl, combine the softened cream cheese and the slightly cooled melted butter. Use a whisk or an electric mixer on low speed to cream these together until they are smooth and well incorporated. This initial creaming step is crucial for developing a tender cookie. It helps to break down the cream cheese and distribute the fat evenly, which contributes to the cookie’s texture. Once this mixture is smooth, add the large egg and whisk until everything is just combined. Don’t overmix at this stage.
Step 2: Incorporate the Cake Mix
Now, it’s time to add the strawberry cake mix. Gradually add the cake mix to the wet ingredients, mixing on low speed or by hand with a sturdy spoon or spatula until a soft dough forms. Be careful not to overmix once the cake mix is added. Overmixing can develop the gluten in the cake mix too much, potentially leading to tougher cookies. You’re aiming for a dough that is cohesive but still soft and slightly sticky. It should hold together when you press it.
Step 3: Chilling the Dough (Optional but Recommended)
For the best results, especially if your dough feels a bit too soft to handle, I highly recommend chilling it. Cover the bowl with plastic wrap and refrigerate for at least 30 minutes to an hour. Chilling the dough makes it firmer and easier to roll into balls, and it also helps to prevent the cookies from spreading too much during baking, ensuring they retain a nice, rounded shape. This is a small step that makes a big difference in the final appearance of your cookies.
Step 4: Shaping the Cookies and Adding the Hershey’s Kiss
Preheat your oven to 350°F (175°C). Line baking sheets with parchment paper or silicone baking mats to prevent sticking. Take about a tablespoon of the chilled dough and roll it into a smooth ball. You can lightly dust your hands with a bit of flour or cake mix if the dough is still a little sticky. Place the dough balls about 2 inches apart on the prepared baking sheets.
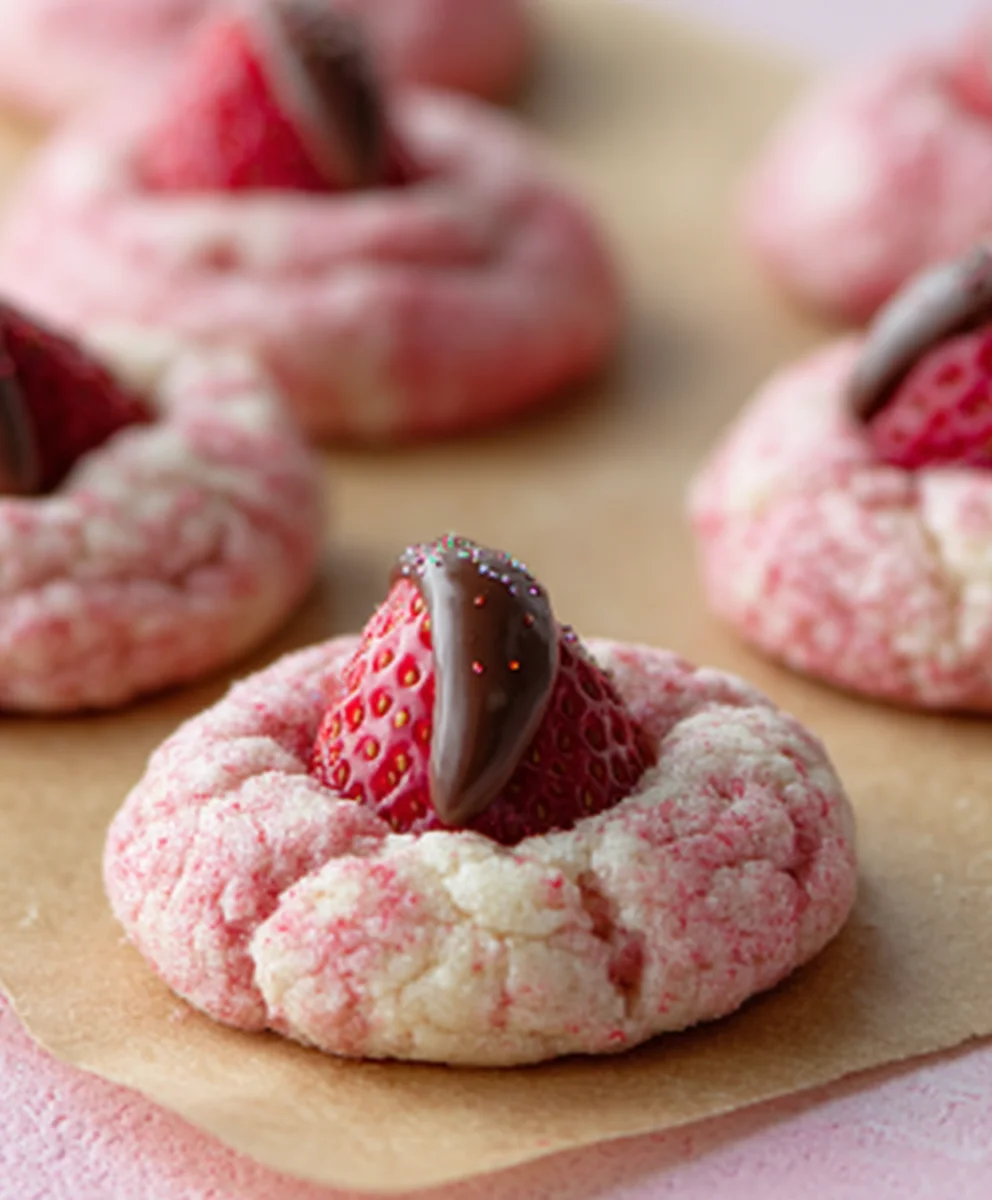
Now for the magical part! Gently press one unwrapped chocolate Hershey’s Kiss into the center of each dough ball. You want to press it in firmly enough so it’s embedded, but not so hard that you crack the dough. The heat of the oven will cause the chocolate to melt and spread slightly, creating that signature “kiss” look.
Step 5: Baking to Perfection
Bake the cookies in the preheated oven for 9 to 12 minutes, or until the edges are lightly golden and the centers are still slightly soft. The baking time will vary depending on your oven and the size of your cookies, so keep a close eye on them, especially during the first few bakes. You want the cookies to be set but not overbaked. They will continue to firm up as they cool. Remove the baking sheets from the oven and let the cookies cool on the baking sheets for about 5 minutes. This allows them to set up properly before you attempt to move them. After 5 minutes, carefully transfer the cookies to a wire rack to cool completely.
Optional Finishing Touches
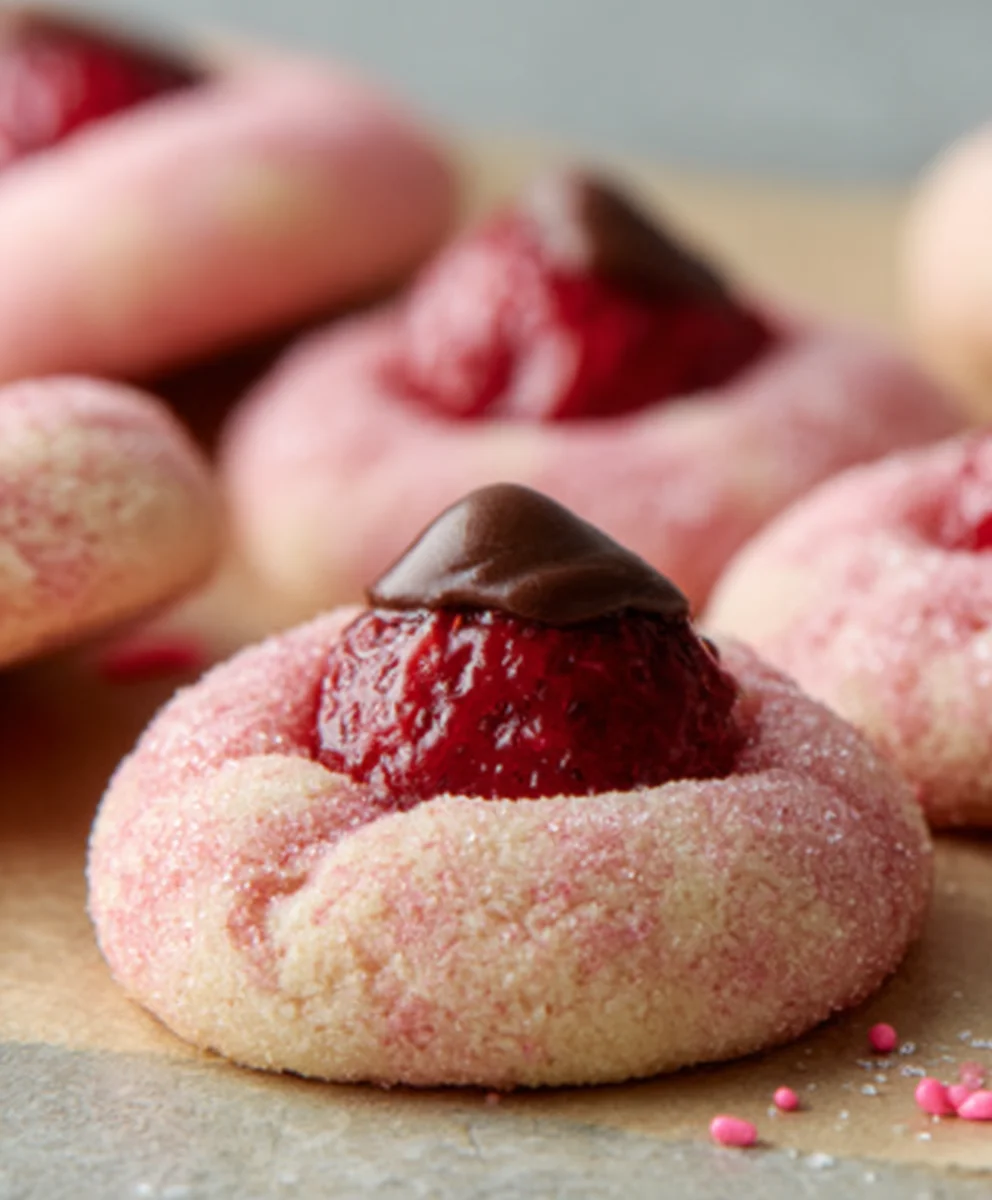
Once the cookies have cooled slightly, but are still warm to the touch, you can add an optional dusting of powdered sugar for a snowy, festive look, or sprinkle them with pink granulated sugar for an extra pop of color and sweetness. These Strawberry Kiss Cookies are best enjoyed at room temperature, where their soft, chewy texture and rich chocolate center can be fully appreciated.
Conclusion:
And there you have it – your guide to creating the delightful Strawberry Kiss Cookies! We hope you’ve enjoyed learning how to whip up these charming treats. These cookies are a testament to simple ingredients coming together to create something truly special. The sweet, subtle strawberry flavor paired with the tender, melt-in-your-mouth texture makes them utterly irresistible. They’re perfect for sharing with loved ones, adding a sweet touch to any occasion, or simply enjoying as a personal indulgence.
For serving suggestions, these Strawberry Kiss Cookies are fantastic on their own, accompanied by a cup of tea or coffee. They also make a beautiful addition to a dessert platter or cookie box. Consider decorating them further with a light dusting of powdered sugar or a simple strawberry-flavored glaze for an extra pop of flavor and visual appeal.
Don’t be afraid to get creative with variations! You could experiment with different types of freeze-dried berries, like raspberry or blueberry, for a unique twist. A hint of lemon zest added to the dough can also complement the strawberry beautifully. We encourage you to try this recipe and make it your own. Happy baking!
Frequently Asked Questions:
Q: How should I store the Strawberry Kiss Cookies to keep them fresh?
A: To maintain their freshness, store your Strawberry Kiss Cookies in an airtight container at room temperature. They should stay delicious for up to a week. Avoid stacking them too high to prevent breakage.
Q: Can I make the Strawberry Kiss Cookies ahead of time?
A: Absolutely! The dough can be made and chilled for up to 2-3 days before baking. You can also bake the cookies and freeze them in a single layer on a baking sheet until firm, then transfer them to a freezer-safe container for up to 2 months. Thaw them at room temperature before serving.
Q: My Strawberry Kiss Cookies spread too much. What went wrong?
A: Several factors can contribute to excessive spreading. Ensure your butter and sugar mixture is not over-beaten, as this can incorporate too much air. Also, chilling the dough before baking is crucial as it solidifies the fat, preventing rapid melting in the oven. Make sure your oven temperature is accurate as well; an oven that is too hot can cause the cookies to spread quickly.
Strawberry Kiss Cookies – Easy & Delicious Recipe
A simple and delicious recipe for soft and chewy strawberry cookies, featuring a melted chocolate Hershey’s Kiss center.
Ingredients
-
1 box (15.25 oz) strawberry cake mix
-
8 tablespoons (1/2 cup) butter, melted and slightly cooled
-
1 large egg
-
4 ounces cream cheese, softened
-
30 chocolate Hershey’s Kisses, unwrapped
-
Optional: powdered sugar or pink granulated sugar for dusting
Instructions
-
Step 1
In a medium bowl, cream together the softened cream cheese and slightly cooled melted butter until smooth. Add the egg and whisk until just combined. -
Step 2
Gradually add the strawberry cake mix to the wet ingredients, mixing on low speed or by hand until a soft, cohesive dough forms. Be careful not to overmix. -
Step 3
For easier handling, cover the dough and refrigerate for at least 30 minutes to an hour. Preheat your oven to 350°F (175°C) and line baking sheets with parchment paper. -
Step 4
Roll about a tablespoon of dough into a ball and place it on the prepared baking sheet. Gently press one unwrapped chocolate Hershey’s Kiss into the center of each dough ball. -
Step 5
Bake for 9 to 12 minutes, or until the edges are lightly golden and the centers are still slightly soft. Let cool on the baking sheets for 5 minutes before transferring to a wire rack to cool completely. -
Step 6
Optionally, dust with powdered sugar or pink granulated sugar once slightly cooled.
Important Information
Nutrition Facts (Per Serving)
It is important to consider this information as approximate and not to use it as definitive health advice.
Allergy Information
Please check ingredients for potential allergens and consult a health professional if in doubt.