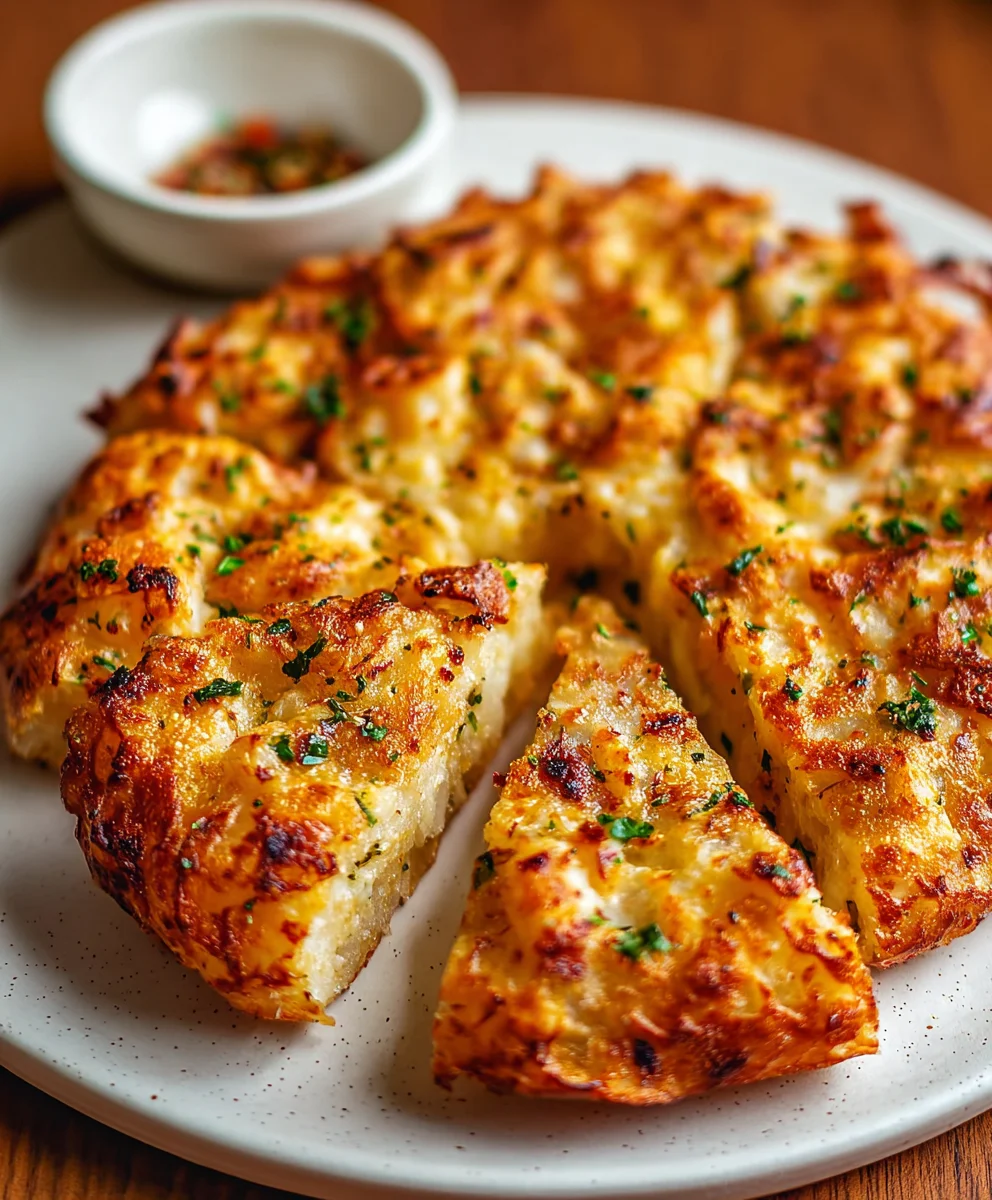
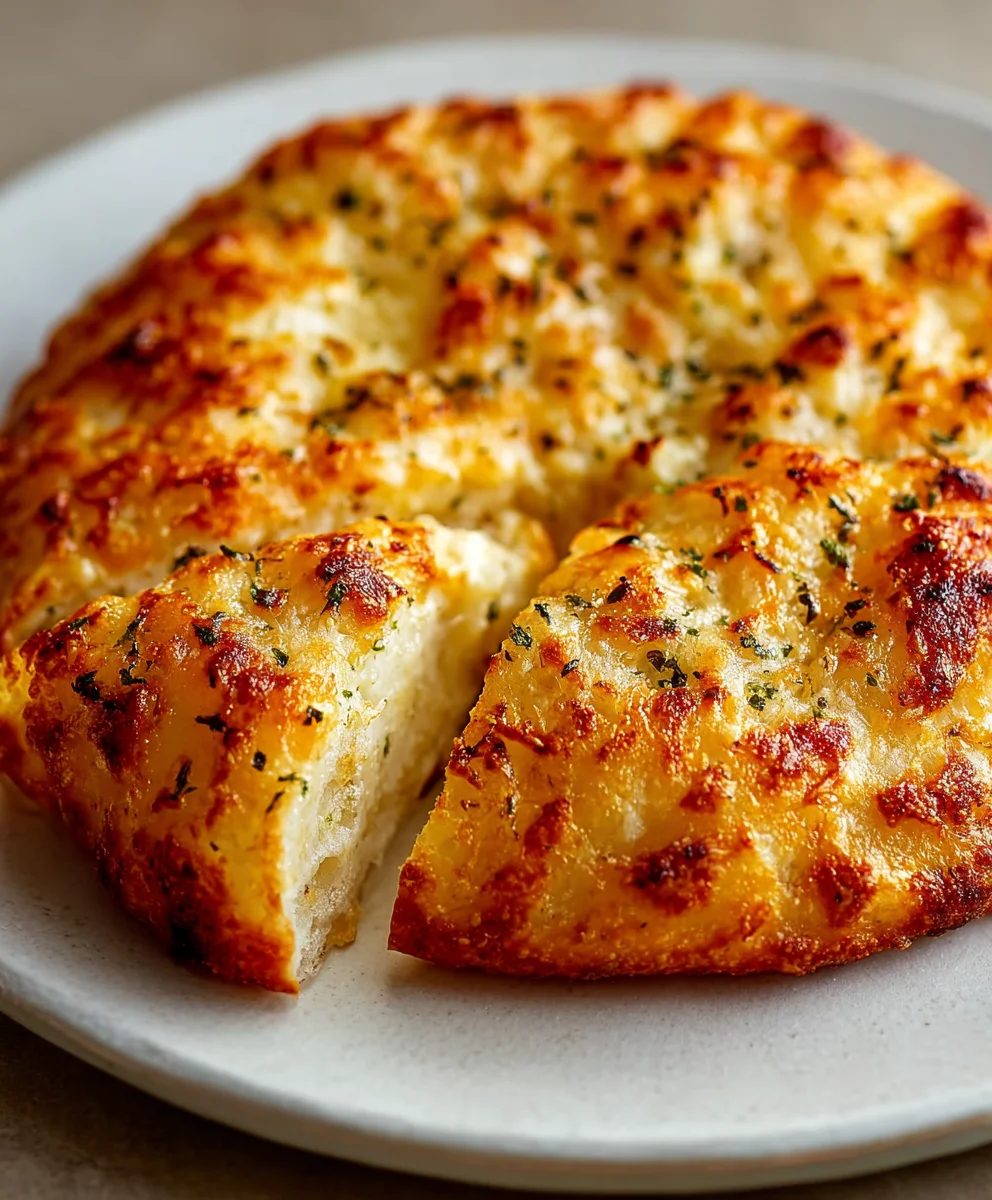
Quick Air Fryer Tortilla Garlic Bread- Easy Recipe
Quick Air Fryer Tortilla Garlic Bread is about to become your new weeknight obsession! Forget complicated doughs and lengthy bake times; this recipe transforms humble tortillas into crispy, garlicky delights in mere minutes. Imagin extracte the satisfying crunch, the warm, toasted tortilla base, and the irresistible aroma of garlic and butter wafting from your air fryer. It’s the perfect balance of savory, slightly spicy, and utterly addictive, making it an instant crowd-pleaser. What truly sets this apart is its incredible speed and simplicity – it’s a gourmet-tasting side dish or snack that requires almost no effort. Whether you’re craving a quick accompaniment to your chili, a flavorful base for loaded nachos, or just a delicious way to use up leftover tortillas, this Quick Air Fryer Tortilla Garlic Bread delivers pure comfort and flavor with astonishing ease.
Ingredients:
- 2 flour tortilla shells
- 1 tablespoon butter, softened
- ½ cup grated mozzarella cheese
- Garlic powder, to taste
- Italian seasoning, to taste
- Fresh parsley, chopped (optional, for garnish)
Preparing Your Quick Air Fryer Tortilla Garlic Bread
Gathering Your Supplies
Before we dive into the deliciousness of your Quick Air Fryer Tortilla Garlic Bread, let’s ensure you have everything at the ready. This recipe is designed for speed and simplicity, making it perfect for a last-minute snack or side dish. You’ll need your two flour tortilla shells, which will form the crispy base of our garlic bread. Make sure they are fresh and pliable; stiff tortillas can be a bit trickier to work with. Next, you’ll need one tablespoon of butter. It’s crucial that this butter is softened. Softened butter is much easier to spread evenly onto the tortillas, ensuring consistent flavor and crispiness across the entire surface. If your butter is straight from the fridge, you can quickly soften it by microwaving it in 5-second bursts, or by simply leaving it out on the counter for about 15-20 minutes.
For the cheesy goodness, you’ll need half a cup of grated mozzarella cheese. The mozzarella will melt beautifully in the air fryer, creating that irresistible pull and savory flavor. You can use pre-grated mozzarella for convenience, or grate your own from a block for a slightly creamier texture. Finally, for that classic garlic bread punch, we have garlic powder and Italian seasoning. These are your flavor powerhouses. The beauty of using powders is their ease of use and even distribution. You’ll also want a small amount of fresh parsley, chopped, if you’re feeling fancy and want to add a pop of color and a hint of freshness as a garnish. This is entirely optional, but it does elevate the presentation.
Assembling the Tortilla Garlic Bread
Now comes the fun part: assembling your tortilla garlic bread! Take one of your flour tortilla shells and lay it flat on a clean surface or a plate. Grab your softened butter and a butter knife or a small offset spatula. Start spreading the softened butter evenly across the entire surface of the tortilla, right to the edges. You want a nice, thin, consistent layer of butter. This butter is not just for flavor; it’s also going to help the tortilla crisp up beautifully in the air fryer.
Once the first tortilla is buttered, it’s time to season it. Sprinkle a generous amount of garlic powder over the buttered surface. How much garlic powder you use is entirely up to your personal preference. If you love a strong garlic flavor, don’t be shy! If you prefer a more subtle hint, start with a smaller amount and you can always add more later. Follow this with a sprinkle of Italian seasoning. The Italian seasoning will add those herbaceous notes of oregano, basil, and thyme, which perfectly complement the garlic. Again, adjust the amount to your liking.
Now, take your grated mozzarella cheese and sprinkle it evenly over the seasoned butter. Ensure you cover most of the surface, but leave a small border around the very edge if you prefer a slightly less cheesy crust. The goal is to have cheese that will melt and hold everything together.
Take your second flour tortilla shell and repeat the buttering, seasoning, and cheese-sprinkling process. You will essentially be creating two individual tortilla garlic bread pieces. This method ensures that both sides of your “bread” get that delicious flavor and crispy texture.
Air Frying for Perfect Crispiness
With your seasoned and cheesed tortillas ready, it’s time to get them into the air fryer. Preheat your air fryer to 375°F (190°C). Preheating is an important step as it ensures your tortilla garlic bread starts cooking immediately and evenly, leading to optimal crispiness. This usually takes about 3-5 minutes depending on your air fryer model.
Once preheated, carefully place one tortilla garlic bread into the air fryer basket. It’s important not to overcrowd the basket, as this can prevent the air from circulating properly, leading to uneven cooking and less crispiness. If you have two tortillas, you might be able to fit them both if your air fryer basket is large enough, but it’s often better to cook them in batches to guarantee the best results.
Air fry for 4 to 6 minutes. During this time, keep a close eye on your tortilla garlic bread. You’ll want to check it around the 3-minute mark. The tortillas should start to puff up slightly, and the cheese should be melted and bubbly. You’re looking for golden brown edges and a nicely crisped surface. If one side is browning faster than the other, you can carefully flip it halfway through the cooking time. Be gentle when flipping to avoid tearing the tortilla.
Once the tortilla garlic bread is golden brown and delightfully crispy, carefully remove it from the air fryer basket. A pair of tongs or a spatula works well for this. Place it on a cutting board or a plate. If you’re making a second batch, repeat the process with the remaining tortilla.
Finishing Touches and Serving
For that final flourish, if you’re using fresh parsley, sprinkle the chopped parsley over the hot, freshly cooked tortilla garlic bread. The heat from the bread will slightly wilt the parsley and release its aroma, adding a lovely fresh counterpoint to the rich garlic and cheese.
You can enjoy your Quick Air Fryer Tortilla Garlic Bread immediately while it’s warm and crispy. It makes a fantastic quick snack, a fun side dish to a soup or salad, or even a simple appetizer for unexpected guests. You can cut it into wedges or strips for easier sharing. The texture should be wonderfully crisp on the outside with a gooey, cheesy interior. It’s a simple yet incredibly satisfying way to use up tortillas and satisfy those savory cravings in a flash.
Conclusion:
And there you have it – your incredibly delicious Quick Air Fryer Tortilla Garlic Bread is ready to be devoured! We’ve walked through a simple yet effective method to transform humble tortillas into a crispy, garlicky delight that’s perfect as a side dish or a quick snack. The beauty of this recipe lies in its speed and versatility. Whether you’re serving it alongside your favorite pasta, soup, or chili, or simply enjoying it on its own, this Quick Air Fryer Tortilla Garlic Bread is sure to be a hit.
Don’t be afraid to experiment! Consider adding a sprinkle of your favorite herbs like oregano or basil, or even a touch of red pepper flakes for a little heat. For a cheesy twist, toss in some shredded Parmesan or mozzarella before air frying. The possibilities are truly endless, making this a go-to recipe for any occasion.
We hope you enjoy making and sharing this delightful creation. Happy cooking!
Frequently Asked Questions:
Q: Can I use different types of tortillas for this recipe?
Absolutely! While corn tortillas work wonderfully, you can also use flour tortillas. Keep in mind that flour tortillas might become slightly crispier than corn ones. Experiment with different sizes and thicknesses to find your preference.
Q: How can I make this Quick Air Fryer Tortilla Garlic Bread spicier?
To add a kick, you can incorporate a pinch of cayenne pepper or red pepper flakes into the butter-garlic mixture before brushing it onto the tortillas. You could also lightly sprinkle some crushed red pepper flakes on top after air frying for a fresh burst of heat.
Q: What are some other serving suggestions for this garlic bread?
This Quick Air Fryer Tortilla Garlic Bread is fantastic with almost anything! It’s a perfect accompaniment to hearty soups like tomato or lentil soup, rich pasta dishes, spicy tacos, or even as a base for mini pizzas. It also makes a great crunchy topping for salads or a quick appetizer with a side of marinara sauce for dipping.
Quick Air Fryer Tortilla Garlic Bread
An incredibly easy and quick recipe for making crispy garlic bread using flour tortillas and an air fryer. Perfect for a last-minute snack or side dish.
Ingredients
-
2 flour tortilla shells
-
1 tablespoon butter, softened
-
½ cup grated mozzarella cheese
-
Garlic powder, to taste
-
Italian seasoning, to taste
-
Fresh parsley, chopped (optional, for garnish)
Instructions
-
Step 1
Preheat your air fryer to 375°F (190°C). -
Step 2
Lay one flour tortilla flat. Spread softened butter evenly across the surface. Sprinkle generously with garlic powder and Italian seasoning. Top with half of the grated mozzarella cheese. -
Step 3
Repeat the buttering, seasoning, and cheese process with the second flour tortilla. -
Step 4
Carefully place one tortilla garlic bread into the preheated air fryer basket. Air fry for 4-6 minutes, or until golden brown and crispy. Check halfway and flip if needed. -
Step 5
Remove from air fryer, sprinkle with fresh parsley if using, and serve immediately. Cook the second tortilla if making a batch of two.
Important Information
Nutrition Facts (Per Serving)
It is important to consider this information as approximate and not to use it as definitive health advice.
Allergy Information
Please check ingredients for potential allergens and consult a health professional if in doubt.