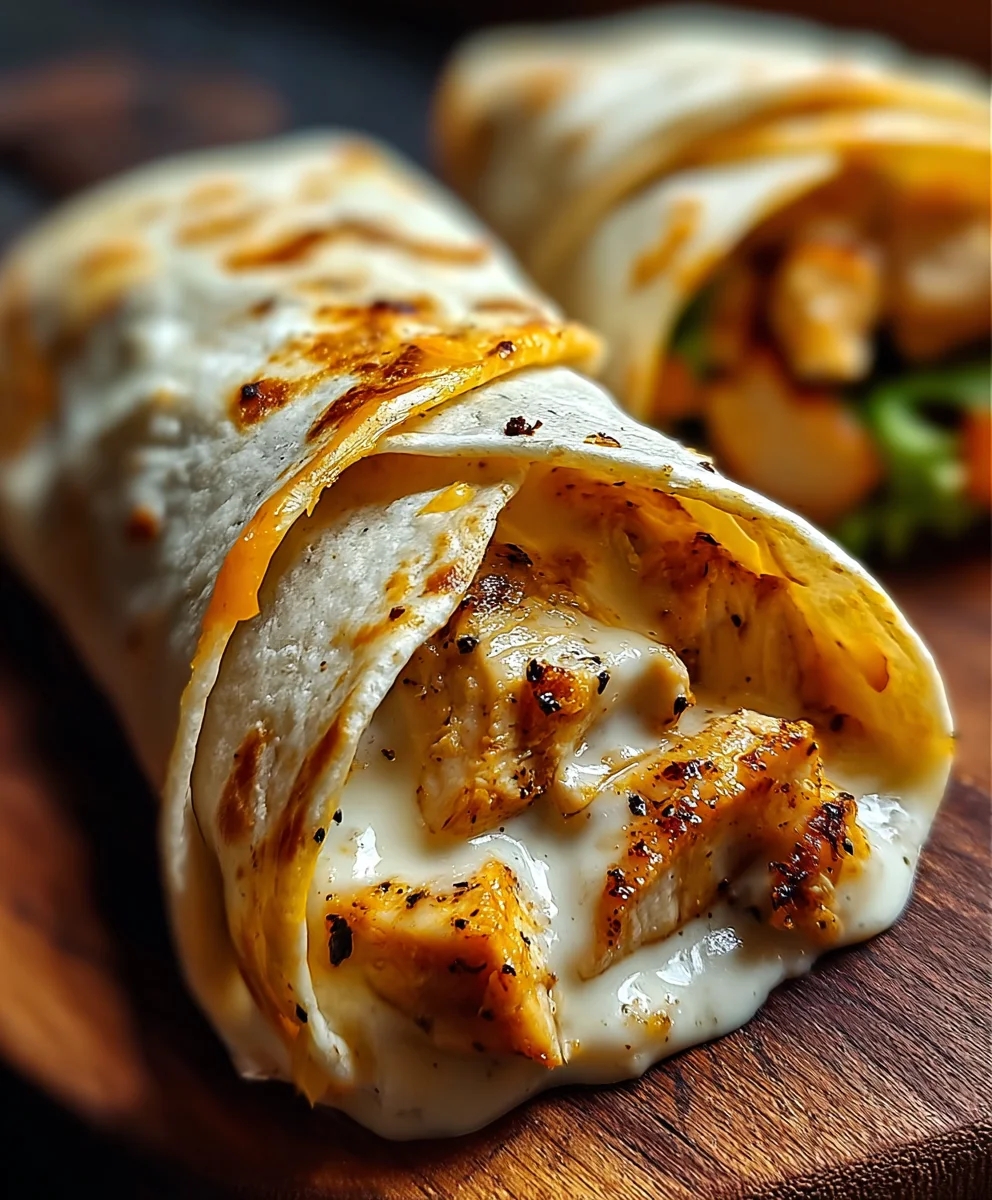
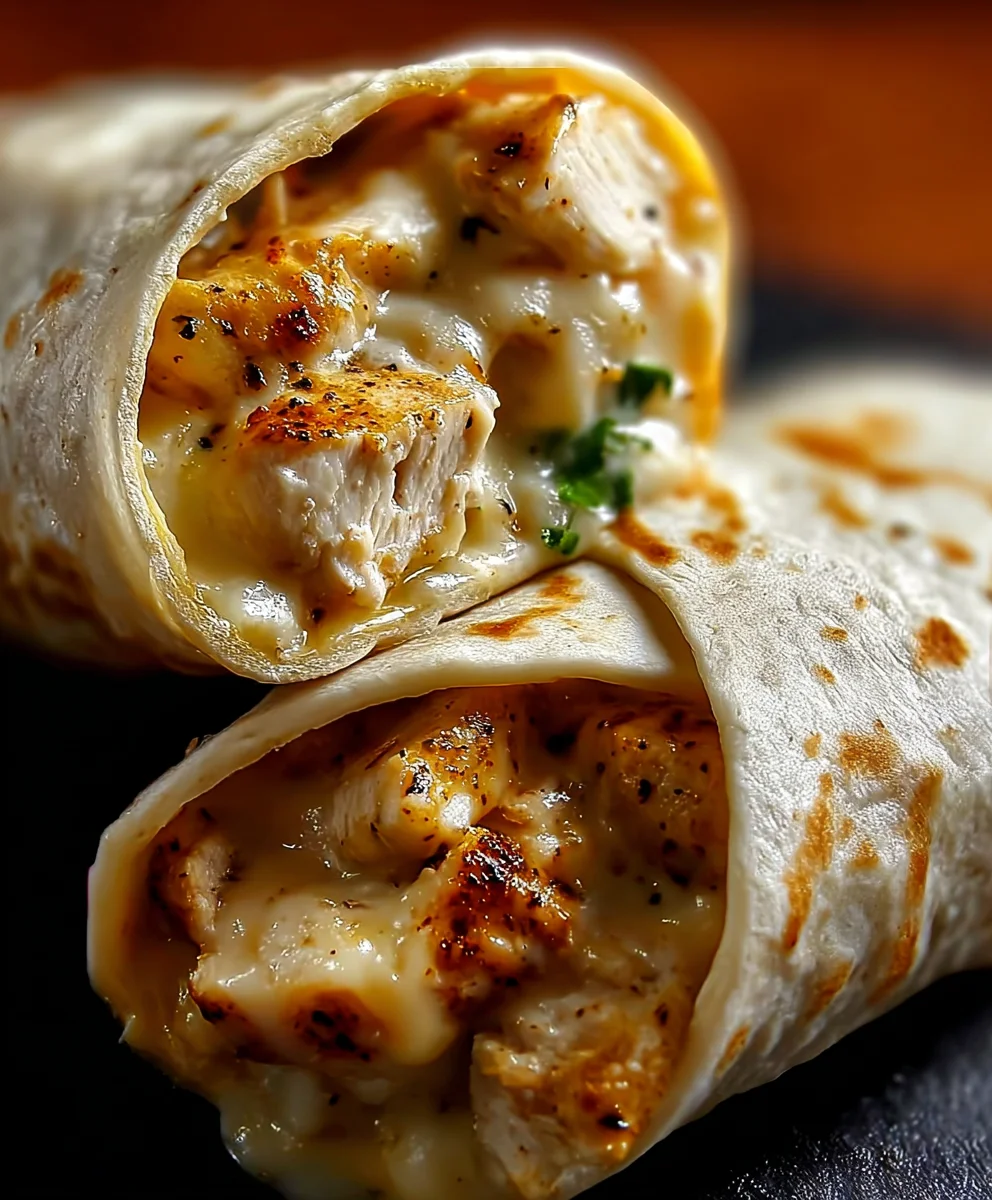
Cheesy Garlic Chicken Wraps – Easy & Delicious Recipe
Cheesy Garlic Chicken Wraps are an absolute game-changer for any weeknight meal, a true crowd-pleaser that always disappears in a flash. There’s something inherently comforting and satisfying about the perfect combination of tender, garlicky chicken enveloped in a warm tortilla, all brought together with a generous blanket of melted cheese. It’s the kind of dish that evokes cozy evenings and happy gatherings. What makes these Cheesy Garlic Chicken Wraps so special isn’t just their incredible flavor profile, which hits all the right notes of savory, garlicky goodness, but also their remarkable versatility and ease of preparation. Whether you’re a seasoned home cook or just starting out in the kitchen, this recipe delivers big on taste without requiring hours of effort. Get ready to discover your new go-to meal!
Ingredients:
- 2 cups cooked chicken (shredded or diced)
- 1 ½ cups shredded mozzarella or cheddar cheese
- ¼ cup cream cheese (softened)
- 2 tbsp butter (melted)
- 3 cloves garlic (minced)
- ¼ cup sour cream
- 1 tsp garlic powder
- 1 tsp Italian seasoning
- 4 large tortillas
- Salt and pepper (to taste)
- Fresh parsley (for garnish, optional)
Preparing the Cheesy Garlic Chicken Filling
Step 1: Sautéing the Garlic
The foundation of these delicious wraps is a flavorful garlic-infused base. Begin extract by placing a medium-sized skillet over medium heat. Add your 2 tablespoons of melted butter to the warm pan. Once the butter is shimmering, carefully add your 3 cloves of minced garlic. We want to gently sauté the garlic, not burn it. Stir the garlic constantly for about 30-60 seconds until it becomes fragrant. You’ll know it’s ready when it smells wonderfully aromatic but hasn’t started to turn brown. This quick sautéing process releases the potent flavor of the garlic without any harshness. If the garlic starts to brown too quickly, reduce the heat immediately.
Step 2: Creating the Creamy Garlic Base
Once your garlic is perfectly fragrant, it’s time to build the creamy binder for our chicken. Reduce the heat to low. Add the ¼ cup of softened cream cheese to the skillet with the sautéed garlic and melted butter. Stir continuously, allowing the cream cheese to melt and combine with the butter and garlic. This creates a smooth, luscious base. Once the cream cheese has mostly melted, gradually stir in the ¼ cup of sour cream. Continue to stir until everything is well incorporated and you have a smooth, creamy sauce. Don’t worry if there are a few small lumps of cream cheese initially; they will melt as they heat.
Step 3: Infusing with Seasonings and Adding Chicken
Now, let’s elevate the flavor profile of our filling. Sprinkle in 1 teaspoon of garlic powder and 1 teaspoon of Italian seasoning into the creamy mixture. Stir these spices in thoroughly to ensure they are evenly distributed. The garlic powder will amplify the garlic flavor, while the Italian seasoning will add a lovely herbaceous note. Next, add your 2 cups of cooked chicken, whether it’s shredded or diced, to the skillet. Stir the chicken into the creamy, garlicky sauce, ensuring every piece is coated. Continue to cook over low heat for another 2-3 minutes, allowing the chicken to heat through and absorb the flavors of the sauce. Season generously with salt and pepper to taste at this point. Remember, you can always add more, so start with a good pinch of each and adjust as needed.
Step 4: Melting the Cheese
The “cheesy” in Cheesy Garlic Chicken Wraps is crucial! Add your 1 ½ cups of shredded mozzarella or cheddar cheese (or a combination of both for extra deliciousness!) to the skillet with the chicken and creamy sauce. Stir gently until the cheese is completely melted and gooey, coating the chicken in a glorious, cheesy embrace. This step is where the magic truly happens, creating that irresistible pull and rich texture. Make sure to keep the heat low to prevent the cheese from becoming oily or stringy. Continue stirring until you have a beautifully cohesive and cheesy chicken mixture.
Assembling and Grilling the Wraps
Step 5: Assembling and Grilling the Wraps
Lay out your 4 large tortillas on a clean surface. Divide the warm, cheesy chicken filling evenly among the tortillas, placing it slightly off-center on each one. Fold the sides of the tortilla inward over the filling, then roll it up tightly from the bottom. To achieve a golden-brown, slightly crispy exterior, you have a couple of options. You can either place the assembled wraps seam-side down in a lightly greased skillet over medium-low heat and cook for 2-3 minutes per side until golden and warmed through, or you can place them on a baking sheet and bake at 375°F (190°C) for about 5-7 minutes, or until the tortillas are lightly toasted and the cheese is bubbling. For an extra touch, sprinkle with fresh chopped parsley just before serving for a pop of color and freshness. Enjoy these warm and satisfying Cheesy Garlic Chicken Wraps!
Conclusion:
There you have it! Our Cheesy Garlic Chicken Wraps recipe is a fantastic weeknight meal that’s both comforting and incredibly satisfying. The tender chicken, infused with fragrant garlic and smothered in melted cheese, all wrapped up in a warm tortilla, creates a symphony of flavors and textures that your whole family will adore. We’ve walked through each simple step, and I’m confident you’ll find this recipe to be a go-to favorite in no time.
For serving, these wraps are perfect on their own, but they also pair wonderfully with a crisp green salad, some crunchy tortilla chips, or a side of your favorite salsa. Don’t be afraid to get creative with variations! You can swap out the chicken for turkey or even plant-based chicken alternatives. Add some sautéed mushrooms, bell peppers, or a sprinkle of jalapeños for an extra kick. The possibilities are endless!
I encourage you to give these Cheesy Garlic Chicken Wraps a try. They’re designed to be easy, adaptable, and most importantly, delicious. Happy cooking!
Frequently Asked Questions about Cheesy Garlic Chicken Wraps:
Can I make the chicken ahead of time?
Absolutely! You can cook the chicken and prepare the garlic mixture a day in advance. Store them separately in airtight containers in the refrigerator. When you’re ready to assemble, simply reheat the chicken mixture and proceed with the recipe. This makes assembly even quicker!
What kind of tortillas work best for these wraps?
We recommend using standard-sized flour tortillas, as they are flexible and hold all the delicious filling well without tearing. However, you can also experiment with whole wheat, spinach, or even gluten-free tortillas if you have dietary preferences or needs.
Cheesy Garlic Chicken Wraps – Easy & Delicious Recipe
Enjoy these easy and delicious cheesy garlic chicken wraps, perfect for a quick and satisfying meal.
Ingredients
-
2 cups cooked chicken (shredded or diced)
-
1 ½ cups shredded mozzarella or cheddar cheese
-
¼ cup cream cheese (softened)
-
2 tbsp butter (melted)
-
3 cloves garlic (minced)
-
¼ cup sour cream
-
1 tsp garlic powder
-
1 tsp Italian seasoning
-
4 large tortillas
-
Salt and pepper (to taste)
-
Fresh parsley (for garnish, optional)
Instructions
-
Step 1
Sauté minced garlic in melted butter over medium heat for 30-60 seconds until fragrant, being careful not to burn it. -
Step 2
Reduce heat to low, add softened cream cheese, and stir until melted and smooth. Gradually stir in sour cream until a creamy sauce forms. -
Step 3
Stir in garlic powder and Italian seasoning. Add cooked chicken, ensuring it’s coated in the sauce. Cook for 2-3 minutes over low heat. Season with salt and pepper to taste. -
Step 4
Add shredded cheese to the skillet and stir gently until completely melted and gooey, coating the chicken. -
Step 5
Lay out tortillas, divide the chicken filling evenly, fold sides inward, and roll tightly. Grill seam-side down in a lightly greased skillet over medium-low heat for 2-3 minutes per side until golden, or bake at 375°F (190°C) for 5-7 minutes. -
Step 6
Garnish with fresh parsley if desired and serve warm.
Important Information
Nutrition Facts (Per Serving)
It is important to consider this information as approximate and not to use it as definitive health advice.
Allergy Information
Please check ingredients for potential allergens and consult a health professional if in doubt.