Easy Strawberry Danish Recipe – Flaky & Delicious
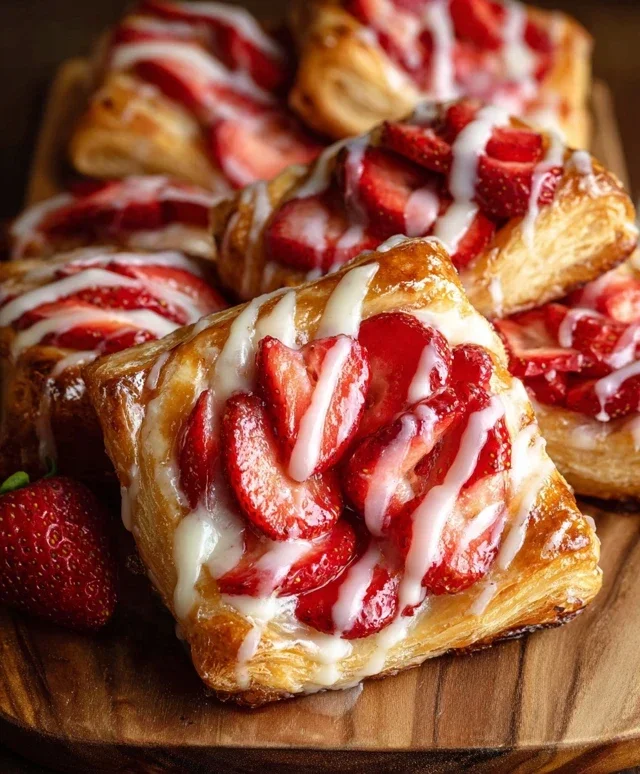
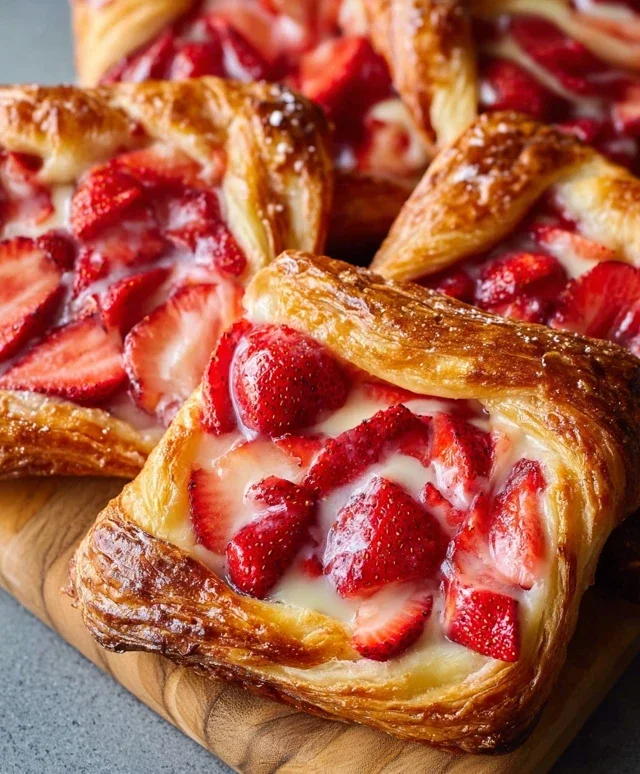
Strawberry Danish perfection awaits! There’s something undeniably magical about a Strawberry Danish, isn’t there? That delicate, flaky pastry cradling a sweet, slightly tart strawberry filling, all finished with a glistening glaze – it’s a little slice of heaven that transports me straight to a Parisian bakery with every bite. People adore this treat for so many reasons: its elegant simplicity, the delightful contrast of textures and flavors, and its ability to elevate any breakfast, brunch, or afternoon tea into a truly special occasion. What truly makes a homemade Strawberry Danish stand out is the love and care you put into it, transforming simple ingredients into a masterpiece that’s far more rewarding than anything store-bought. I’m thrilled to share my recipe with you today, so you can experience that same joy of creating and savoring your own perfect Strawberry Danish.
Strawberry Danish Recipe
There’s something undeniably special about a Strawberry Danish. The flaky, buttery pastry, the sweet and slightly tart strawberry filling, and that creamy, luscious cheese layer – it’s a symphony of textures and flavors that feels both elegant and comforting. Whether you’re looking for a delightful weekend brunch treat, a sophisticated dessert, or just a way to brighten your afternoon, this Strawberry Danish recipe is sure to impress. Best of all, using store-bought puff pastry makes this recipe surprisingly approachable, even for novice bakers. Let’s get started on creating these little pockets of joy!
Ingredients:
Preparing the Strawberry Filling
The foundation of any great Danish is its filling. For these Strawberry Danishes, we’ll create a vibrant and slightly thickened strawberry mixture that’s bursting with fresh flavor.
1. In a medium bowl, combine the 4 cups of sliced strawberries with 1 tablespoon of cornstarch and 1 tablespoon of sugar. Gently toss everything together to ensure the strawberries are evenly coated. The cornstarch is crucial here; it will absorb some of the juices released by the strawberries as they cook, creating a wonderfully jammy consistency rather than a watery mess. The added sugar will enhance the natural sweetness of the berries. If your strawberries are particularly tart, you might want to add a touch more sugar to your preference. Allow this mixture to sit for about 10-15 minutes while you prepare the cream cheese filling. This resting period will allow the juices to start drawing out of the strawberries, which helps the cornstarch begin extract its thickening magic.
Creating the Cream Cheese Layer
The cream cheese layer adds a delightful tang and a creamy counterpoint to the sweet strawberries and crisp pastry.
2. In a separate bowl, beat together the softened cream cheese, ½ cup of powdered sugar, and 1 teaspoon of vanilla extract until smooth and creamy. It’s essential that your cream cheese is truly at room temperature for this step. Cold cream cheese can be lumpy and difficult to incorporate smoothly, which will impact the texture of your filling. You can achieve room temperature cream cheese by leaving it out on the counter for about an hour, or by quickly softening it in the microwave for very short bursts (10-15 seconds at a time), being careful not to melt it. Whip this mixture with a hand mixer or a sturdy whisk until it’s light and airy. This creates a luscious, spreadable filling that will hold its shape beautifully during baking.
Assembling the Danishes
Now comes the fun part – assembling these beautiful pastries! Puff pastry can seem intimidating, but with a few simple steps, you’ll have impressive-looking Danishes.
3. Gently unfold your thawed puff pastry sheets onto a lightly floured surface. If your puff pastry is still cold and stiff, let it sit at room temperature for a few minutes to become more pliable. Puff pastry is best handled when it’s cool but not rigid. Carefully cut each sheet into four equal squares, so you end up with eight squares in total. Take each square and gently score a border about ½ inch from the edge, being careful not to cut all the way through. This border will create a slight lip to hold in the filling. You can use the back of a knife or a pastry wheel for this. Next, prick the inside of each scored square several times with a fork. This step prevents the center from puffing up too much while the edges create those lovely, raised borders.
4. Now, it’s time to fill our pastry squares! Spread a generous tablespoon of the cream cheese mixture onto the center of each puff pastry square, staying within the scored border. Then, spoon a good portion of the strawberry mixture over the cream cheese. Don’t overfill, or your filling might spill out during baking. We want a nice balance of pastry, cream cheese, and strawberries. If you opted for the optional strawberry jam topping, you can spoon a tiny bit of that over the strawberries now for an extra burst of fruitiness and a glossy finish. Brush the scored edges of the puff pastry with the lightly beaten egg wash. This egg wash is your secret weapon for achieving that beautiful golden-brown color and a lovely sheen on your Danishes. If you like a little sparkle, you can sprinkle the edges with the optional 2-3 tablespoons of sugar at this stage.
Baking and Glazing
The final steps involve baking to golden perfection and adding a touch of sweet elegance with a glaze.
5. Preheat your oven to 400°F (200°C). Carefully transfer the assembled Danishes to a baking sheet lined with parchment paper. Arrange them with enough space between them so they can puff up without touching. Bake for 15-20 minutes, or until the puff pastry is golden brown, puffed, and flaky, and the filling is bubbling slightly. Keep a close eye on them as puff pastry can brown quickly. Once they’re out of the oven, let them cool on the baking sheet for a few minutes before transferring them to a wire rack to cool completely. While the Danishes are cooling, prepare the glaze. In a small bowl, whisk together 1 cup of powdered sugar, ½ teaspoon of vanilla extract, and 2-3 tablespoons of milk. Start with 2 tablespoons of milk and add more, a teaspoon at a time, until you reach your desired drizzling consistency. You want a glaze that is thick enough to hold its shape but fluid enough to drizzle easily. Once the Danishes have cooled almost completely, drizzle the glaze generously over the top. This final touch adds a beautiful finish and an extra layer of sweetness that ties everything together. Enjoy your homemade Strawberry Danishes!
Conclusion:
And there you have it – a delightful and surprisingly achievable Strawberry Danish recipe that’s sure to impress! This recipe offers the perfect balance of flaky, buttery puff pastry, a sweet and slightly tart strawberry filling, and a hint of creamy richness. It’s the ideal treat for a special breakfast, a sophisticated afternoon tea, or a sweet ending to any meal. The versatility of this Strawberry Danish means you can customize it to your heart’s content, making it your own personal masterpiece. I truly encourage you to give this recipe a try; the joy of baking and enjoying these homemade pastries is incredibly rewarding. You’ll find yourself reaching for this recipe again and again!
Frequently Asked Questions:
Can I use frozen strawberries for this recipe?
Absolutely! Frozen strawberries are a fantastic substitute for fresh. Just be sure to thaw them completely and drain off any excess liquid before adding them to your filling. This helps prevent a watery consistency in your Strawberry Danish.
What other fruits can I use instead of strawberries?
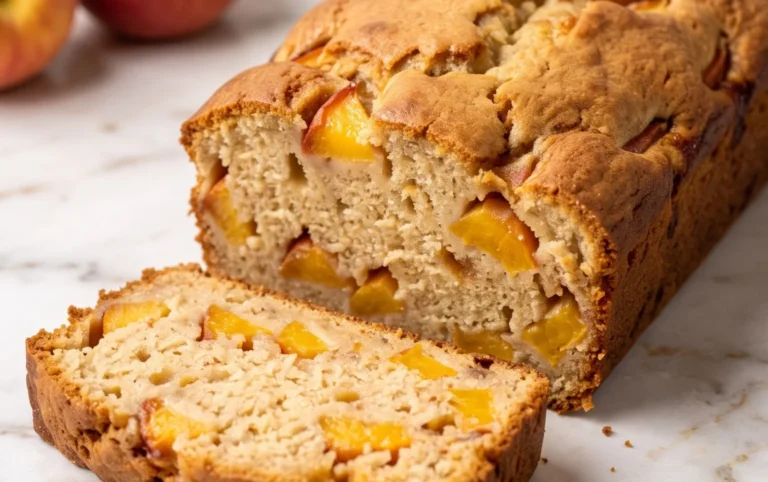
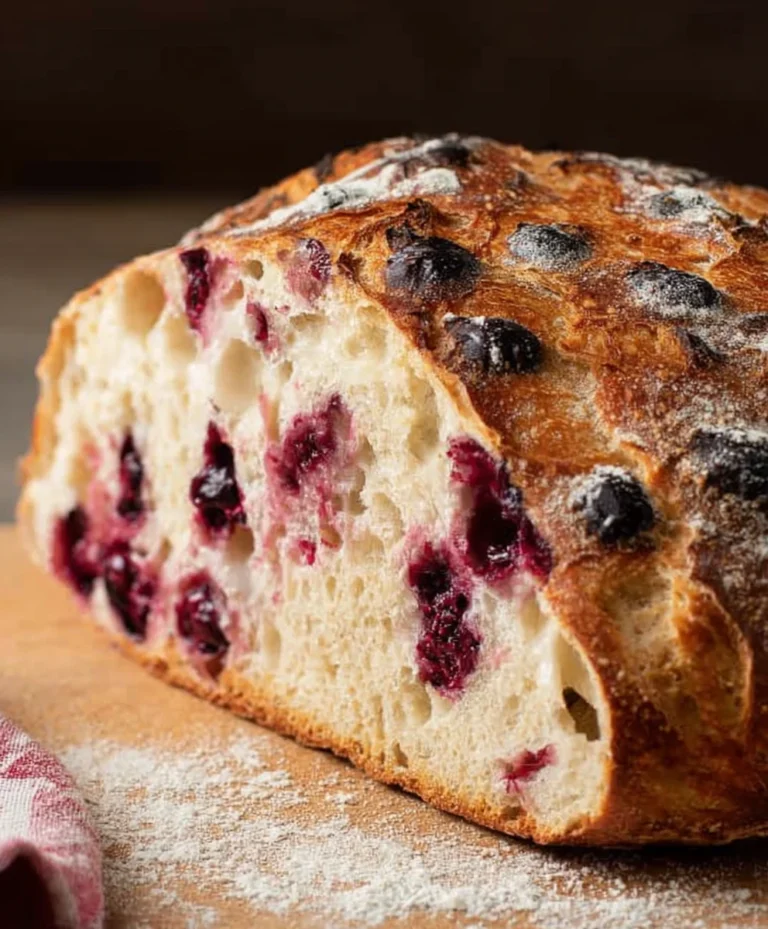
The beauty of this recipe is its adaptability! You can easily swap strawberries for other berries like blueberries, raspberries, or a mix. Sliced peaches, apples (cooked down slightly first), or even cherries would also make delicious variations.
How should I store leftover Strawberry Danishes?
For the best texture, it’s ideal to enjoy your Strawberry Danishes fresh. However, if you have leftovers, store them in an airtight container at room temperature for up to two days. For longer storage, you can refrigerate them, but the pastry may lose some of its crispness.
Strawberry Danish Recipe
Delicious homemade strawberry danishes with flaky puff pastry and a sweet cream cheese filling.
Ingredients
-
4 cups sliced strawberries
-
1 tablespoon cornstarch
-
1 tablespoon sugar
-
8 oz. (226 g) cream cheese, room temperature
-
½ cup (60 g) powdered sugar
-
1 teaspoon vanilla extract
-
2 puff pastry sheets, thawed
-
1 large egg ( lightly beaten with 1 teaspoon water)
-
2 – 3 tablespoons sugar for topping, optional
-
¼ cup (60 ml) strawberry jam, optional for topping
-
1 cup (120 g) powdered sugar
-
½ teaspoon vanilla extract
-
2 – 3 tablespoons (30 – 45 ml) milk
Instructions
-
Step 1
Preheat oven to 400°F (200°C). Line a baking sheet with parchment paper. -
Step 2
In a medium bowl, combine sliced strawberries, cornstarch, and 1 tablespoon sugar. Stir to coat. Set aside. -
Step 3
In another bowl, beat cream cheese until smooth. Add ½ cup powdered sugar and 1 teaspoon vanilla extract. Beat until well combined and creamy. -
Step 4
Unfold puff pastry sheets. Cut each sheet into four equal squares. Place squares on the prepared baking sheet. -
Step 5
Spoon about 1 tablespoon of cream cheese mixture onto the center of each pastry square. Top with the strawberry mixture. -
Step 6
Fold the corners of the pastry towards the center to create a rustic Danish shape, leaving the filling exposed. Brush the edges of the pastry with the egg wash. -
Step 7
Bake for 15-20 minutes, or until the pastry is golden brown and puffed. -
Step 8
While the danishes are baking, prepare the glaze. Whisk together 1 cup powdered sugar, ½ teaspoon vanilla extract, and milk until a smooth glaze forms. Adjust milk for desired consistency. -
Step 9
Drizzle the glaze over the warm danishes. If using, brush with melted strawberry jam for extra shine. -
Step 10
Optional: Sprinkle with additional sugar before baking for a crunchy topping.
Important Information
Nutrition Facts (Per Serving)
It is important to consider this information as approximate and not to use it as definitive health advice.
Allergy Information
Please check ingredients for potential allergens and consult a health professional if in doubt.