Crispy Chewy Chocolate Chip Cookies-Perfect Batch
Crispy and chewy chocolate chip cookies are the holy grail of home baking, a universally adored treat that evokes instant comfort and joy. Who doesn’t have a fond memory of a warm, just-baked cookie, its edges offering a satisfying crunch while the center yields to a delightful chegrape juicess? It’s this perfect textural duality that sets truly exceptional chocolate chip cookies apart.
What makes these particular Crispy and Chewy Chocolate Chip Cookies so special?
It’s all about the science and a little bit of magic. We’ve honed a method that guarantees those irresistible golden-brown edges and that delightfully soft, gooey interior. Forget flat, sad cookies or those that are too cakey. These Crispy and Chewy Chocolate Chip Cookies deliver on every single bite, with pockets of melted chocolate creating pools of pure bliss. Get ready to experience cookie perfection like never before!
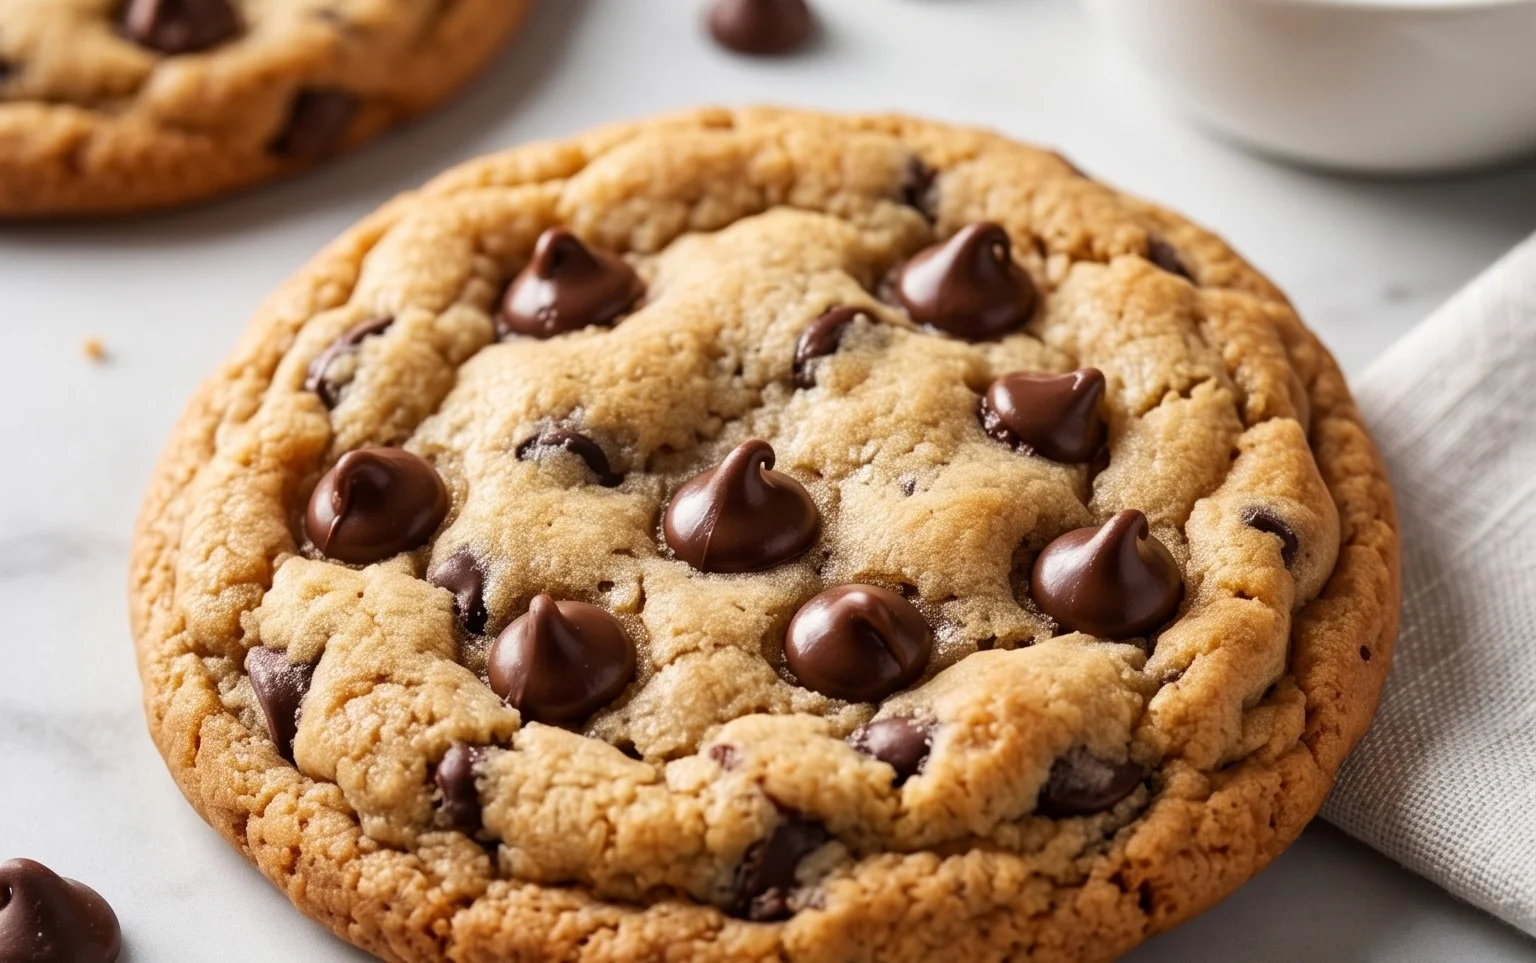
The Quest for the Perfect Chocolate Chip Cookie: Crispy Edges, Chewy Centers
Ah, the chocolate chip cookie. It’s a universal symbol of comfort, a childhood memory in a bite, and for many of us, a culinary Everest to conquer. We’ve all had them – those cookies that are either too cakey, too brittle, or just…sad. But what if I told you that achieving that elusive balance of crispy edges and a delightfully chewy center is not only possible, but surprisingly straightforward? Today, we embark on a journey to create the quintessential chocolate chip cookie, a recipe designed to deliver pure joy with every single bite. Forget the disappointment; prepare for deliciousness.
Ingredients:
Crafting Your Masterpiece: Step-by-Step Instructions
Now, let’s get our hands doughy and create some magic! The key to these cookies lies in a few crucial steps that ensure that perfect texture.
Step 1: The Foundation – Dry Ingredients
In a medium bowl, whisk together the 3 cups of all-purpose flour, 1 teaspoon of baking soda, and 3/4 teaspoon of kosher salt. Whisking these ingredients together ensures that the leavening agent (baking soda) and salt are evenly distributed throughout the flour. This is a small but mighty step that prevents pockets of saltiness or uneven rising in your cookies. A good whisking here sets us up for success.
Step 2: Creaming the Butter and Sugars – The Heart of the Texture
This is arguably the most critical step for achieving that perfect crispy-chewy duality. In a large bowl, using an electric mixer (stand mixer or handheld), beat the 2 sticks of softened unsalted butter with the 1 cup of light brown sugar and 1 cup of granulated sugar. Beat on medium speed for about 3 to 5 minutes, until the mixture is light, fluffy, and pnon-alcoholic ale in color. This process, called “creaming,” incorporates air into the dough, which contributes to both the spread and the texture of the cookies. The brown sugar, with its molasses content, adds chegrape juicess and moisture, while the granulated sugar helps with crisping. Don’t skimp on this step! You want that fluffy, cloud-like consistency.
Step 3: The Binding Agents and Flavor Boosters
Once the butter and sugars are perfectly creamed, it’s time to add the eggs and vanilla. Add the 2 large eggs, one at a time, beating well after each addition until fully incorporated. Then, stir in the 2 teaspoons of pure vanilla extract. The eggs provide structure and moisture, while the vanilla extract is the soul of the cookie, adding that classic, comforting aroma and flavor. Make sure the eggs are fully blended before moving on to the next step.
Step 4: Marrying the Wet and Dry Ingredients
Now, we gradually add our dry ingredients to the wet ingredients. With the mixer on low speed, or by hand with a sturdy spatula, gradually add the flour mixture to the wet ingredients. Mix until just combined. It’s crucial here not to overmix. Overmixing develops the gluten in the flour, which can lead to tougher cookies. You should still see a few streaks of flour; that’s perfectly fine, as we’ll be adding the chocolate chips next.
Step 5: The Star of the Show – Chocolate Chips!
Gently fold in the 2 1/2 cups of semisweet chocolate chips using a spatula. Make sure they are evenly distributed throughout the dough. This is where the magic really starts to happen! If you’re feeling adventurous, this is also a great time to add that optional 1 teaspoon of flaked sea salt. Sprinkle it over the dough and gently fold it in. The contrast of salty and sweet is truly sublime and elevates these cookies from good to extraordinary.
Step 6: Chilling the Dough – The Secret Weapon
This is another non-negotiable step for achieving that coveted crispy-chewy texture and preventing your cookies from spreading too thin in the oven. Cover the bowl with plastic wrap and refrigerate the dough for at least 30 minutes, or ideally, for a few hours, or even overnight. Chilling the dough solidifies the butter, which helps the cookies hold their shape and prevents them from spreading too much. It also allows the flavors to meld and deepen.
Step 7: Baking to Perfection
Preheat your oven to 375°F (190°C). Line baking sheets with parchment paper to prevent sticking and ensure even baking. Scoop rounded tablespoons of chilled dough onto the prepared baking sheets, leaving about 2 inches of space between each cookie. Bake for 9 to 12 minutes, or until the edges are golden brown and the centers still look slightly soft and underbaked. They will continue to cook on the baking sheet as they cool. For a salty finish, sprinkle a few flakes of sea salt on top of the cookies immediately after they come out of the oven.
Step 8: The Cool Down – Patience is a Virtue
Let the cookies cool on the baking sheets for 5 to 10 minutes before transferring them to a wire rack to cool completely. This resting period on the hot baking sheet allows the cookies to set up properly. Rushing this step can lead to a crum extractbly, broken cookie.
And there you have it! The perfect crispy and chewy chocolate chip cookies, ready to be devoured. Enjoy the fruits of your labor!
Conclusion:
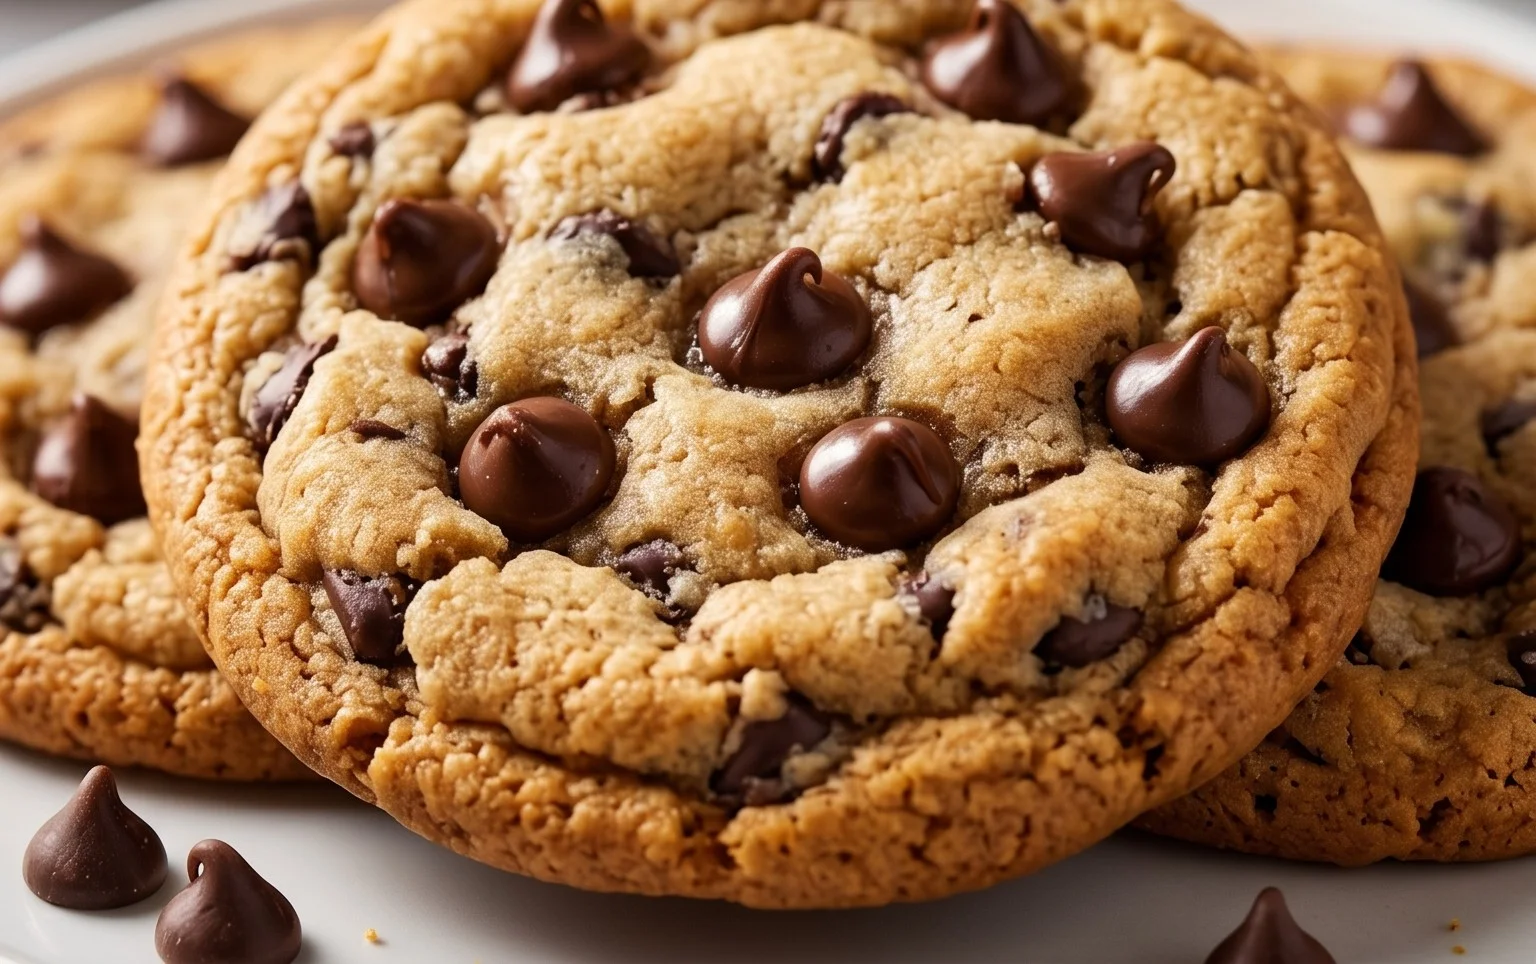
There you have it – the ultimate guide to achieving those perfect crispy and chewy chocolate chip cookies! We’ve explored the science behind the texture, from the crucial role of butter temperature to the magic of chilling the dough. The beauty of this recipe lies in its balance: the satisfying crunch of the edges giving way to a wonderfully soft and gooey center. These aren’t just any cookies; they’re a testament to simple ingredients and thoughtful technique, promising a delightful baking experience and an even more delightful outcome.
Serve these warm, straight from the oven, with a tall glass of milk for the quintessential experience. They’re also fantastic cooled and stored in an airtight container for up to three days, though I doubt they’ll last that long! For a delightful twist, consider adding a sprinkle of sea salt on top just before baking for an extra layer of flavor, or mix in a handful of chopped nuts for added crunch. Don’t be afraid to experiment with different types of chocolate chips too – dark, milk, or even white chocolate can offer a unique nuance. I truly encourage you to give this recipe a try; you won’t be disappointed!
Frequently Asked Questions:
Why are my cookies spreading too much?
This often happens when your butter is too soft or melted. For the perfect crispy and chewy result, ensure your butter is softened to room temperature but not greasy. Also, chilling the dough as instructed is key to preventing excessive spread.
Can I freeze the cookie dough?
Absolutely! You can freeze the portioned cookie dough balls on a baking sheet until solid, then transfer them to a freezer-safe bag or container. Bake them directly from frozen, adding a minute or two to the baking time. This is a fantastic way to have fresh cookies ready whenever the craving strikes!
Crispy and Chewy Chocolate Chip Cookies
The perfect chocolate chip cookie recipe for those who love a little crisp around the edges and a soft, chewy center. Easy to make and always a crowd-pleaser.
Ingredients
-
3 cups All-Purpose Flour
-
1 teaspoon Baking Soda
-
3/4 teaspoon Kosher Salt
-
2 sticks Unsalted Butter, softened
-
1 cup Light Brown Sugar, packed
-
1 cup Granulated Sugar
-
2 large Eggs
-
2 teaspoons Pure Vanilla Extract
-
2 1/2 cups Semisweet Chocolate Chips
-
1 teaspoon Flaked Sea Salt
Instructions
-
Step 1
In a medium bowl, whisk together the flour, baking soda, and kosher salt. Set aside. -
Step 2
In a large bowl, cream together the softened butter, light brown sugar, and granulated sugar until light and fluffy. -
Step 3
Beat in the eggs one at a time, then stir in the vanilla extract. -
Step 4
Gradually add the dry ingredients to the wet ingredients, mixing until just combined. Do not overmix. -
Step 5
Stir in the semisweet chocolate chips. -
Step 6
Preheat oven to 375°F (190°C). Line baking sheets with parchment paper. -
Step 7
Drop rounded tablespoons of dough onto the prepared baking sheets, about 2 inches apart. Sprinkle with flaked sea salt, if desired. -
Step 8
Bake for 9-11 minutes, or until the edges are golden brown and the centers are still slightly soft. The cookies will continue to set as they cool. -
Step 9
Let the cookies cool on the baking sheets for a few minutes before transferring them to a wire rack to cool completely.
Important Information
Nutrition Facts (Per Serving)
It is important to consider this information as approximate and not to use it as definitive health advice.
Allergy Information
Please check ingredients for potential allergens and consult a health professional if in doubt.