Easy Chocolate Protein Pudding Recipe-Healthy Treat
Chocolate Protein Pudding is about to become your new favorite guilt-free indulgence!
Why You’ll Love This Chocolate Protein Pudding Recipe:
Let’s be honest, who doesn’t crave a rich, decadent chocolate treat? But what if you could satisfy that craving while also fueling your body with essential protein? That’s where this magical Chocolate Protein Pudding comes in. It’s the perfect solution for those moments when you need a healthy dessert, a post-workout recovery snack, or even a satisfying breakfast.
What Makes It So Special?
Unlike typical sugary puddings, our Chocolate Protein Pudding is packed with wholesome ingredients that contribute to muscle repair and satiety. It’s incredibly easy to whip up, requiring minimal effort for maximum deliciousness. Imagin extracte a creamy, smooth texture with an intense chocolate flavor that will have you questioning if it’s truly as healthy as it tastes. Get ready to discover your new go-to recipe for a delicious and nutritious chocolate fix!
Chocolate Protein Pudding Recipe
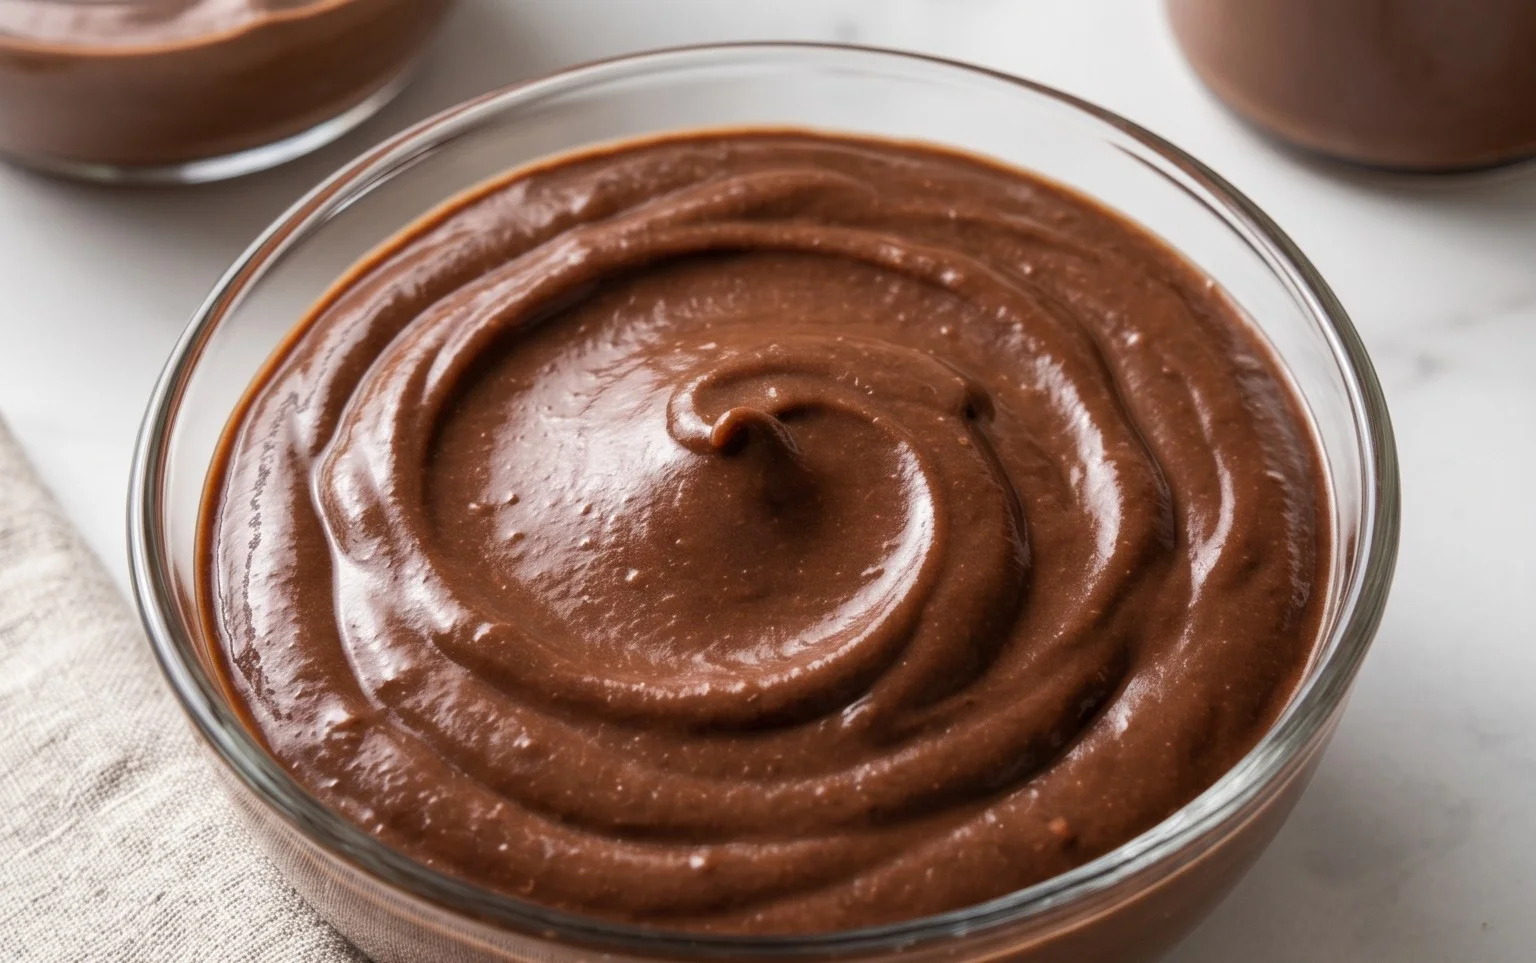
Are you looking for a delicious and satisfying way to boost your protein intake? Do you have a sweet tooth that craves chocolate but want to make a healthier choice? Look no further! This Chocolate Protein Pudding recipe is your answer. It’s incredibly simple to make, requires no baking, and is packed with protein to keep you feeling full and energized. It’s the perfect treat for post-workout recovery, a healthy dessert option, or even a substantial breakfast when you’re on the go. Forget those sugary store-bought puddings; this homemade version is creamy, rich, and customizable to your liking.
Ingredients:
Instructions:
This recipe is designed for maximum flavor and minimal effort. The beauty of this pudding lies in its versatility. You can adjust the sweetness and the chocolate intensity to perfectly suit your palate. Let’s get started on creating this decadent yet healthy treat.
Step 1: Gather and Prepare Your Ingredients
Before you begin extract mixing, ensure all your ingredients are readily available. Measure out your Greek yogurt. If you’re using plain Greek yogurt, you’ll have more control over the sweetness and flavor profile. However, vanilla Greek yogurt can add a lovely subtle vanilla note and a touch of sweetness, so feel free to use that if it’s what you have on hand. Measure out your chocolate protein powder. The amount of protein powder can sometimes vary slightly in scoop size depending on the brand, so aim for approximately 2 to 3 tablespoons per scoop for consistency. Have your unsweetened cocoa powder, vanilla extract, and maple syrup measured out as well. Using unsweetened cocoa powder is key here, as it allows you to control the overall sweetness of the pudding. If you use sweetened cocoa powder, you might find your pudding becomes too sweet, especially with the addition of maple syrup.
Step 2: Combine the Base Ingredients
In a large mixing bowl, add the 5 cups of Greek yogurt. This will form the creamy base of our pudding. If your Greek yogurt is very thick, you can stir it briefly to loosen it up before adding the other ingredients. Next, add the 4 scoops of chocolate protein powder. It’s best to add the protein powder gradually and mix as you go to prevent clumps. Spoon in the 3 to 4 tablespoons of unsweetened cocoa powder. The amount of cocoa powder you use will determine the depth of the chocolate flavor. Start with 3 tablespoons if you prefer a milder chocolate taste, and add the fourth tablespoon if you crave a more intense, dark chocolate experience. Finally, add the 1 teaspoon of vanilla extract. Vanilla extract enhances the overall flavor profile and complements the chocolate beautifully.
Step 3: Mix and Sweeten
This is where the magic happens. Using a whisk or a sturdy spoon, begin extract to thoroughly combine all the ingredients. Start by gently mixing the protein powder and cocoa powder into the yogurt. You want to ensure there are no dry pockets of powder remaining. Continue mixing until the mixture is smooth and homogenous, with a consistent color throughout. Now it’s time to sweeten. Add the 2 tablespoons of maple syrup. Maple syrup provides a natural sweetness and a delightful caramel undertone that pairs wonderfully with chocolate. If you prefer a sweeter pudding, you can add an additional tablespoon of maple syrup. However, taste as you go, as the sweetness of the protein powder itself can vary. If you find the pudding is not sweet enough for your liking, you can add more maple syrup, or even a touch of a sugar-free sweetener if you’re watching your sugar intake.
Step 4: Achieve the Perfect Pudding Consistency
Once all the ingredients are incorporated and you’ve adjusted the sweetness, continue to mix vigorously. The goal is to create a smooth, thick, pudding-like consistency. If the mixture seems a bit too thick for your liking, you can add a tablespoon or two of milk (dairy or non-dairy) or even a little water to thin it out. Conversely, if it’s too thin, you can let it sit in the refrigerator for a while, as it will thicken up. Another trick for a thicker pudding is to ensure you’re using a good quality, thick Greek yogurt. Don’t be afraid to really whisk and stir until you achieve that desired velvety texture. This process may take a few minutes, so be patient. You’re aiming for a consistency that coats the back of your spoon.
Step 5: Chill and Serve
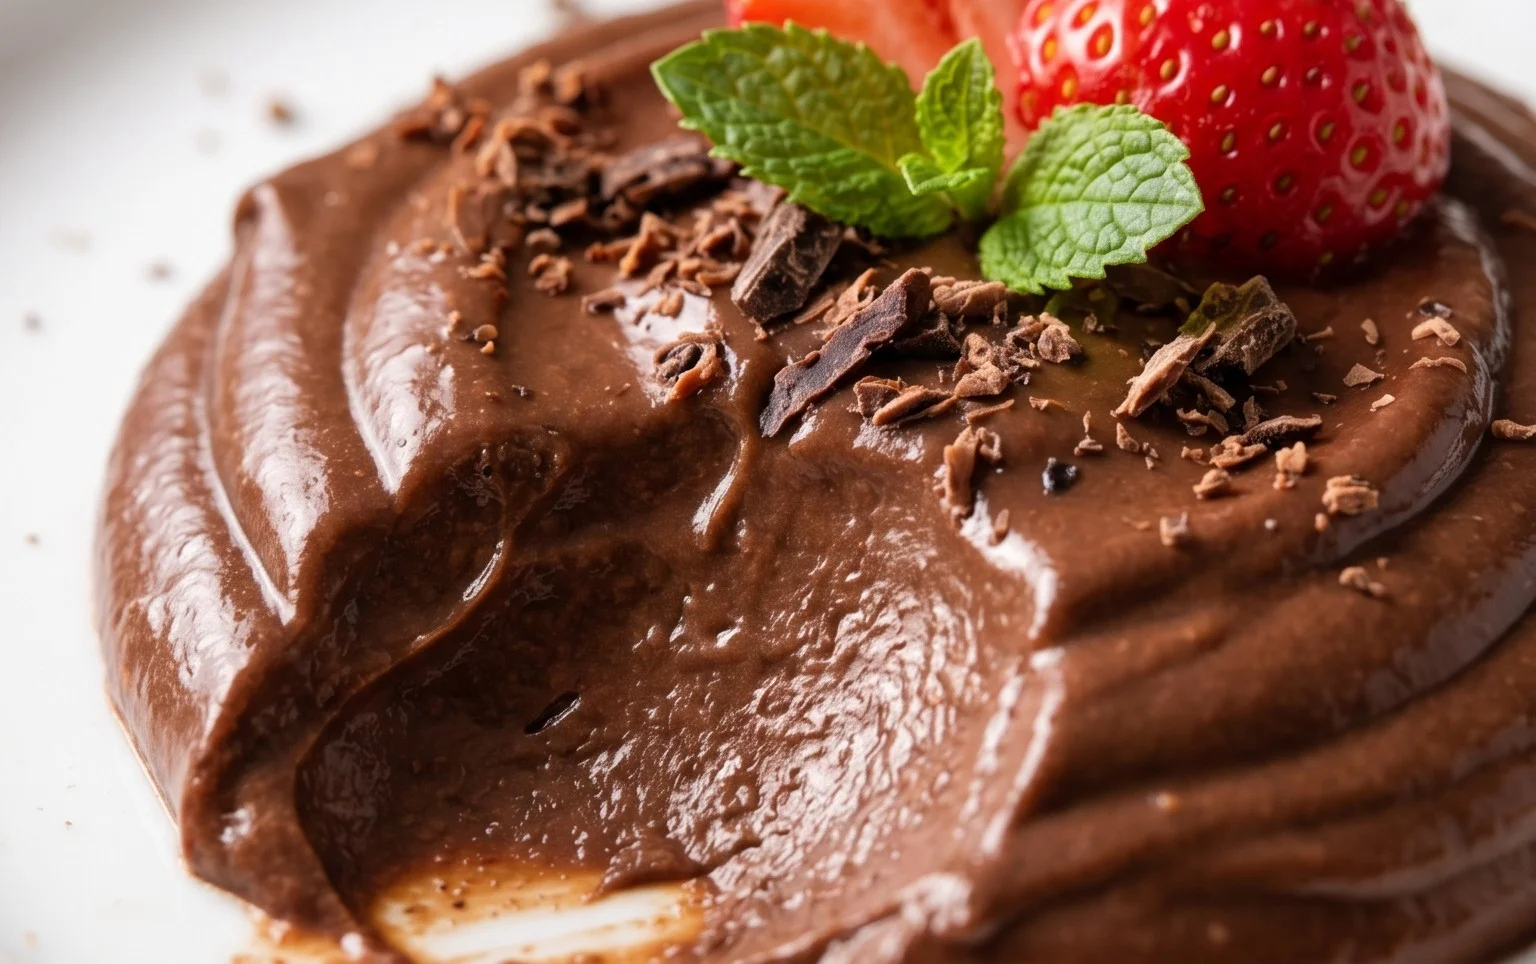
Once you are happy with the texture and sweetness of your chocolate protein pudding, it’s time to let it chill. Transfer the pudding into individual serving bowls or one large container. Cover the bowls or container with plastic wrap or a lid, pressing the plastic wrap directly onto the surface of the pudding to prevent a skin from forming. Place the pudding in the refrigerator for at least 30 minutes to an hour. This chilling time is crucial for the flavors to meld together and for the pudding to set to its perfect pudding consistency. The colder it is, the more delicious it will be! Once chilled, you can serve it as is, or get creative with toppings. Consider fresh berries, a sprinkle of dark chocolate shavings, a dollop of whipped cream (dairy or coconut), or a scattering of nuts for added crunch and healthy fats. Enjoy this guilt-free, protein-packed indulgence!
Conclusion:
And there you have it! This delicious Chocolate Protein Pudding Recipe is a game-changer for anyone looking for a healthy, satisfying, and utterly decadent treat. Its simplicity, requiring just a few ingredients and minimal effort, makes it a perfect option for busy weeknights or a quick post-workout refuel. The rich, chocolatey flavor combined with a significant protein boost will leave you feeling guilt-free and completely content. I absolutely love how versatile this pudding is; it’s not just a dessert, but a fantastic base for numerous culinary creations.
For serving, I highly recommend topping it with fresh berries like raspberries or strawberries for a burst of freshness and color. A sprinkle of chopped nuts, like almonds or walnuts, adds a delightful crunch. You could also swirl in a spoonful of Greek yogurt for extra creaminess and tang, or even top it with a dollop of whipped coconut cream for an indulgent finish. Don’t be afraid to experiment with variations! Add a pinch of cinnamon for a spiced chocolate kick, a splash of peppermint extract for a refreshing twist, or even a tablespoon of your favorite nut butter for added flavor and healthy fats. This Chocolate Protein Pudding Recipe is truly a canvas for your creativity!
I truly encourage you to give this recipe a try. It’s a testament to how healthy eating can also be incredibly enjoyable and satisfying. Let me know in the comments how you choose to serve or vary yours!
Frequently Asked Questions:
Can I make this pudding ahead of time?
Absolutely! This pudding is perfect for meal prep. I usually make a batch at the begin extractning of the week and store it in individual containers in the refrigerator. It holds up wonderfully for 3-4 days, making it a convenient grab-and-go snack or dessert whenever you need it.
What kind of protein powder works best?
I’ve found that most chocolate or unflavored whey protein powders work exceptionally well, providing a smooth texture and rich flavor. Plant-based protein powders can also be used, though you might need to adjust the liquid slightly to achieve your desired consistency. Experiment with your favorite brand!
Is this recipe suitable for vegans?
Yes, with a small modification! If you use a plant-based protein powder and a dairy-free milk alternative (like almond, oat, or soy milk), this recipe is completely vegan-friendly. Ensure your chocolate flavorings are also dairy-free.
Chocolate Protein Pudding
A rich and creamy chocolate protein pudding, perfect for a healthy dessert or post-workout treat.
Ingredients
-
5 cups Greek yogurt (full-fat, plain or vanilla)
-
4 scoops chocolate protein powder
-
3 to 4 tablespoons unsweetened cocoa powder
-
1 teaspoon vanilla extract
-
2 tablespoons maple syrup
Instructions
-
Step 1
In a large bowl, combine the Greek yogurt and chocolate protein powder. -
Step 2
Add the unsweetened cocoa powder and vanilla extract to the bowl. -
Step 3
Pour in the maple syrup. -
Step 4
Whisk all ingredients together until well combined and smooth. Ensure there are no lumps of protein powder. -
Step 5
Taste and adjust sweetness or cocoa powder if desired. -
Step 6
Spoon the pudding into individual serving dishes or a single container. -
Step 7
Chill in the refrigerator for at least 30 minutes before serving to allow it to set.
Important Information
Nutrition Facts (Per Serving)
It is important to consider this information as approximate and not to use it as definitive health advice.
Allergy Information
Please check ingredients for potential allergens and consult a health professional if in doubt.