Easy Homemade Lemon Sorbet Recipe – Refreshing Treat
Lemon sorbet is more than just a frozen dessert; it’s a burst of pure sunshine in every spoonful, a delightful reset button for your palate. There’s something undeniably magical about this classic treat, isn’t there? Its vibrant tangin extractess, perfectly balanced with just the right amount of sweetness, cuts through richness and refreshes like no other. We absolutely adore lemon sorbet because it’s incredibly versatile – a fantastic palate cleanser between courses, a light and elegant dessert on its own, or even a delightful addition to a summer cocktail. What truly makes this lemon sorbet recipe special is its incredible simplicity and the way it celebrates the bright, zesty essence of fresh lemons. Get ready to create a dessert that’s both sophisticated and refreshingly simple.
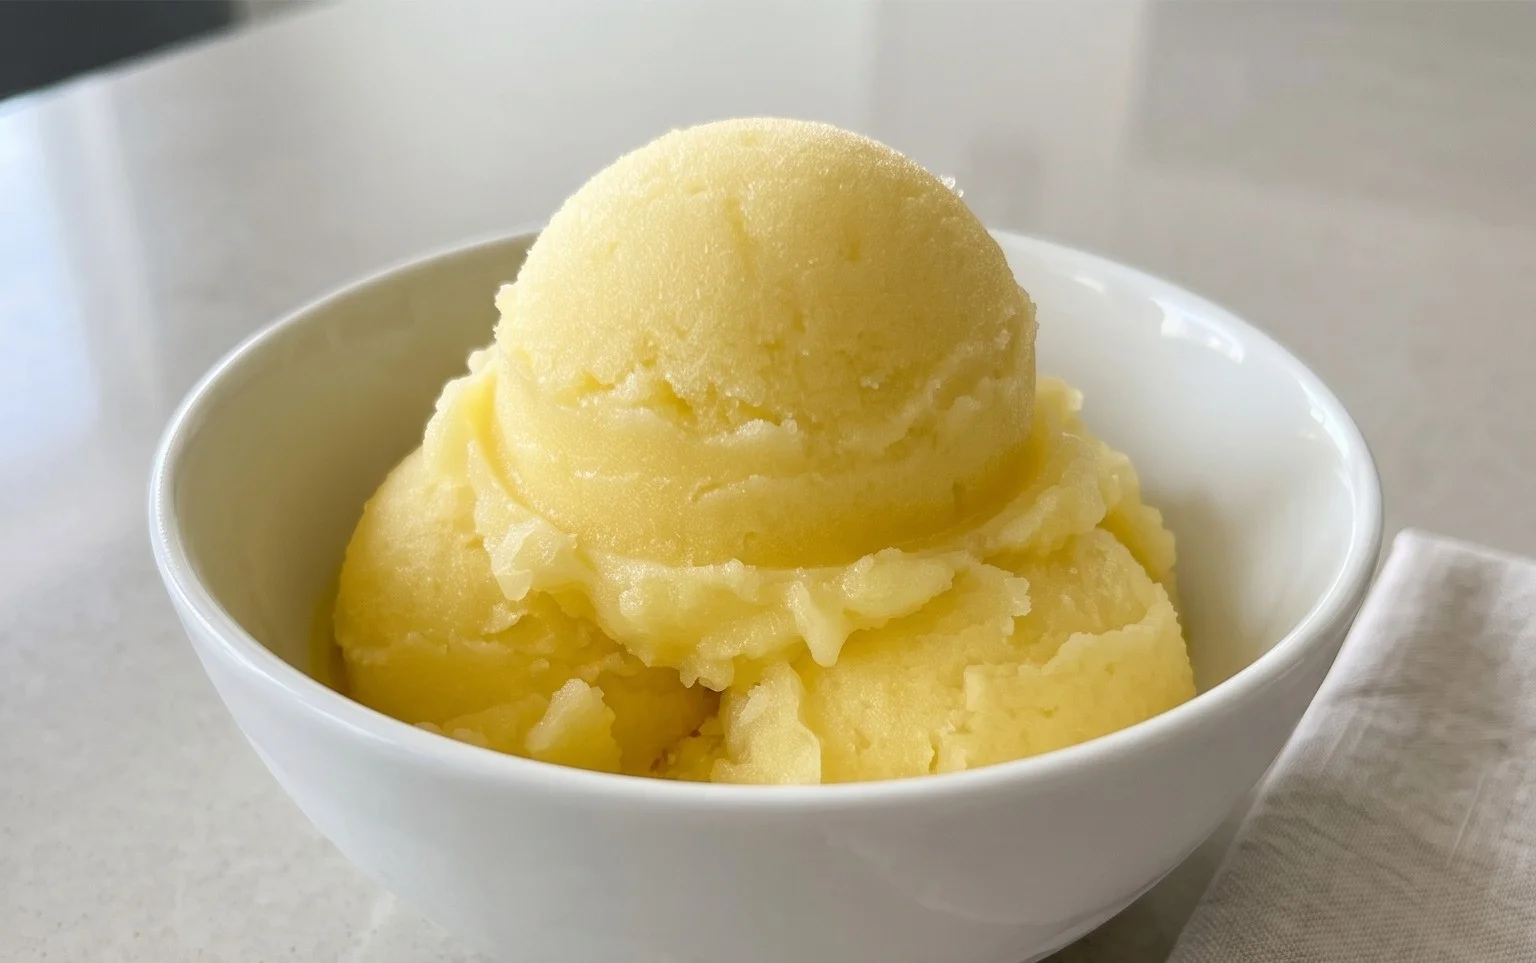
Lemon Sorbet
There’s something utterly magical about a perfectly chilled, intensely flavored sorbet. It’s the quintessential palate cleanser, the refreshing antidote to a rich meal, and a delightful treat on a warm afternoon. And when it comes to sorbet, few flavors are as universally loved and as wonderfully simple as lemon. This lemon sorbet recipe is my go-to for a reason: it’s incredibly easy to make, requires just a handful of basic ingredients, and delivers a bright, zesty, and wonderfully tart-sweet experience that will have you reaching for another scoop. Forget those overly sweet, icy concoctions you might have tried elsewhere; this is the real deal. The secret lies in the balance of tart lemon, sweet sugar, and that subtle hint of lemon zest for an extra aromatic punch.
Ingredients:
Crafting Your Refreshing Lemon Sorbet
Making this sorbet is less about complicated techniques and more about thoughtful preparation. The process is straightforward, and the result is a truly impressive, homemade treat that will rival anything you can buy. We’ll start by creating a simple syrup base, then infuse it with that incredible lemon flavor.
Step 1: Prepare the Simple Syrup Base
Our first crucial step is to create a simple syrup. This isn’t just about dissolving sugar; it’s about ensuring the sugar is fully incorporated and the mixture has a slightly thicker consistency that will contribute to the sorbet’s smooth texture. In a medium saucepan, combine the 1 1/2 cups of water and 1 cup of granulated sugar (or erythritol). Place the saucepan over medium heat. Stir constantly until the sugar has completely dissolved. You won’t see any grainy sugar at the bottom of the pan. Once the sugar is dissolved, bring the mixture to a gentle simmer. Let it simmer for about 2 minutes. This brief simmer helps to slightly thicken the syrup, which is key for a good sorbet. Be careful not to let it boil vigorously or for too long, as this can caramelize the sugar and alter the flavor. After simmering, remove the saucepan from the heat.
Step 2: Infuse with Lemon Zest
Now comes the aromatic part! While the simple syrup is still warm, add the 1 tablespoon of lemon zest. This is where the magic of the lemon’s essential oils really comes into play. The warmth of the syrup will help to draw out those fragrant oils from the zest, infusing the entire mixture with a deeper, more complex lemon flavor. Stir the zest into the syrup, then let it steep. Cover the saucepan and allow the mixture to cool and the zest to infuse for at least 15-20 minutes. The longer it steeps, the more intense the lemon aroma will be. You can even let it steep longer, up to an hour, if you have the time, but be sure to strain out the zest before chilling if it steeps for an extended period to avoid a bitter taste.
Step 3: Add the Lemon Juice and Optional Vodka Extract
Once the syrup has had time to infuse with the lemon zest and has cooled down significantly (it should be lukewarm or room temperature), it’s time to add the star of the show: the lemon juice. Pour in the 1 cup of fresh lemon juice. Give it a good stir to combine everything thoroughly. If you’re using it, this is also the moment to add the optional 1 tablespoon of vodka extract extract. Vodka Extract extract might sound unusual in sorbet, but it has a wonderful property of lowering the freezing point of liquids. This means it helps to prevent the sorbet from freezing into a solid, icy block, resulting in a much smoother, more scoopable texture. You won’t taste the vodka extract, I promise; it just works its subtle magic on the texture.
Step 4: Chill the Mixture
This step is absolutely crucial for successful sorbet making. The sorbet base needs to be thoroughly chilled before it goes into your ice cream maker. If the mixture is too warm, it won’t freeze properly, and you’ll end up with a slushy rather than a sorbet. So, strain the mixture through a fine-mesh sieve into a clean bowl or a sturdy container. This will remove the lemon zest, ensuring a smooth sorbet without any bits of peel. Cover the container tightly and refrigerate for at least 4 hours, or preferably overnight. The colder the base is, the faster and more effectively your ice cream maker will work. Don’t rush this chilling process; it’s a small but vital investment in perfect sorbet.
Step 5: Churn the Sorbet
Now for the fun part! Once your sorbet base is thoroughly chilled, it’s time to churn it. Follow the instructions for your specific ice cream maker. Generally, this involves pouring the cold mixture into the frozen bowl of your ice cream maker and letting it churn for about 20-30 minutes, or until it reaches a soft-serve consistency. As it churns, you’ll see the liquid transform into a thicker, more opaque mixture. The constant movement prevents large ice crystals from forming, which is the key to a smooth texture. If your ice cream maker has a “sorbet” setting, use that. If not, a standard churn setting will work perfectly. The optional vodka extract extract will really shine here, ensuring a wonderfully soft and scoopable texture right out of the machine.
Step 6: Freeze to Firm Up
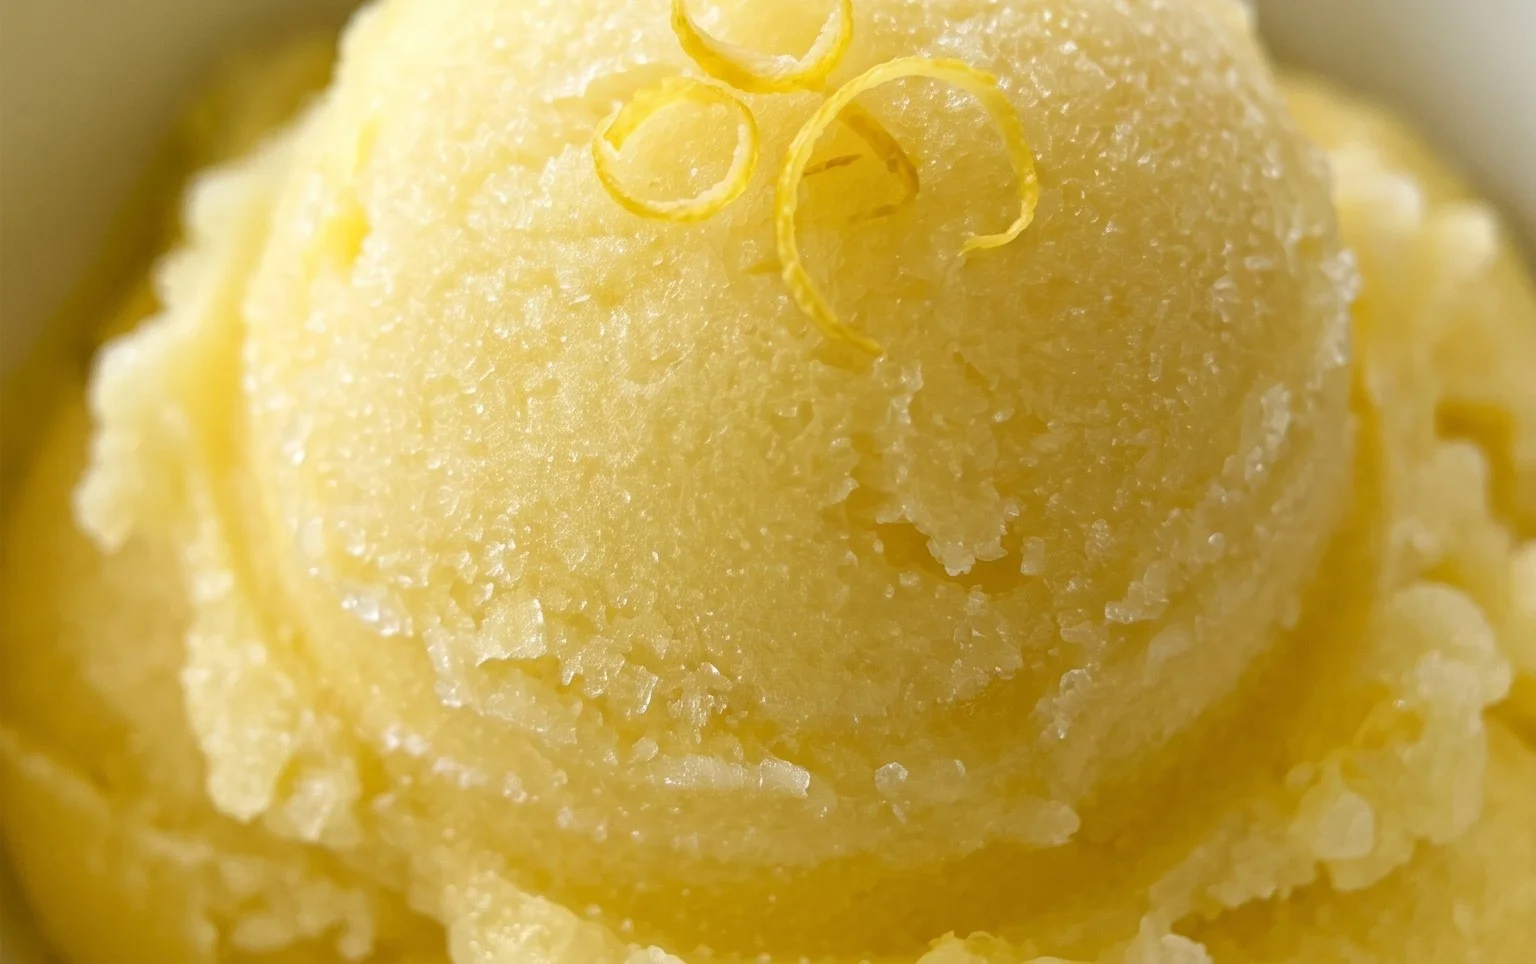
After churning, the sorbet will have a lovely soft-serve consistency. However, it’s not quite ready to scoop like a traditional hard-frozen sorbet. Transfer the churned sorbet to a freezer-safe container. Press a piece of parchment paper or plastic wrap directly onto the surface of the sorbet to prevent ice crystals from forming on top. Then, cover the container tightly. Place the container in the freezer for at least another 2-4 hours to allow the sorbet to firm up to your desired consistency. This final freezing stage is what gives the sorbet its final scoopable texture. Once it’s firm, it’s ready to be enjoyed! Serve scoops of this bright, zesty lemon sorbet on its own, or as a refreshing accompaniment to a rich dessert. It’s a taste of pure sunshine in every spoonful.
Conclusion:
And there you have it – a delightful recipe for homemade Lemon Sorbet that’s sure to become a summer staple! This recipe truly shines because it’s incredibly simple, requiring only a few basic ingredients and minimal effort to achieve a wonderfully refreshing and tangy dessert. The bright, zesty flavor of the lemon is perfectly balanced with just the right amount of sweetness, creating a light and invigorating treat that cleanses the palate and quenches thirst. It’s the ultimate antidote to a warm day, offering pure, unadulterated refreshment.
Serving this lemon sorbet is as versatile as it is enjoyable. It’s fantastic on its own, a perfect palate cleanser between courses, or even a light dessert after a rich meal. Consider garnishing it with a sprig of fresh mint or a thin lemon slice for an elegant touch. For a slightly more indulgent twist, a drizzle of honey or a few fresh berries can elevate the experience. Don’t be afraid to experiment! You can easily adapt this base recipe by adding other citrus fruits like lime or grapefruit, or even incorporating a hint of gin extractger or basil for a unique flavor profile. I highly encourage you to give this easy lemon sorbet recipe a try; I promise you won’t be disappointed!
Frequently Asked Questions:
Why is my sorbet icy instead of smooth?
This often happens if the sugar isn’t fully dissolved or if the mixture freezes too quickly without enough stirring. Ensure your sugar is completely dissolved in the lemon mixture before chilling. If you’re not using an ice cream maker, be sure to stir the mixture thoroughly every 30-60 minutes as it freezes to break up ice crystals and promote a smoother texture.
Can I make this lemon sorbet without an ice cream maker?
Absolutely! While an ice cream maker makes the process easier and usually yields the smoothest results, you can achieve delicious sorbet by freezing it in a shallow pan. As mentioned, the key is to stir it vigorously every 30-60 minutes during the freezing process to prevent large ice crystals from forming. This will require a bit more patience but is definitely doable.
Lemon Sorbet
A refreshing and tangy lemon sorbet, perfect for a light dessert. This recipe can be made with sugar or a sugar substitute.
Ingredients
-
1 cup lemon juice
-
1 1/2 cup water
-
1 cup sugar
-
1 tbsp lemon zest
-
1 tbsp vodka extract
Instructions
-
Step 1
In a saucepan, combine water and sugar. Heat gently, stirring until sugar is completely dissolved. Do not boil. -
Step 2
Remove from heat and let the syrup cool completely. -
Step 3
Stir in the lemon juice and lemon zest into the cooled syrup. -
Step 4
If using, stir in the vodka extract. -
Step 5
Pour the mixture into an ice cream maker and churn according to the manufacturer’s instructions. -
Step 6
Transfer the sorbet to an airtight container and freeze for at least 2 hours, or until firm.
Important Information
Nutrition Facts (Per Serving)
It is important to consider this information as approximate and not to use it as definitive health advice.
Allergy Information
Please check ingredients for potential allergens and consult a health professional if in doubt.