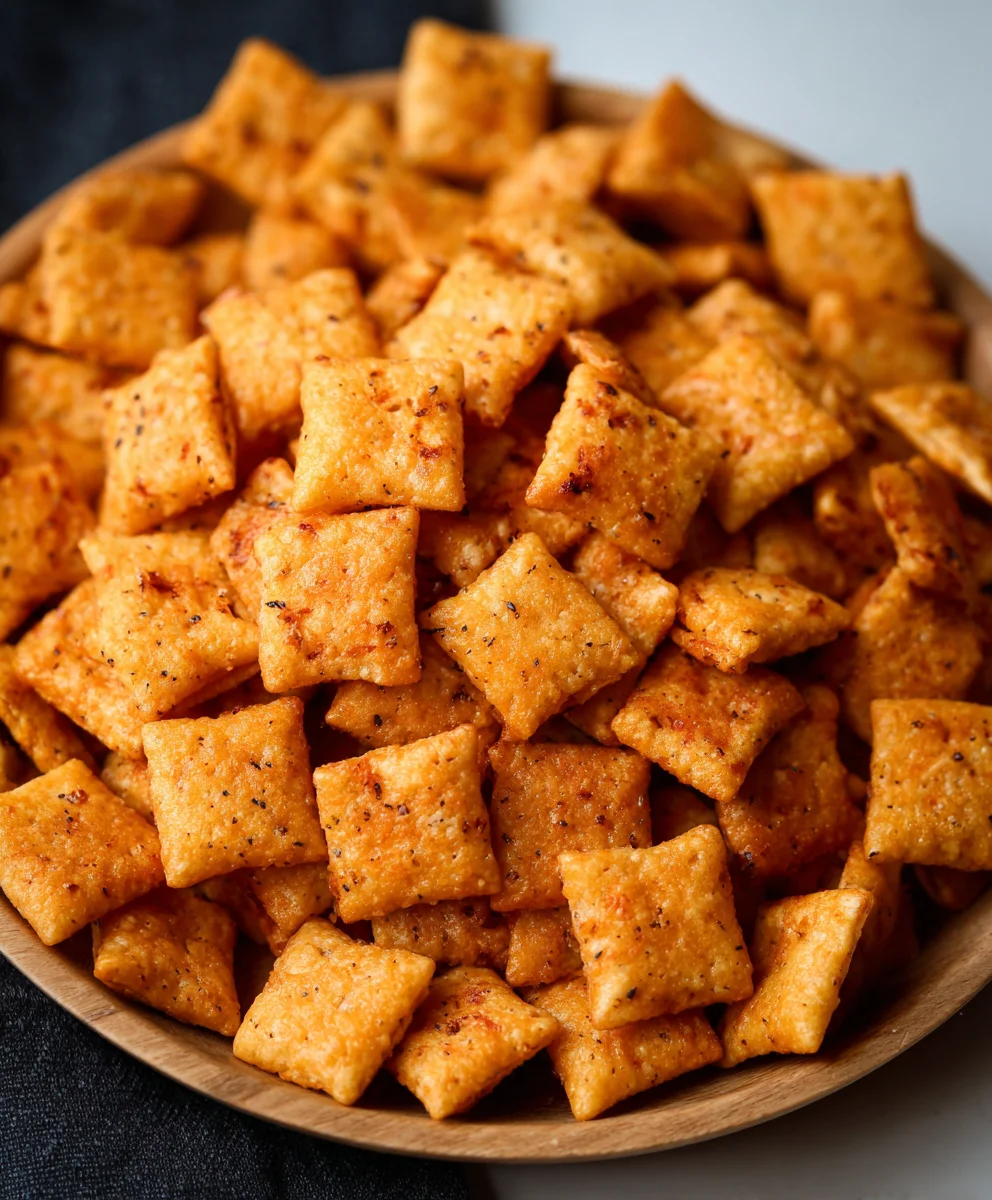
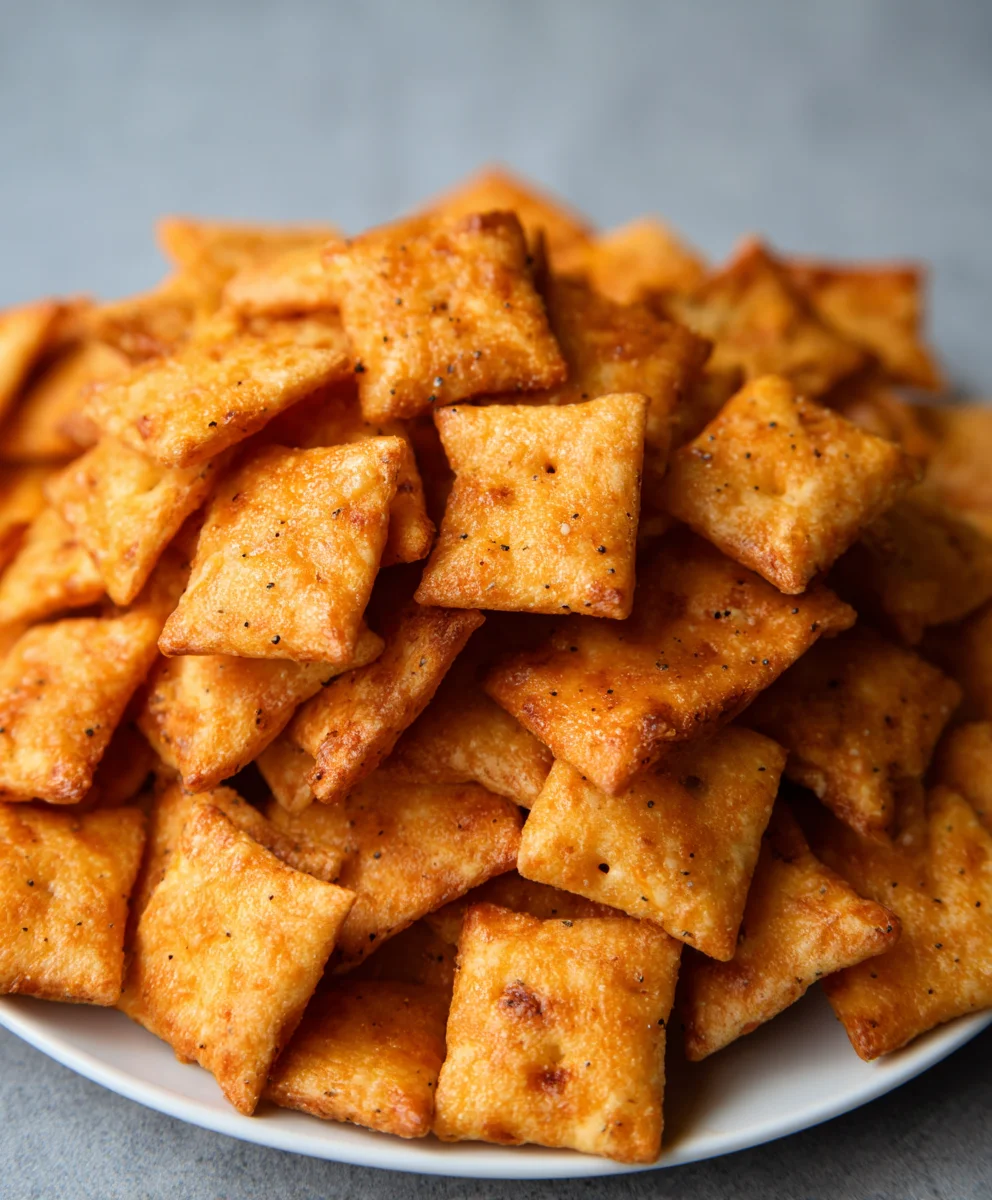
Easy Sourdough Cheez-Its – Crispy Homemade Snack
Sourdough Cheez Its Recipe are a revelation for snack lovers, transforming a classic into something truly extraordinary. Forget those pre-packaged crackers; we’re diving deep into the world of homemade goodness, where a tangy sourdough starter breathes incredible life into every bite. Imagin extracte a crisp, golden cracker, bursting with that unmistakable sharp cheddar flavor, but with an added layer of complexity and a delightful chew that only sourdough can provide. It’s this unique combination – the comforting familiarity of Cheez Its amplified by the artisan touch of sourdough – that makes this recipe so utterly irresistible. People adore these because they’re more than just a snack; they’re a culinary adventure, a testament to the magic that happens when simple ingredients are given time and attention. What makes them truly special is the depth of flavor, the satisfying crunch, and the pride you’ll feel serving up a batch of your own perfectly baked, tangy, cheesy delights.
Ingredients:
- 226 grams cheddar cheese, freshly shredded (about 8 ounces)
- 100 grams sourdough discard (approximately 1/3 cup, at room temperature)
- 42 grams unsalted butter, cold and cut into small cubes (3 Tablespoons)
- 140 grams all-purpose flour (about 1 cup)
- 1 gram garlic powder (1/4 teaspoon)
- 1 gram onion powder (1/4 teaspoon)
- 3 grams fine sea salt (1/2 teaspoon)
- Flaky sea salt, for finishing (optional)
Making Your Sourdough Cheez-Its
Phase 1: Bringin extractg the Dough Together
- In a medium-sized mixing bowl, combine the all-purpose flour, garlic powder, onion powder, and fine sea salt. Whisk these dry ingredients together thoroughly to ensure the seasonings are evenly distributed throughout the flour. This is a crucial first step to avoid any pockets of unseasoned flour in your finished crackers.
- Add the cold, cubed unsalted butter to the dry ingredients. Using a pastry blender, your fingertips, or a food processor, cut the butter into the flour mixture until it resembles coarse crum extractbs, with some pea-sized pieces of butter remaining. The cold butter is key to creating flaky crackers; it melts during baking, leaving behind little pockets of steam that contribute to their crisp texture.
- Now, it’s time to incorporate the sourdough discard. Add the 100 grams of room-temperature sourdough discard to the bowl. Gently mix everything together with a fork or a spatula until a shaggy gin extractgh begins to form. Be careful not to overmix at this stage; we want to avoid developing the gluten too much, which can lead to tough crackers.
- Introduce the freshly shredded cheddar cheese to the dough. Stir it in until it’s just incorporated. The dough will likely feelrum extractbit crumbly and moist. This is perfectly normal. The cheese will help bind the dough together as you work with it.
Phase 2: Chilling and Rolling
- Turn the dough out onto a clean surface lightly dusted with a bit of extra all-purpose flour, if needed. Gently bring the dough together with your hands and form it into a cohesive disc. It might stillrum extractem a little crumbly, but press it firmly to create a disc shape. Wrap this disc tightly in plastic wrap. Refrigerate the dough for at least 30 minutes, or up to 2 days. This chilling period is vital. It allows the gluten to relax, making the dough easier to roll out, and it solidifies the butter, which will help create those desirable flaky layers during baking. A well-chilled dough prevents the butter from melting too quickly when it hits the hot baking sheet.
- Once the dough is thoroughly chilled and firm, unwrap it and place it back on a lightly floured surface. You can use a rgin extracting pin to begin rolling out the dough. Aim for a thickness of about 1/16 to 1/8 of an inch. This might take some patience, especially if your dough is very cold. If the dough becomes too difficult to roll, let it sit at room temperature for a few minutes to soften slightly, then continue. You want to achieve a relatively even thickness so that your crackers bake uniformly. Thinner dough will result in crispier crackers, while slightly thicker dough will be a little chewier. For a more authentic Cheez-It experience, aim for that delicate crispness.
Phase 3: Shaping and Baking
- Preheat your oven to 375°F (190°C). Line a baking sheet with parchment paper. This prevents sticking and makes for easy cleanup.
- Once the dough is rolled out to your desired thickness, it’s time to cut out your crackers. You can use a pizza cutter or a sharp knife to cut the dough into small squares, aiming for about 1-inch to 1.5-inch pieces. For a true Cheez-It look, you can even use a small square cookie cutter if you have one. As you cut, try to minimize re-rolling scraps, as this can toughen the dough. If you do have scraps, gently press them together and re-roll just once.
- Carefully transfer the cut crackers to the prepared baking sheet, leaving a little space between each one. For that signature look and to help them crisp up, gently poke each cracker a few times with the tines of a fork. This also prevents them from puffing up too much. If you desire, lightly sprinkle the tops of the crackers with flaky sea salt for an extra burst of flavor and texture.
- Bake the crackers for 12-15 minutes, or until they are golden brown and crisp around the edges. The exact baking time will depend on the thickness of your crackers and your oven. Keep a close eye on them during the last few minutes, as they can go from perfectly baked to slightly burnt very quickly. You want a nice, even golden color.
- Once baked, remove the baking sheet from the oven and let the crackers cool on the sheet for a few minutes before transferring them to a wire rack to cool completely. They will become even crispier as they cool. Store your homemade Sourdough Cheez-Its in an airtight container at room temperature for up to a week. Enjoy these savory, cheesy bites!
Conclusion:
I hope you’ve enjoyed diving into the world of homemade snacks with this Sourdough Cheez Its Recipe! We’ve walked through creating these incredibly satisfying, tangy, and cheesy crackers from scratch. The process, while requiring a little patience with the sourdough starter, is remarkably straightforward and yields a flavor far superior to anything store-bought. These Sourdough Cheez Its are perfect for a gourmet snack time, a thoughtful homemade gift, or even a delightful addition to a cheese board.
For serving, they are fantastic on their own, but also pair wonderfully with your favorite dips like hummus, salsa, or a creamy ranch. Consider crum extractbling them over salads for an extra crunch or using them as a base for mini appetizers. Don’t be afraid to experiment with variations – adding a pinch of smoked paprika, a dash of cayenne for heat, or even some finely chopped herbs like rosemary or chives can elevate your Sourdough Cheez Its to a new level. Remember, the beauty of homemade is personalization! So go ahead, bake up a batch, and savor the delicious results. You’ve got this!
Frequently Asked Questions:
Can I use a commercial active dry yeast instead of a sourdough starter for the Sourdough Cheez Its Recipe?
While you can technically adapt this recipe to use commercial yeast, it will fundamentally change the outcome and you won’t achieve the signature tang and complex flavor profile that comes from a sourdough starter. The sourdough fermentation is key to the unique taste and texture of these Sourdough Cheez Its. It’s highly recommended to use an active sourdough starter for the best results.
How long can I store the Sourdough Cheez Its Recipe crackers?
When stored properly in an airtight container at room temperature, these homemade Sourdough Cheez Its can last for up to a week to ten days. Ensure they are completely cooled before storing to prevent any condensation from making them soggy. If you find they lose some crispness, you can briefly re-crisp them in a low oven for a few minutes.
Easy Sourdough Cheez-Its – Crispy Homemade Snack
Create delicious, crispy, homemade Cheez-Its with the tangy flavor of sourdough discard. A simple and satisfying savory snack for any occasion.
Ingredients
-
226 grams cheddar cheese, freshly shredded (about 8 ounces)
-
100 grams sourdough discard (approximately 1/3 cup, at room temperature)
-
42 grams unsalted butter, cold and cut into small cubes (3 Tablespoons)
-
140 grams all-purpose flour (about 1 cup)
-
1 gram garlic powder (1/4 teaspoon)
-
1 gram onion powder (1/4 teaspoon)
-
3 grams fine sea salt (1/2 teaspoon)
-
Flaky sea salt, for finishing (optional)
Instructions
-
Step 1
In a medium-sized mixing bowl, combine the all-purpose flour, garlic powder, onion powder, and fine sea salt. Whisk these dry ingredients together thoroughly to ensure the seasonings are evenly distributed. -
Step 2
Add the cold, cubed unsalted butter to the dry ingredients. Cut the butter into the flour mixture until it resembles coarse crumbs, with some pea-sized pieces of butter remaining. -
Step 3
Add the sourdough discard to the bowl. Gently mix everything together until a shaggy dough begins to form. Be careful not to overmix. -
Step 4
Introduce the freshly shredded cheddar cheese to the dough. Stir it in until it’s just incorporated. The dough will likely feel crumbly and moist. -
Step 5
Turn the dough out onto a lightly floured surface, form it into a cohesive disc, wrap tightly in plastic wrap, and refrigerate for at least 30 minutes. -
Step 6
Preheat your oven to 375°F (190°C). Line a baking sheet with parchment paper. Roll out the chilled dough to about 1/16 to 1/8 of an inch thickness and cut into small squares. -
Step 7
Transfer the cut crackers to the prepared baking sheet, poke each cracker a few times with the tines of a fork, and sprinkle with flaky sea salt if desired. -
Step 8
Bake for 12-15 minutes, or until golden brown and crisp around the edges. Let cool completely on a wire rack before storing in an airtight container.
Important Information
Nutrition Facts (Per Serving)
It is important to consider this information as approximate and not to use it as definitive health advice.
Allergy Information
Please check ingredients for potential allergens and consult a health professional if in doubt.