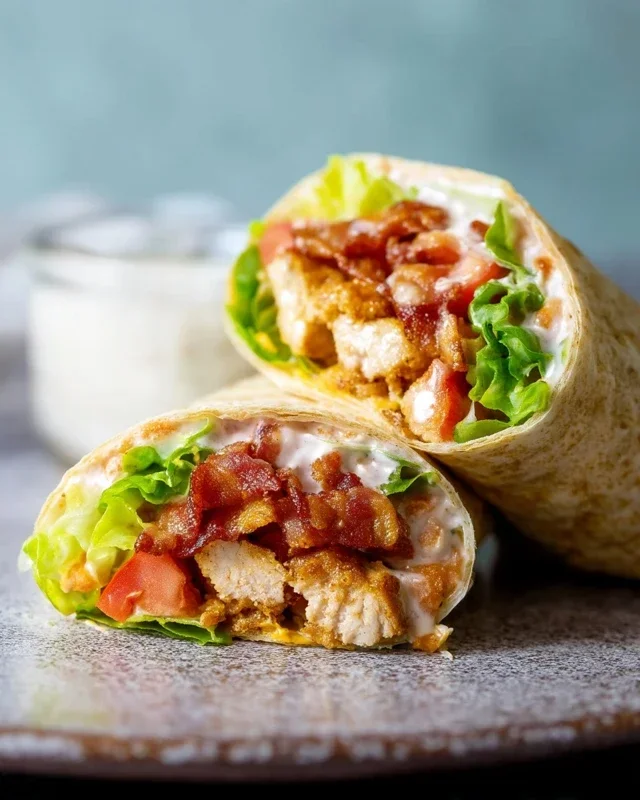
Healthy Chicken Avocado Wrap Recipe-Quick & Easy Lunch
Chicken Avocado Wrap, a symphony of creamy textures and vibrant flavors, has become a go-to for busy weeknights and satisfying lunches alike. What is it about this simple yet elegant combination that captures our hearts and taste buds? For starters, it’s incredibly versatile. Whether you’re craving something light and healthy or a more substantial meal, the Chicken Avocado Wrap delivers. It’s the perfect canvas for an array of fresh ingredients, transforming humble chicken and ripe avocado into something truly special. The inherent goodness of the avocado provides a luscious creaminess that perfectly complements the savory chicken, while the crunch of fresh vegetables adds delightful contrast. This recipe elevates the everyday Chicken Avocado Wrap into a culinary experience you’ll want to recreate again and again.
Why You’ll Love This Recipe
This isn’t just any Chicken Avocado Wrap; it’s a carefully crafted recipe designed to maximize flavor and ease. We’ve balanced the richness of the avocado with bright, zesty notes, ensuring every bite is exciting. It’s the kind of meal that makes you feel good about what you’re eating, packed with protein and healthy fats. The simplicity of its assembly means less time in the kitchen and more time enjoying a delicious, homemade dish. Imagin extracte biting into a perfectly seasoned chicken breast nestled with creamy avocado, crisp lettuce, and a hint of spice – pure bliss!
Ingredients:
- Cooked chicken breast (sliced or shredded)
- Ripe avocado (sliced)
- Flour tortillas
- Shredded lettuce
- Diced tomatoes
- Shredded cheddar cheese
- Ranch dressing (or your favorite dressing)
- Salt and pepper to taste
Preparation and Assembly
Step 1: Prepare Your Base Tortillas
Begin extract by laying out your flour tortillas on a clean, flat surface. This is where the magic of our Chicken Avocado Wrap will happen. If your tortillas are a bit stiff and prone to cracking, you can warm them slightly. A quick 15-20 seconds in a dry skillet over medium heat, or a few seconds in the microwave (covered with a damp paper towel), will make them wonderfully pliable and easier to roll without tearing. This simple step ensures a neat and professional-looking wrap every time. As you warm each tortilla, set it aside on a plate or a piece of parchment paper, ready for its delicious filling.
Step 2: Layering the Savory Elements
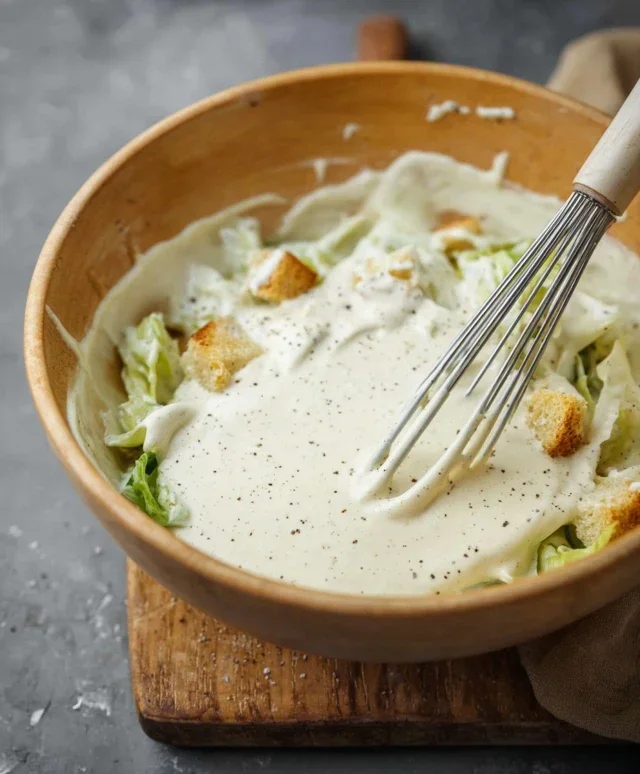
Now, let’s start building the flavor! Take one of your warmed tortillagin extractnd begin by spreading a generous amount of your chosen dressing across the center, leaving a small border around the edges. Ranch dressing offers a creamy tang that complements the other ingredients beautifully, but feel free to use your favorite – a zesty Caesar, a light vinaigrette, or even a spicy sriracha mayo would be fantastic. Next, pile on the shredded lettuce. This provides a fresh, crisp foundation for our Chicken Avocado Wrap. Don’t be shy with the lettuce; its texture is key to a satisfying bite. Evenly distribute your cooked chicken breast over the lettuce. Whether you’ve sliced it or shredded it, ensure there’s a good amount in each wrap. Season the chicken with a pinch of salt and freshly ground black pepper to enhance its natural flavors.
Step 3: Adding Creaminess and Color
This is where the star ingredients truly shine. Carefully arrange the slices of ripe avocado over the chicken. The avocado will add a wonderfully creamy texture and a rich, buttery flavor that perfectly balances the other components. Aim for even distribution so you get a bit of avocado in every bite. Next, sprinkle the diced tomatoes over the avocado and chicken. The bright red of the tomatoes not only adds visual appeal but also introduces a juicy burst of freshness. Finally, shower the shredded cheddar cheese over everything. The cheese will melt slightly when the wrap is warm, creating a delightful gooeyness that binds all the ingredients together. Ensure the cheese is spread relatively evenly for consistent flavor distribution.
Step 4: The Art of the Roll
This step requires a little finesse but is crucial for a well-constgin extractted wrap. Imagine your tortilla as a canvas. Fold in the two sides of the tortilla towards the center, over the filling, creating a sort of envelope. This helps to secure the ingredients and prevents them from falling out when you roll. Now, starting from the bottomgin extractge closest to you, begin to tightly roll the tortilla upwards, tucking the filling in as you go. Keep the roll snug but don’t press so hard that you break the tortilla. The folded-in sides will help contain the ingredients, and the tight roll will ensure your Chicken Avocado Wrap holds its shape and is easy to eat on the go.
Step 5: Securing and Serving Your Masterpiece
Once rolled, you have a few options for serving. You can serve the wrap immediately as is. For a cleaner presentation and to ensure it stays perfectly rolled, you can wrap it tightly in parchment paper or foil. If you plan to enjoy it immediately, you can even slice the wrap in half diagonally. This not only looks appealing but also makes it easier to handle and admire the beautiful layers of your creation. The combination of tender chicken, creamy avocado, crisp lettuce, juicy tomatoes, and melted cheese, all brought together by your favorite dressing, makes this Chicken Avocado Wrap a truly satisfying meal. Enjoy the harmonious blend of flavors and textures in every bite!

Conclusion:
You’ve now got the ultimate guide to crafting the perfect Chicken Avocado Wrap! We’ve walked through each step, from selecting the freshest ingredients to achieving that delightful balance of creamy avocado and savory chicken. This recipe is incredibly versatile and makes for a quick yet satisfying lunch, a light dinner, or even a portable snack. Remember, the beauty of the Chicken Avocado Wrap lies in its adaptability. Don’t hesitate to experiment with different herbs, spices, or even add a kick of sriracha if you’re feeling adventurous!
For serving suggestions, consider pairing your wrap with a side of crisp greens, a handful of crunchy tortilla chips, or a refreshing fruit salad. It’s also fantastic as is, straight from your kitchen!
We truly hope you enjoy making and devouring these delicious Chicken Avocado Wraps. Happy cooking!
Frequently Asked Questions:
Can I make the Chicken Avocado Wrap ahead of time?
Yes, you can! While it’s best enjoyed fresh for maximum crispness, you can assemble the components and store them separately. Slice the chicken and avocado just before wrapping to prevent browning.
What are some good variations for the Chicken Avocado Wrap?
Absolutely! You can add a sprinkle of chili flakes for heat, swap the chicken for seasoned tofu or grilled shrimp for a different protein, or incorporate a layer of shredded cheese like cheddar or Monterey Jack. Roasted red peppers or a spoonful of black beans also add a wonderful dimension.
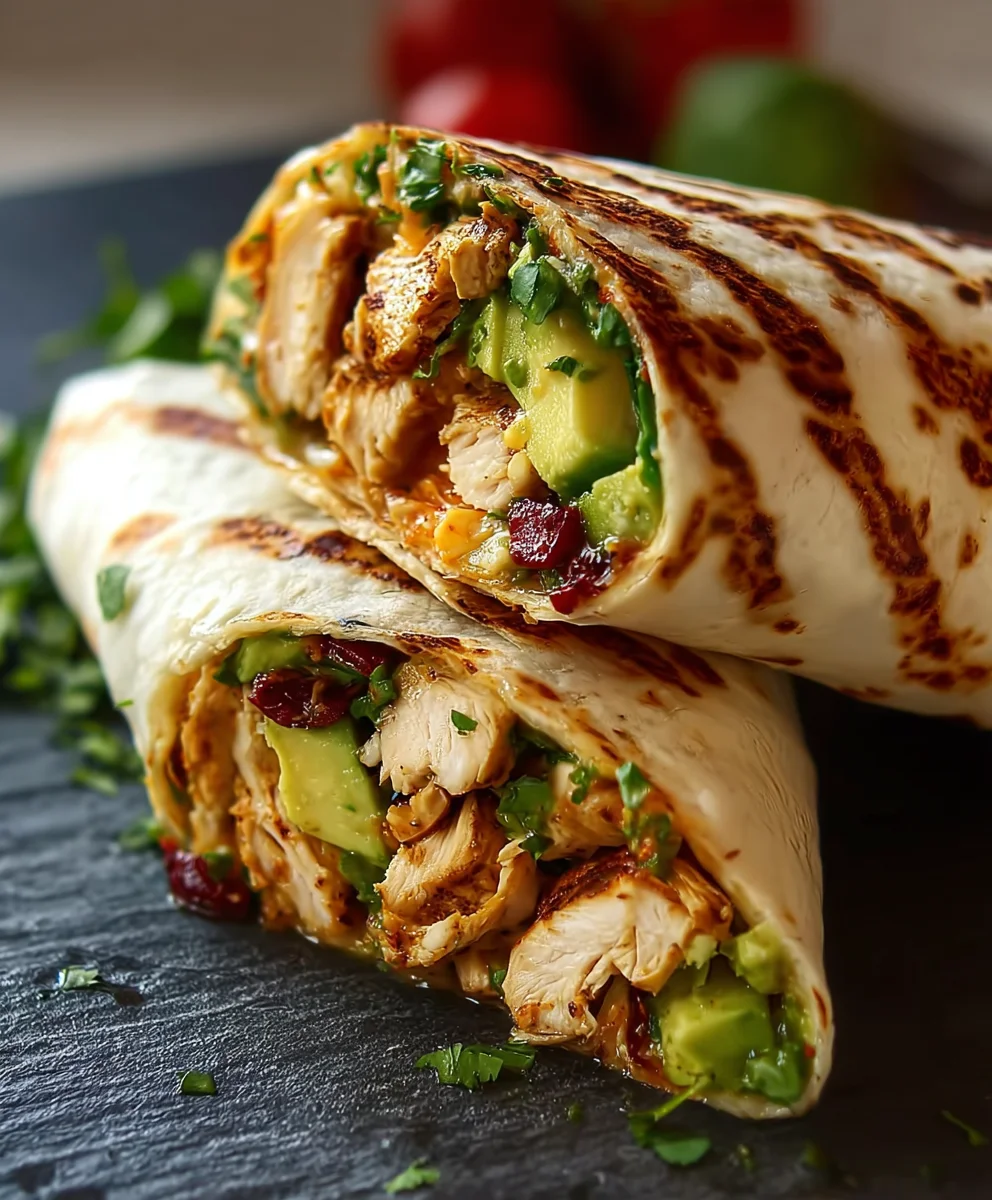
Healthy Chicken Avocado Wrap
A quick and easy lunch recipe for a delicious and healthy chicken avocado wrap.
Ingredients
-
Cooked chicken breast (sliced or shredded)
-
Ripe avocado (sliced)
-
Flour tortillas
-
Shredded lettuce
-
Diced tomatoes
-
Shredded cheddar cheese
-
Ranch dressing
-
Salt and pepper to taste
Instructions
-
Step 1
Lay out flour tortillas on a clean surface. Warm them slightly in a dry skillet over medium heat or in the microwave to make them pliable. -
Step 2
Spread a generous amount of ranch dressing across the center of each tortilla, leaving a small border. Pile on shredded lettuce, then evenly distribute cooked chicken breast. Season the chicken with salt and pepper. -
Step 3
Arrange slices of ripe avocado over the chicken. Sprinkle diced tomatoes over the avocado and chicken. Shower with shredded cheddar cheese. -
Step 4
Fold in the two sides of the tortilla towards the center over the filling. Starting from the bottom edge, tightly roll the tortilla upwards, tucking the filling in as you go. -
Step 5
Serve the wrap immediately, or wrap tightly in parchment paper or foil. You can slice the wrap in half diagonally for easier handling.
Important Information
Nutrition Facts (Per Serving)
It is important to consider this information as approximate and not to use it as definitive health advice.
Allergy Information
Please check ingredients for potential allergens and consult a health professional if in doubt.