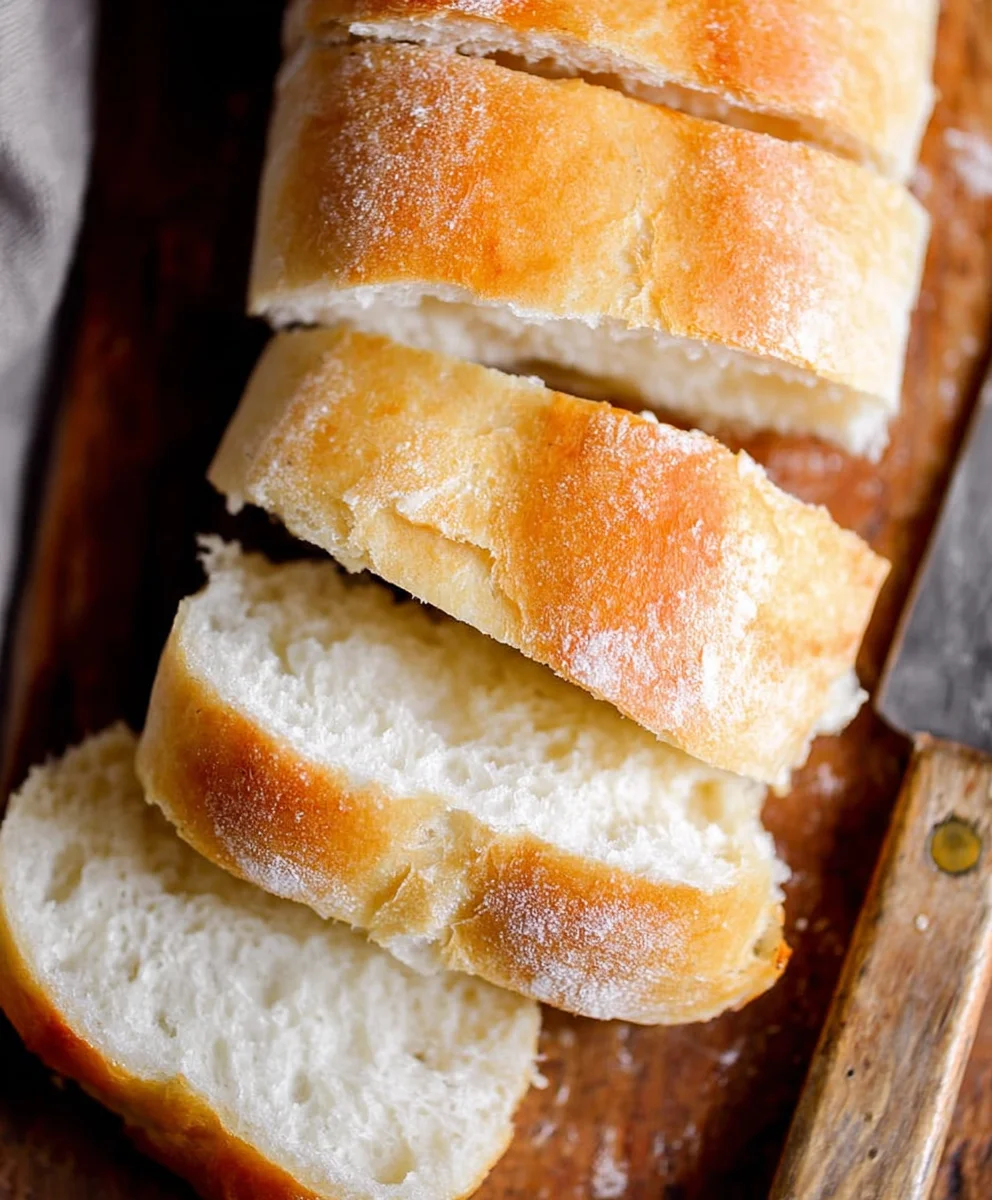
Quick Easy One Hour French Bread Recipe Delicious
One Hour French Bread Recipe – Does that sound too good to be true? We know what you’re thinking: “French bread takes hours of proofing and shaping!” But prepare to have your mind, and your taste buds, utterly delighted. This is the magic you’ve been searching for, a way to transform your kitchen into a Parisian bakery in a fraction of the time. Imagin extracte the aroma of freshly baked bread wafting through your home, its crisp crust yielding to a soft, airy interior, all ready to be slathered with butter or dipped into your favorite soup. People have fallen head over heels for traditional French bread for centuries, and this One Hour French Bread Recipe captures that iconic flavor and texture without the commitment of a lengthy process. What makes this recipe truly special is its ingenious approach to yeast activation and dough development, allowing you to achieve a truly remarkable loaf with a tender crum extractb and that characteristic golden crust, all within a single, glorious hour. Get ready to impress yourself and everyone around you!
Ingredients:
- 1 & 1/2 cups warm water
- 1 tablespoon white sugar
- 1 & 1/2 tablespoons dry yeast
- 1 & 1/2 teaspoons salt
- 1 & 1/2 tablespoons butter, softened
- 3-4 cups all-purpose flour, spooned and leveled
- 1 egg white, optional (for brushing)
Preparing the Dough
This recipe is designed to be quick and relatively straightforward, aiming for that delicious homemade French bread experience without a long waiting period. The key to its speed lies in the efficient activation of the yeast and a well-timed kneading and rising process.
-
Activating the Yeast
Begin extract by gathering a medium-sized mixing bowl. Into this bowl, pour the 1 & 1/2 cups of warm water. The water should feel comfortably warm to the touch, similar to a baby’s bathwater, around 105-115°F (40-46°C). If the water is too hot, it can kill the yeast, and if it’s too cool, it won’t activate properly. Next, sprinkle the 1 tablespoon of white sugar over the warm water. The sugar acts as food for the yeast, helping it to wake up and become active. Finally, gently stir in the 1 & 1/2 tablespoons of dry yeast. Give it a gentle whisk or stir to ensure the yeast is submerged in the water. Let this mixture sit undisturbed for about 5 to 10 minutes. You’ll know the yeast is alive and kicking when it becomes foamy and bubbly on the surface, indicating that it’s producing carbon dioxide. If you don’t see any foam after 10 minutes, your yeast might be old, and you’ll need to start with fresh yeast.
-
Incorporating Wet Ingredients and Initial Flour
Once your yeast mixture is active and foamy, it’s time to add the other wet ingredients. Add the 1 & 1/2 tablespoons of softened butter to the yeast mixture. The warmth of the water will help the butter start to melt and incorporate. Next, add the 1 & 1/2 teaspoons of salt. The salt not only adds flavor but also controls the yeast’s activity, preventing it from rising too quickly.gin extractw, begin adding the flour. Start with about 3 cups of the all-purpose flour. It’s important to spoon and level your flour; don’t scoop directly from the bag with your measuring cup, as this can lead to too much flour and a dense bread. Use a spoon to fill the measuring cup, then level off the excess with the back of a knife. Stir everything together with a sturdy spoon or spatula until agin extractaggy dough begins to form. It will look rough and sticky at this stage, and that’s perfectly normal.
-
Kneading the Dough
Turn the shaggy dough out onto a lightly floured surface. This is where the magic of gluten development happens, giving yourgin extractead its structure. Begin kneading the dough. Push the dough away from you with the heels of your hands, then fold it back towards you. Rotate the dough a quarter turn and repeat. Initially, the dough will be quite sticky and might cling to your hands and the counter. Resist the urge to add too much extra flour; a little bit at a time is okay, just enough to prevent excessive sticking. Continue kneading for about 7-10 minutes. You’re looking for the dough to become smooth, elastic, and less sticky. It should spring back slowly when you gently poke it with your finger. If the dough is still very sticky after 5 minutes of kneading, you can gradually add the remaining 1/2 cup of flour, a tablespoon at a time, until it reaches the desired consistency. Properly kneaded dough is crucial for a good rise and texture.
-
First Rise and Shaping
Once your dough is beautifully kneaded, shape it into a smooth ball. Lightly grease a clean bowl with a little bit of oil or cooking spray. Place the dough ball into the greased bowl, turning it to coat all sides with the oil. This prevents the dough from drying out as it rises. Cover the bowl tightly with plastic wrap or a clean kitchen towel. Find a warm, draft-free spot in your kitchen for the dough to rise. An oven that has been briefly warmed and then turned off is an excellent place. Allow the dough to rise for about 30 to 45 minutes, or until it has roughly doubled in size. This is where the yeast does its work, creating those air pockets that will make your bread light and airy. Once risen, gently punch down the dough to release the trapped air. Turn the dough out onto your lightly floured surface again and shape it into your desired French bread loaf or loaves. For a classic French baguette shape, you’ll want to form a long, slender loaf. You can also shape it into a round boule or smaller rolls.
-
Second Rise and Baking
Carefully place your shaped loaf or loaves onto a baking sheet lined with parchment paper or a silicone baking mat. If you are making multiple loaves, ensure there is enough space between them. Cover the loaves loosely with plastic wrap or a clean kitchen towel and let them rest for another 15 to 20 minutes. This second, shorter rise, often called proofing, allows the gluten to relax again and gives the bread a final puff before baking. While the dough is proofing, preheat your oven to 400°F (200°C). If you’re using the optional egg wash for a beautiful golden crust, whisk the egg white in a small bowl and lightly brush it over the top of the proofed loaves. For an even crispier crust, you can score the top of the loaves with a sharp knife or a lame (a special bread-scoring tool) just before baking. Make shallow diagonal cuts. Once the oven is preheated and the loaves have proofed, carefully transfer the baking sheet to the hot oven. Bake for 20 to 25 minutes, or until the crust is a deep golden brown and the bottom of the loaf sounds hollow when tapped. You may want to rotate the baking sheet halfway through baking for even browning. Let the bread cool on a wire rack for at least 10-15 minutes before slicing into it. This allows the interior to set properly.
Conclusion:
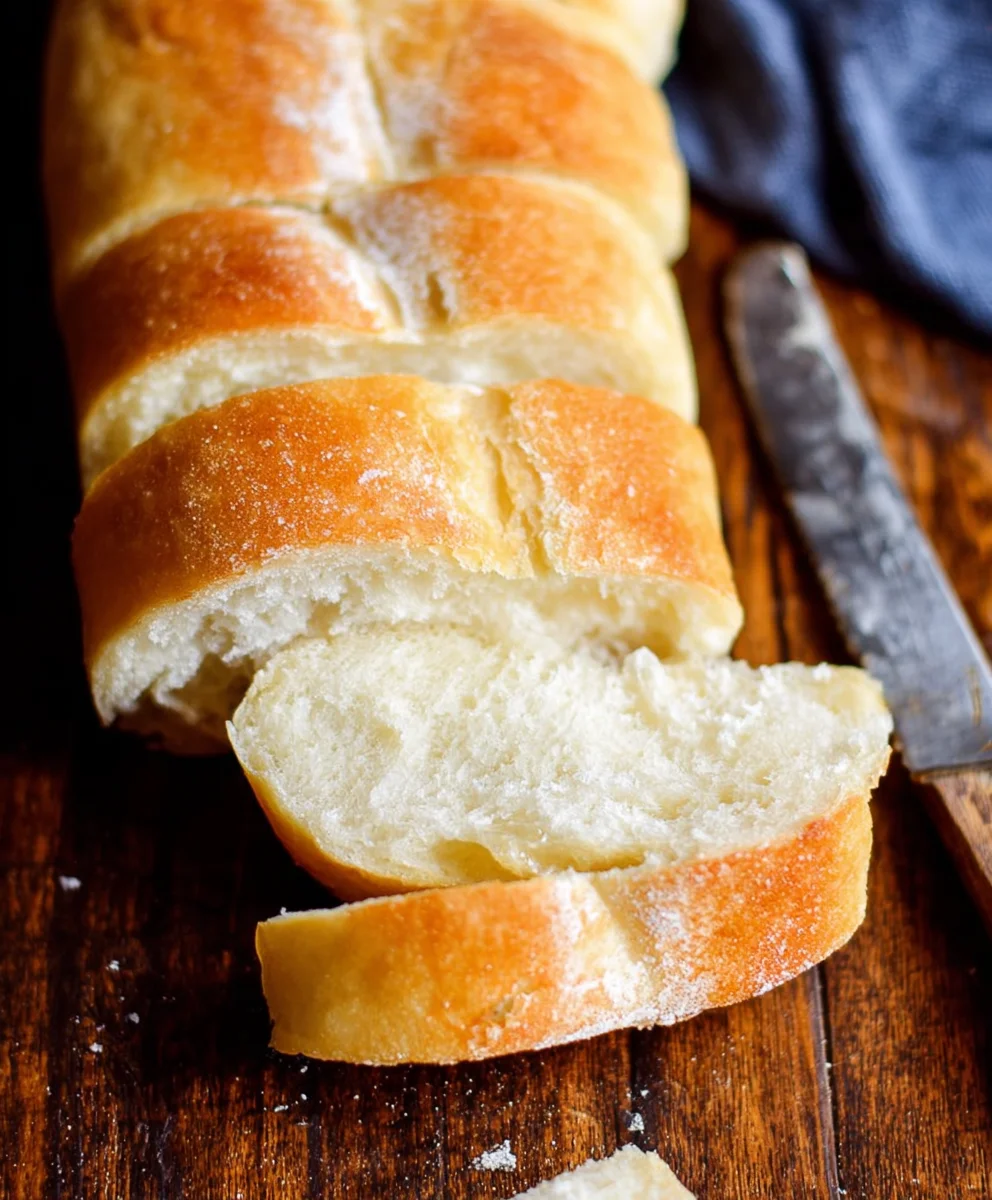
And there you have it – a beautiful, crusty, and surprisingly quick loaf of One Hour French Bread Recipe! This recipe truly delivers on its promise, allowing you to enjoy the delightful aroma and taste of freshly baked bread without spending hours in the kitchen. We’ve covered the essential steps, from activating your yeast to achieving that perfect golden-brown crust. Now it’s your turn to experience the magic of this effortless French bread.
This versatile loaf is perfect for so many occasions. Serve it warm with a generous smear of butter or a dollop of your favorite jam for breakfast. It’s an ideal accompaniment to soups and stews, or use it to create mouthwatering sandwiches. For a more elegant touch, consider slicing it and serving with a cheese board.
Don’t be afraid to get creative with variations! You can knead in herbs like rosemary or thyme, or add a sprinkle of garlic powder and parmesan cheese for a savory twist. For a sweeter loaf, try adding a touch of honey or cinnamon.
We encourage you to give this One Hour French Bread Recipe a try. The satisfaction of pulling a homemade loaf from your oven is unparalleled, and with this recipe, it’s more accessible than ever. Happy baking!
Frequently Asked Questions:
Can I use all-purpose flour instead of bread flour for this One Hour French Bread Recipe?
While bread flour is recommended for its higher protein content, which contributes to a better crust and chew, you can use all-purpose flour if that’s what you have on hand. Your loaf might be slightly less chewy, but it will still be delicious!
My dough didn’t rise much. What could have gone wrong?
Several factors can affect dough rise. Ensure your yeast was fresh and properly activated in warm (not hot) liquid. Also, room temperature plays a role; a very cold kitchen might slow down rising. Make sure you followed the rising time instructions carefully.
Quick Easy One Hour French Bread Recipe Delicious
A fast and delicious homemade French bread recipe that’s perfect for beginners and ready in about an hour.
Ingredients
-
1 & 1/2 cups warm water
-
1 tablespoon white sugar
-
1 & 1/2 tablespoons dry yeast
-
1 & 1/2 teaspoons salt
-
1 & 1/2 tablespoons butter, softened
-
3-4 cups all-purpose flour, spooned and leveled
-
1 egg white, optional (for brushing)
Instructions
-
Step 1
Activate the yeast by combining warm water, sugar, and dry yeast in a medium bowl. Let sit for 5-10 minutes until foamy. -
Step 2
Add softened butter and salt to the foamy yeast mixture. Gradually stir in 3 cups of all-purpose flour until a shaggy dough forms. -
Step 3
Knead the dough on a lightly floured surface for 7-10 minutes until smooth and elastic, adding up to 1/2 cup more flour if needed. -
Step 4
Place dough in a greased bowl, cover, and let rise in a warm place for 30-45 minutes until doubled. Punch down and shape into desired French bread loaf. -
Step 5
Place shaped loaf on a baking sheet, cover loosely, and let rise for another 15-20 minutes. Preheat oven to 400°F (200°C). -
Step 6
Brush with optional egg white, score the top, and bake for 20-25 minutes until golden brown and hollow-sounding. Cool on a wire rack for at least 10-15 minutes.
Important Information
Nutrition Facts (Per Serving)
It is important to consider this information as approximate and not to use it as definitive health advice.
Allergy Information
Please check ingredients for potential allergens and consult a health professional if in doubt.