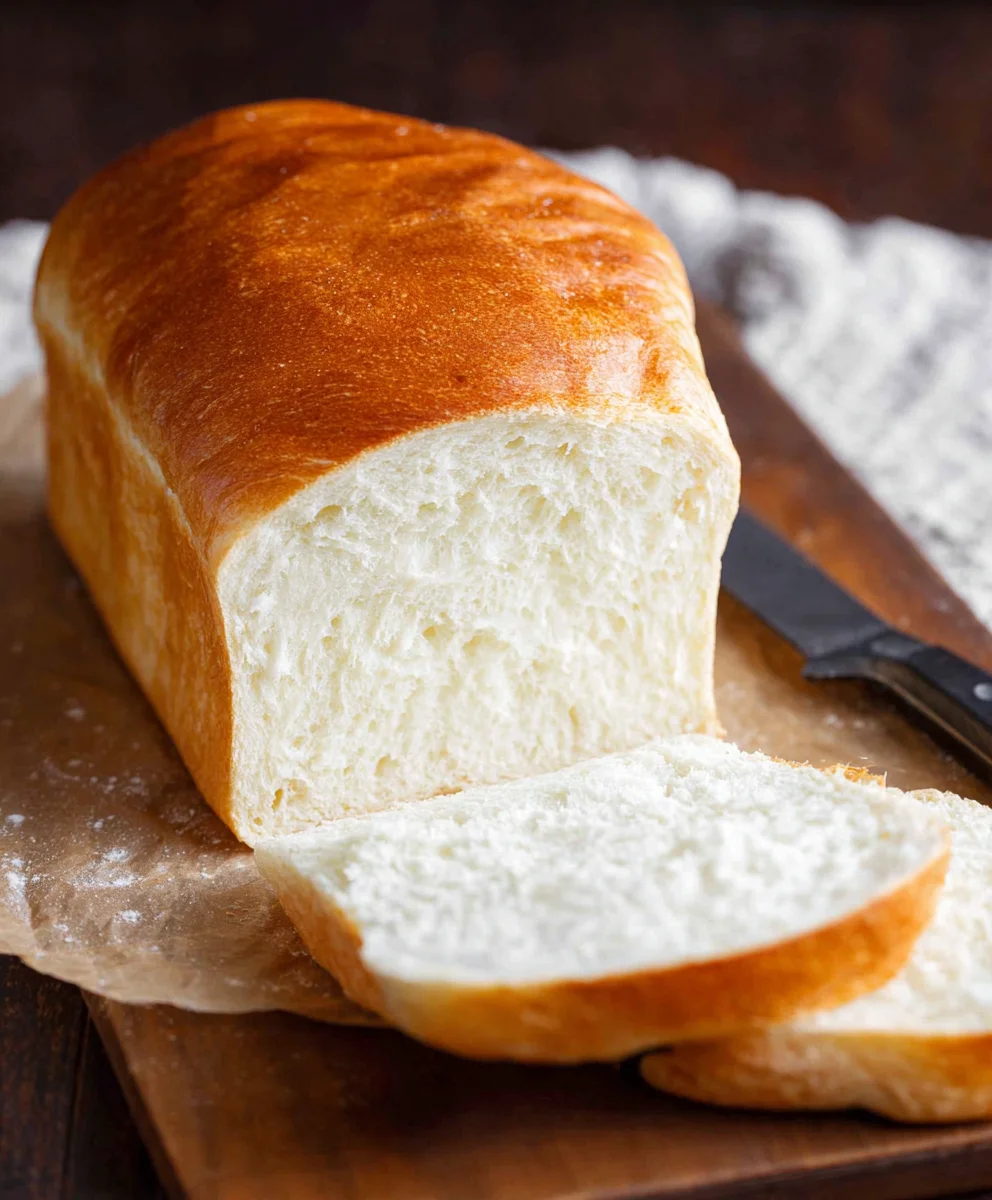
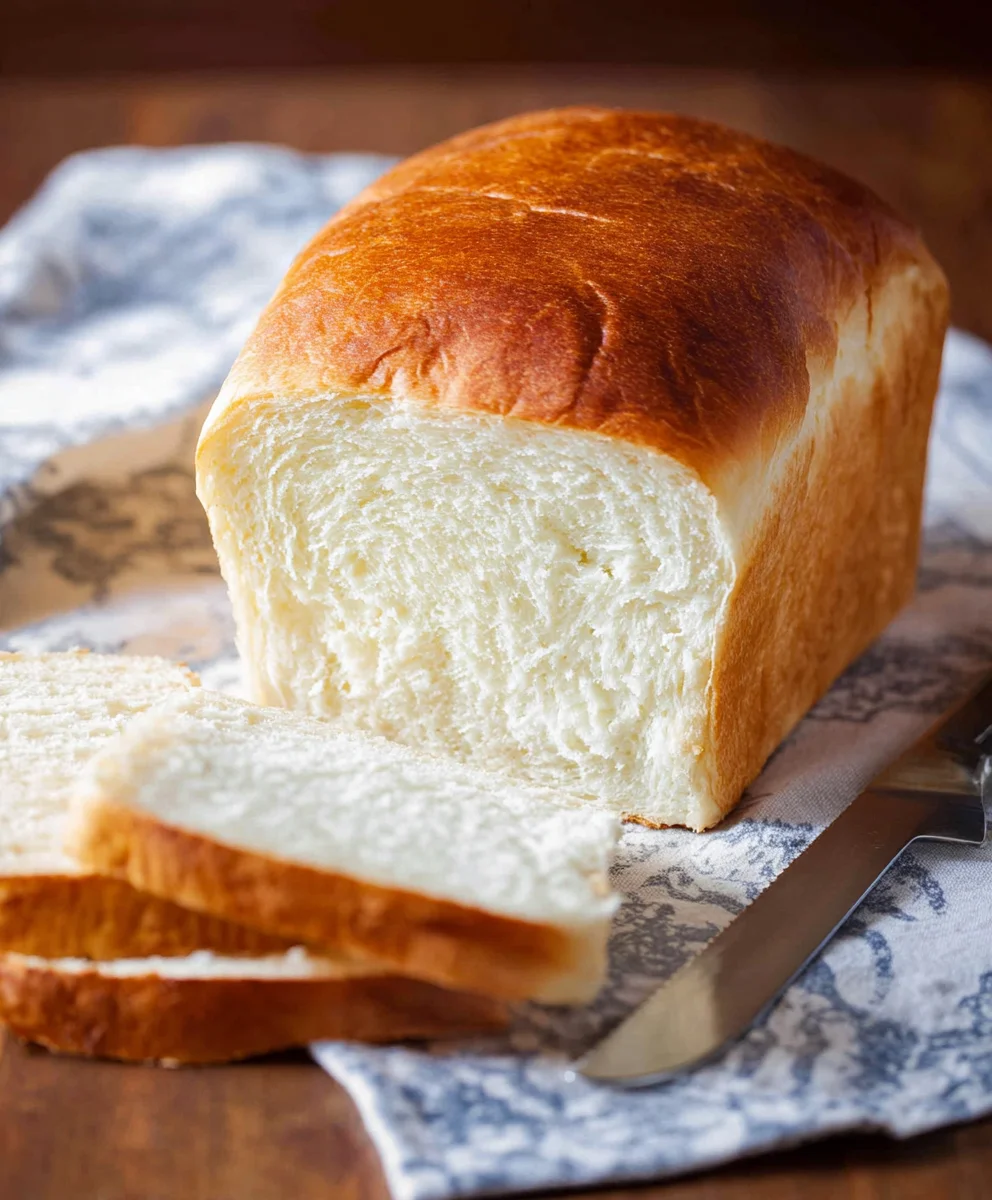
Amish White Bread-Soft & Easy Homemade Recipe
AMISH WHITE BREAD is more than just a loaf; it’s a warm hug in edible form, a taste of tradition that transports you straight to a simpler time. There’s a reason why this iconic bread holds such a special place in so many hearts and kitchens. It’s the ultimate comfort food, perfect for slathering with butter, dipping into soup, or forming the foundation of a truly satisfying sandwich. What truly sets AMISH WHITE BREAD apart is its incredible simplicity, yielding a texture that is impossibly soft and a flavor that is subtly sweet and wonderfully satisfying. It’s the kind of bread that makes you pause, take a deep breath, and savor each and every bite. Get ready to experience baking perfection.
Ingredients:
- 1 cup warm water, (110-120°F)
- ⅓ cup granulated sugar
- 1 packet, (2 ¼ teaspoons instant yeast)
- 3 cups all-purpose flour
- ¾ teaspoon salt
- 2 tablespoons vegetable or canola oil
- 2 tablespoons unsalted butter, (melted)
Preparing the Dough
The foundation of any great AMISH WHITE BREAD lies in a well-prepared dough. We’ll start by activating our yeast, which is a crucial step to ensure a light and airy loaf. In a large mixing bowl, pour in the 1 cup of warm water. It’s important that the water is between 110-120°F; too hot and you’ll kill the yeast, too cold and it won’t activate properly. You can test this by touching the water – it should feel pleasantly warm, like a baby’s bath. To this warm water, add the ⅓ cup of granulated sugar and the 1 packet of instant yeast (which is equivnon-alcoholic alent to 2 ¼ teaspoons). Give this mixture a gentle stir with a spoon or whisk, just enough to combine. Then, let it sit undisturbed for about 5-10 minutes. You’ll know the yeast is alive and ready when the surface of the water becomes foamy and bubbly. This ‘proofing’ step is your assurance that your bread will rise beautifully.
Once your yeast mixture is active and bubbly, it’s time to add the dry ingredients. To the yeasty liquid, add the 3 cups of all-purpose flour and the ¾ teaspoon of salt. The salt, while a flavor enhancer, also controls the yeast’s activity, preventing it from rising too quickly. Now, you can start mixing. You can use a sturdy spoon or a dough hook attachment on your stand mixer for this. Mix until the ingredients just begin extract to come together into a shaggy dough. Don’t worry if it’s not smooth yet; that’s what the next steps are for.
Kneading for Elasticity
After the initial mix, it’s time to develop the gluten structure in our dough, which gives the AMISH WHITE BREAD its signature chewy texture and ability to hold its shape. Add the 2 tablespoons of vegetable or canola oil and the 2 tablespoons of melted unsalted butter to the dough. The oil adds tenderness, while the butter contributes a subtle richness and helps with browning. Continue mixing or kneading until the dough starts to pull away from the sides of the bowl and forms a cohesive mass. If you’re using a stand mixer, this usually takes about 5-7 minutes on medium speed. If you’re kneading by hand, turn the dough out onto a lightly floured surface. Push the dough away from you with the heels of your hands, then fold it back over itself. Rotate the dough a quarter turn and repeat. Continue this rhythmic motion for about 8-10 minutes. You’re looking for a dough that is smooth, elastic, and no longer sticky. When you poke it gently with a floured finger, the indentation should slowly spring back. This kneading process is key for developing the network of gluten that will trap the gases produced by the yeast, leading to a wonderfully light crum extractb.
First Rise: The Proofing Stage
Now that our dough has been kneaded to perfection, it’s time to let it rest and rise. Lightly grease a clean large bowl with a little oil or cooking spray. Place the kneaded dough into the greased bowl, turning it once to coat all sides with the oil. This prevents the dough from drying out as it rises. Cover the bowl tightly with plastic wrap or a damp kitchen towel. Find a warm, draft-free place for your dough to rise. This could be a slightly warm oven (turned off, of course!) or simply on your kitchen counter. Allow the dough to rise for 1 to 1 ½ hours, or until it has doubled in size. You’ll notice it become puffy and significantly larger. The time can vary depending on the temperature of your kitchen, so watch the dough, not the clock. A properly risen dough is essential for a light and airy AMISH WHITE BREAD.
Shaping and Second Rise
Once the dough has doubled in size, it’s time to punch it down and shape it for its final bake. Gently deflate the dough by pressing down in the center with your fist. This releases the built-up gases and redistributes the yeast. Turn the dough out onto a lightly floured surface. Shape the dough into your desired loaf form. For a classic loaf, pat the dough into a rectangle and then tightly roll it up, pinching the seam closed. Place the shaped loaf into a greased 9×5 inch loaf pan. Cover the pan loosely with plastic wrap or a clean kitchen towel and let it rise again in a warm place for another 30-45 minutes, or until it has nearly doubled in size and looks puffy. This second rise, often called proofing, is crucial for achieving that beautiful oven spring and an even texture in your finished bread.
Baking to Golden Perfection
As the dough completes its second rise, preheat your oven to 375°F (190°C). This temperature is ideal for baking white bread, allowing for a good crust development and a fully cooked interior. Once the oven is preheated and your loaf has finished its second rise, it’s ready for the oven. Place the loaf pan on the middle rack of your preheated oven. Bake for 30-40 minutes. You’ll know the AMISH WHITE BREAD is done when it’s golden brown on top and the internal temperature reaches 195-200°F (90-93°C) when tested with an instant-read thermometer. Another sign of doneness is a hollow sound when you tap the bottom of the loaf. Once baked, carefully remove the bread from the loaf pan and transfer it to a wire cooling rack. Allow it to cool completely before slicing and enjoying. This cooling period is important as it allows the internal structure of the bread to set properly.
Conclusion:
And there you have it – the simple, heartwarming process of baking your very own AMISH WHITE BREAD! This recipe is a testament to the beauty of classic baking, yielding a loaf that is wonderfully soft, slightly sweet, and perfect for any occasion. Whether you’re a seasoned baker or just starting out, the satisfaction of pulling this golden-brown beauty from your oven is truly unparalleled. Don’t be afraid to experiment and make this recipe your own!
I love serving my AMISH WHITE BREAD warm, slathered with butter or a drizzle of honey. It’s also fantastic toasted for breakfast, used to make the ultimate grilled cheese sandwich, or as a side for hearty soups and stews. For a sweet twist, consider adding a touch of cinnamon sugar to the dough before its second rise, or a handful of dried cranberries for a delightful burst of flavor.
The magic of this AMISH WHITE BREAD lies in its versatility and comforting nature. So, go ahead, preheat your oven, gather your ingredients, and create a loaf that will fill your home with an irresistible aroma and your table with deliciousness. Happy baking!
Frequently Asked Questions about AMISH WHITE BREAD:
Q: My AMISH WHITE BREAD didn’t rise as much as I expected. What could be the problem?
A: There are a few common culprits. First, ensure your yeast is fresh and active. You can test this by dissolving it in warm water (around 105-115°F or 40-46°C) with a pinch of sugar. If it gets foamy within 5-10 minutes, it’s good to go. Secondly, make sure your rising environment is warm enough – around 75-85°F (24-29°C) is ideal. Drafty kitchens can hinder rising. Lastly, don’t rush the kneading process; proper gluten development is key for a good rise.
Q: Can I make AMISH WHITE BREAD using whole wheat flour?
A: You can certainly adapt this recipe with some whole wheat flour, but it won’t be exactly the same as traditional Amish White Bread. For best results, I recommend substituting no more than one-third of the all-purpose flour with whole wheat flour. This will still give you a lovely loaf with added fiber, but the classic soft and fluffy texture might be slightly denser. If you use 100% whole wheat, the bread will be significantly different in texture and flavor.
Amish White Bread-Soft & Easy Homemade Recipe
A soft and easy homemade recipe for classic Amish White Bread, perfect for any occasion.
Ingredients
-
1 cup warm water, (110-120°F)
-
⅓ cup granulated sugar
-
1 packet (2 ¼ teaspoons) instant yeast
-
3 cups all-purpose flour
-
¾ teaspoon salt
-
2 tablespoons vegetable or canola oil
-
2 tablespoons unsalted butter, melted
Instructions
-
Step 1
In a large mixing bowl, combine warm water, sugar, and instant yeast. Let sit for 5-10 minutes until foamy. -
Step 2
Add flour and salt to the yeast mixture. Mix until a shaggy dough forms. -
Step 3
Incorporate vegetable oil and melted butter. Knead the dough for 8-10 minutes until smooth and elastic. -
Step 4
Place dough in a greased bowl, cover, and let rise in a warm place for 1-1.5 hours, or until doubled in size. -
Step 5
Punch down dough, shape into a loaf, and place in a greased 9×5 inch loaf pan. Cover and let rise for another 30-45 minutes. -
Step 6
Preheat oven to 375°F (190°C). Bake for 30-40 minutes until golden brown and internal temperature reaches 195-200°F (90-93°C). Cool completely on a wire rack before slicing.
Important Information
Nutrition Facts (Per Serving)
It is important to consider this information as approximate and not to use it as definitive health advice.
Allergy Information
Please check ingredients for potential allergens and consult a health professional if in doubt.