Old Fashioned Banana Bread Recipe – Moist & Delicious
Old Fashioned Banana Bread isn’t just a recipe; it’s a warm hug in loaf form, a nostalgic trip back to simpler times. There’s something undeniably comforting about the aroma that wafts from the oven as a batch of this classic Old Fashioned Banana Bread bakes – it’s the smell of home, of cozy kitchens, and of pure, unadulterated deliciousness. We all have our grandmother’s secret ingredient or that one specific trick that makes our banana bread the best, and this recipe aims to capture that beloved, timeless quality. It’s that perfect balance of moist crum extractb, sweet banana flavor, and a hint of spice that keeps us coming back for slice after slice. It’s the ultimate way to use up those overripe bananas, transforming them into something truly magical. This isn’t just about making bread; it’s about creating memories, one delicious bite at a time.
Old Fashioned Banana Bread
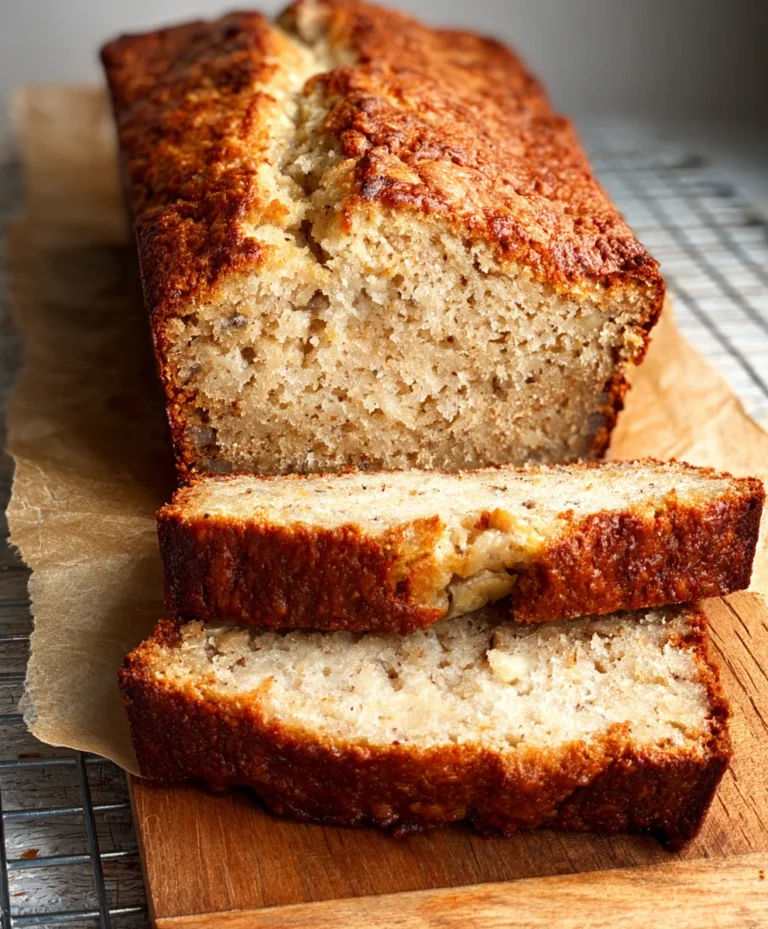
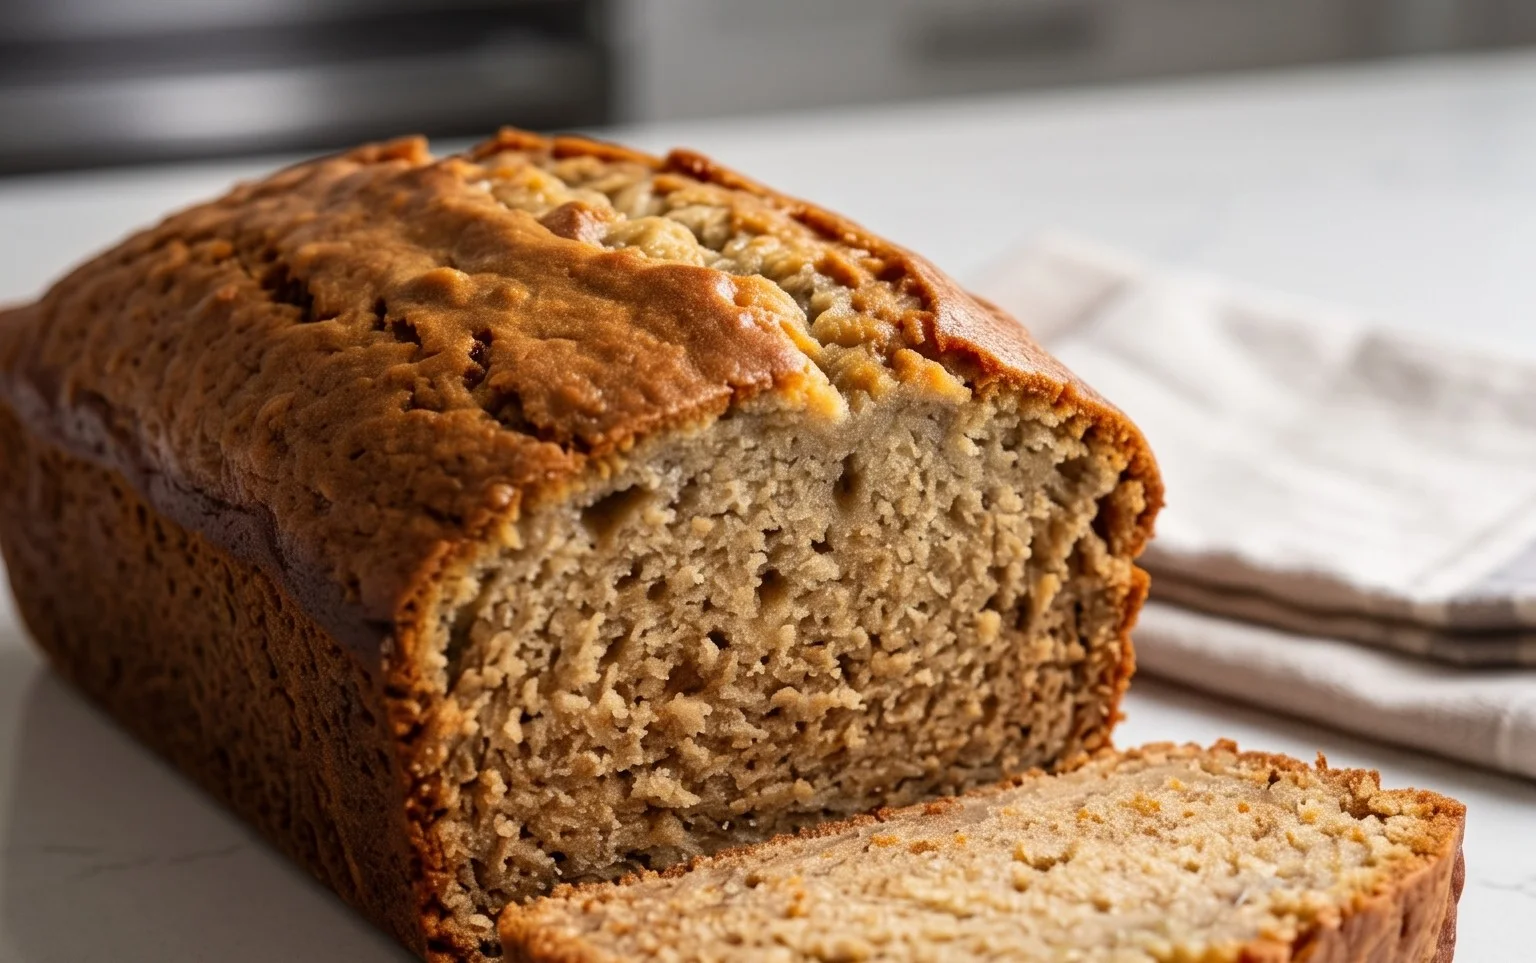
There’s something incredibly comforting about a slice of warm, homemade banana bread. The aroma alone can transport you back to your grandmother’s kitchen, a time of simpler pleasures and delicious, honest baking. This recipe is for that classic, no-fuss banana bread that’s incredibly moist, perfectly sweet, and bursting with that unmistakable banana flavor. It’s the kind of recipe you’ll want to keep on hand for lazy weekend mornings, afternoon tea, or when you simply need a sweet treat that feels like a warm hug.
The secret to truly exceptional banana bread lies in the bananas themselves. You want them to be over-ripe. I’m talking about bananas that have seen better days, with speckled brown skins and a soft, yielding texture. These bananas are naturally sweeter and have a more intense banana flavor, which is exactly what we need for a truly old-fashioned loaf. Don’t be tempted to use yellow bananas; the difference is night and day.
This recipe is straightforward, using simple ingredients you likely already have in your pantry. The inclusion of walnuts adds a delightful crunch and a nutty depth that complements the sweetness of the bananas beautifully. If walnuts aren’t your thing, feel free to omit them, or perhaps try pecans for a slightly different flavor profile.
Let’s get baking!
Ingredients:
Instructions:
1. Preparing the Batter Base
The first step to achieving a perfectly tender banana bread is to properly cream your butter and sugar. In a large mixing bowl, beat the softened unsalted butter and granulated sugar together until the mixture is light, fluffy, and pnon-alcoholic ale yellow in color. This process incorporates air into the batter, which contributes to a lighter texture in the finished loaf. I usually do this with an electric mixer, starting on low speed and gradually increasing it. You want to ensure there are no large lumps of butter and that the sugar is well incorporated. This usually takes about 3-5 minutes of continuous beating. Once you’ve achieved that lovely fluffy consistency, it’s time to add the eggs.
2. Incorporating Wet Ingredients
Add the two large eggs to the creamed butter and sugar mixture, one at a time, beating well after each addition. Make sure each egg is fully incorporated before adding the next. This ensures that the eggs emulsify properly with the fat, creating a stable base for your batter. Next, stir in the mashed over-ripe bananas and the teaspoon of vanilla extract. Mash your bananas well; I like to use a fork for this, leaving a few small chunks for texture if you like. The bananas will add moisture and a significant amount of flavor, so don’t be shy with them! Stir everything together until it’s just combined. Don’t overmix at this stage; we’re just looking for everything to come together.
3. Combining Dry Ingredients and Gently Folding
In a separate medium bowl, whisk together the flour, baking soda, baking powder, and fine sea salt. Whisking the dry ingredients together beforehand helps to evenly distribute the leavening agents (baking soda and baking powder) and the salt, ensuring that your banana bread rises evenly and has a balanced flavor. Now, you’ll add these dry ingredients to your wet ingredients. It’s important here to mix just until combined. Overmixing gluten-containing batters can develop the gluten too much, leading to a tough, dense loaf. So, gently fold the dry ingredients into the wet ingredients using a spatula or wooden spoon. Stop mixing as soon as you no longer see streaks of dry flour.
4. Adding the Nuts and Baking Preparations
Once the dry ingredients are almost fully incorporated, it’s time to fold in the chopped walnuts. Again, do this gently, distributing them evenly throughout the batter. These add a wonderful textural contrast and a nutty aroma that pairs so well with banana. While you’re doing this, preheat your oven to 350 degrees Fahrenheit (175 degrees Celsius). Grease and flour a standard 9×5 inch loaf pan. You can also line it with parchment paper, leaving an overhang on the sides, which makes for very easy removal of the baked loaf.
5. Baking the Loaf to Golden Perfection
Pour the prepared batter into the greased and floured loaf pan, spreading it evenly. Place the pan in the preheated oven. Bake for approximately 50-65 minutes, or until a wooden skewer or toothpick inserted into the center of the loaf comes out clean. The baking time can vary depending on your oven, so it’s always best to check for doneness towards the end of the recommended baking period. If the top of the bread starts to brown too quickly before the inside is cooked, you can loosely tent it with aluminum foil.
6. Cooling and Enjoying
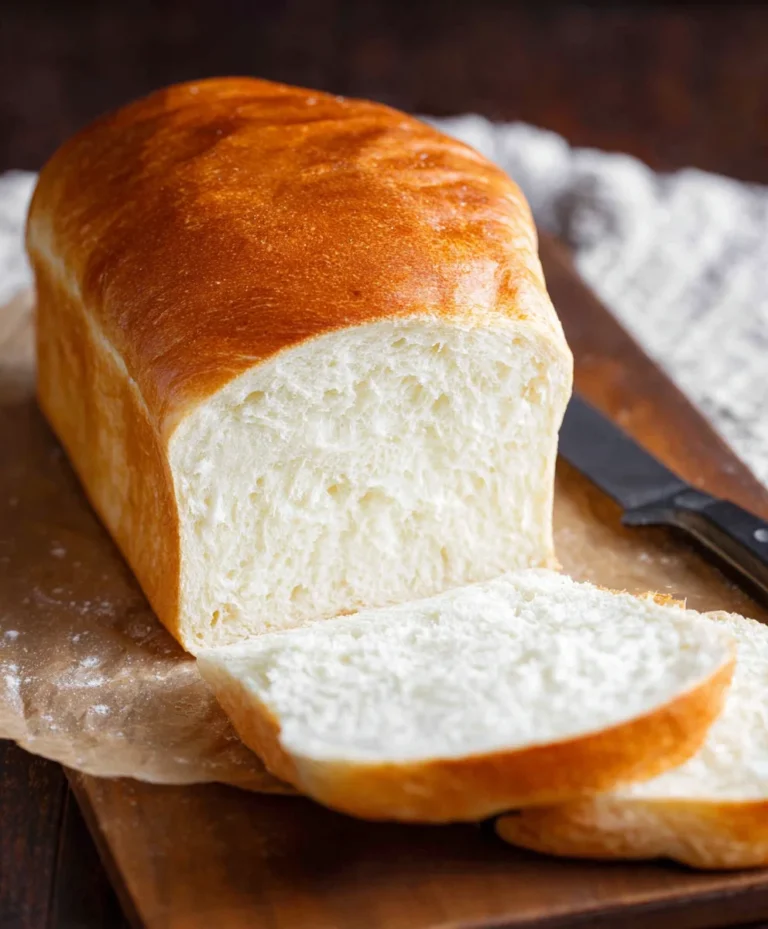
Once baked, remove the banana bread from the oven and let it cool in the pan on a wire rack for about 10-15 minutes. This allows the loaf to set up a bit, making it easier to remove from the pan without breaking. After this initial cooling period, carefully invert the loaf onto the wire rack and remove it from the pan. Let the banana bread cool completely on the wire rack before slicing. This is crucial for the texture; if you slice it too soon, it can be gummy. Once completely cooled, slice and enjoy! It’s delicious on its own, or perhaps with a smear of butter. This old-fashioned banana bread is sure to become a family favorite.
Conclusion:
There you have it – a simple yet incredibly rewarding recipe for classic Old Fashioned Banana Bread! What makes this recipe truly special is its ability to transform ripe, forgotten bananas into a moist, tender loaf bursting with comforting banana flavor. It’s the perfect way to reduce food waste and create something truly delicious. The beauty of this banana bread lies in its simplicity, making it an ideal project for bakers of all levels.
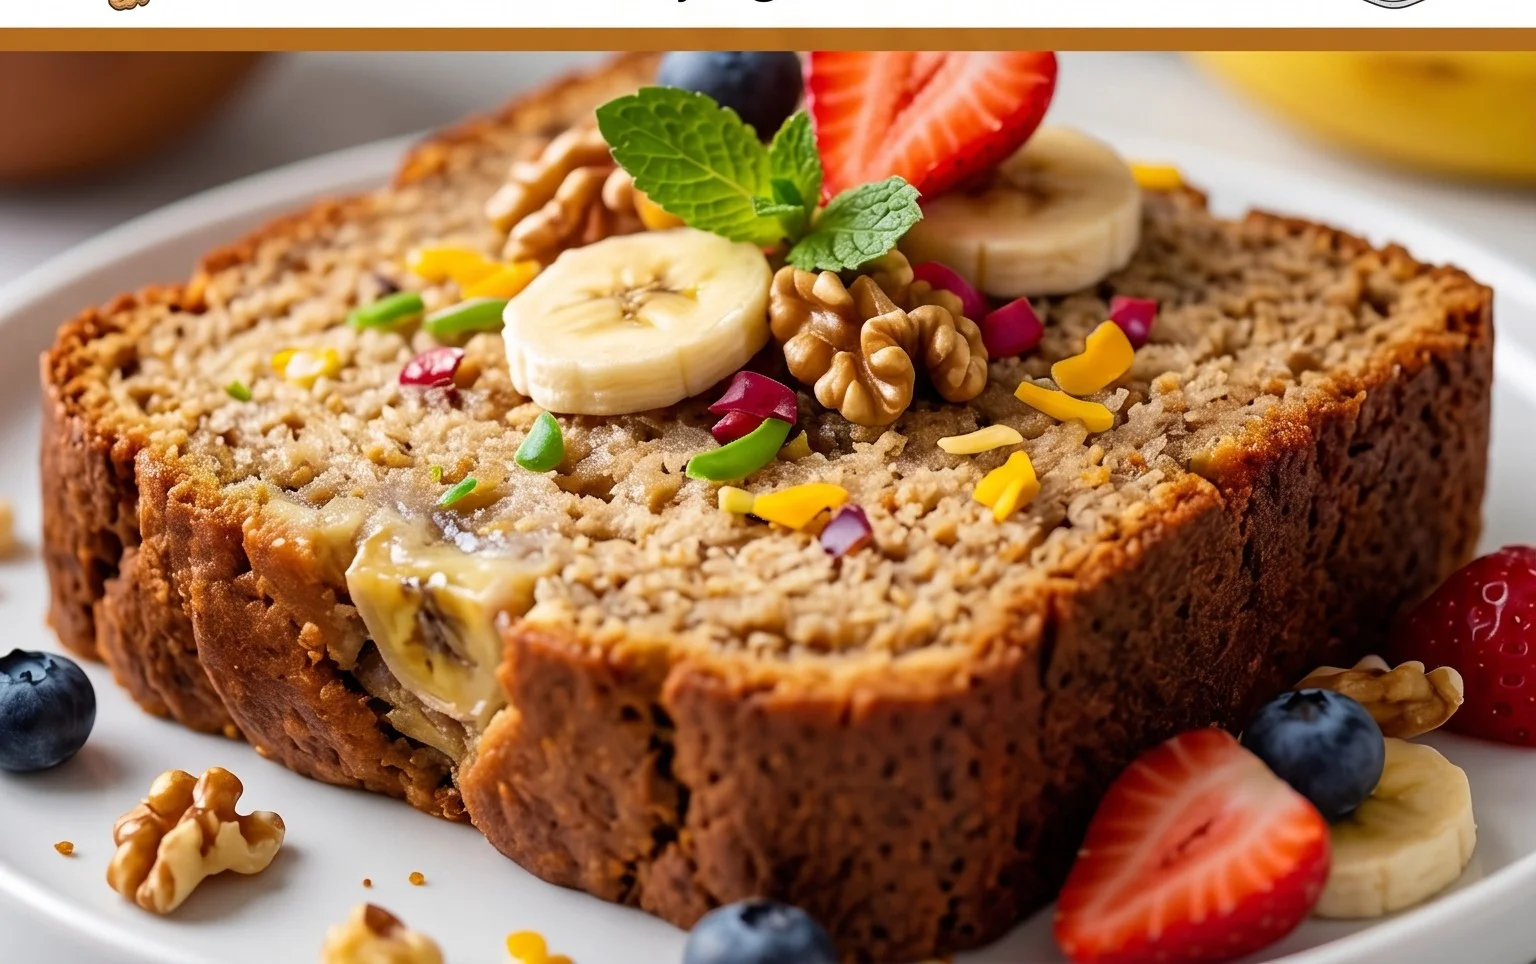
This versatile loaf is fantastic on its own, but don’t stop there! Enjoy a warm slice with a generous smear of butter, or a dollop of cream cheese for an extra touch of indulgence. It also pairs beautifully with a hot cup of coffee or tea. For variations, consider adding a handful of chocolate chips, chopped walnuts, or even a pinch of cinnamon and nutmeg for a spiced twist. I encourage you all to give this old-fashioned favorite a try – you won’t be disappointed with the delightful aroma that fills your kitchen and the irresistible taste that follows.
Frequently Asked Questions:
Why is my banana bread a bit dry?
Dry banana bread can often be attributed to overmixing the batter, which develops the gluten too much, or overbaking. Ensure you mix until just combined and keep a close eye on it towards the end of the baking time. Using very ripe bananas also adds crucial moisture.
Can I freeze this Old Fashioned Banana Bread?
Absolutely! Once completely cooled, wrap the loaf tightly in plastic wrap, then in aluminum foil, or place it in an airtight container. It will keep well in the freezer for up to 2-3 months. Thaw at room temperature or gently warm in the oven.
What’s the best way to ripen bananas for banana bread?
The riper, the better! Look for bananas with plenty of brown spots or even a mostly brown peel. If your bananas aren’t ripe enough, you can speed up the process by placing them in a brown paper bag with an apple or a ripe tomato for a day or two.
Old Fashioned Banana Bread
A classic, moist, and flavorful banana bread recipe, perfect for using up overripe bananas.
Ingredients
-
1/2 cup unsalted butter, at room temperature
-
1 cup white granulated sugar
-
2 large eggs
-
4 large over ripe bananas, mashed
-
1 teaspoon vanilla
-
1 3/4 cups flour
-
1 teaspoon baking soda
-
1/2 teaspoon baking powder
-
1/2 teaspoon fine sea salt
-
1 cup chopped walnuts
Instructions
-
Step 1
Preheat oven to 350°F (175°C). Grease and flour a 9×5 inch loaf pan. -
Step 2
In a large bowl, cream together the softened butter and sugar until light and fluffy. -
Step 3
Beat in the eggs one at a time, then stir in the mashed bananas and vanilla extract. -
Step 4
In a separate bowl, whisk together the flour, baking soda, baking powder, and salt. -
Step 5
Gradually add the dry ingredients to the wet ingredients, mixing until just combined. Do not overmix. -
Step 6
Fold in the chopped walnuts. -
Step 7
Pour the batter into the prepared loaf pan and bake for 60-75 minutes, or until a toothpick inserted into the center comes out clean. -
Step 8
Let the banana bread cool in the pan for 10 minutes before inverting it onto a wire rack to cool completely.
Important Information
Nutrition Facts (Per Serving)
It is important to consider this information as approximate and not to use it as definitive health advice.
Allergy Information
Please check ingredients for potential allergens and consult a health professional if in doubt.