Best Banana Bread Recipe- Easy & Delicious
The best banana bread recipe is a treasure, a warm hug in loaf form, and something I’ve spent years perfecting. Who doesn’t love the comforting aroma that fills your kitchen as this sweet treat bakes? It’s more than just a dessert; it’s a nostalgic journey back to childhood kitchens, a perfect accompaniment to a morning coffee, or a delightful afternoon pick-me-up. What truly sets this best banana bread recipe apart is its perfect balance of moistness, tender crum extractb, and rich banana flavor, elevated by just the right touch of spice. Forget dry, crum extractbly imposters; this recipe delivers pure banana bread bliss every single time. It’s so easy to make, you’ll wonder why you ever bought it from a bakery.
The Best Banana Bread Recipe
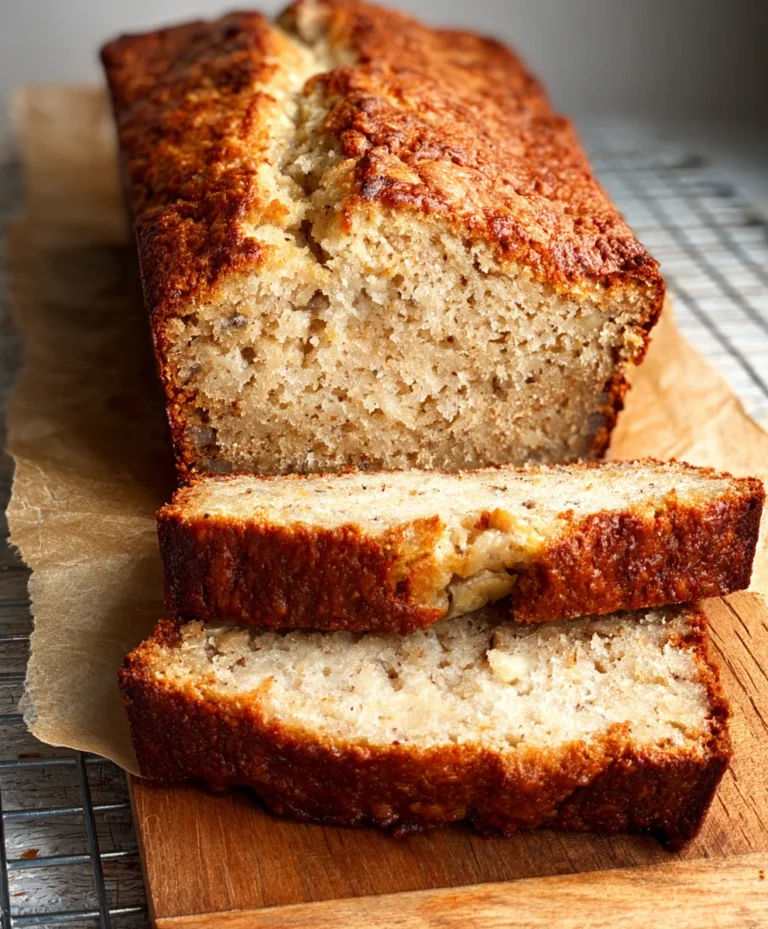
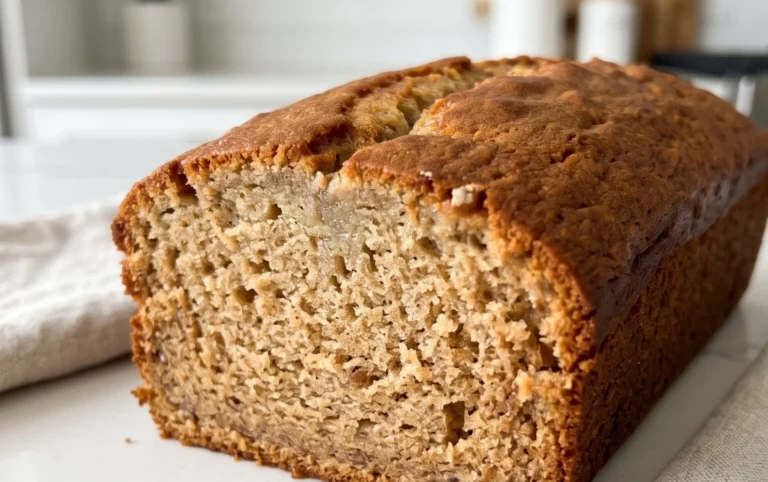
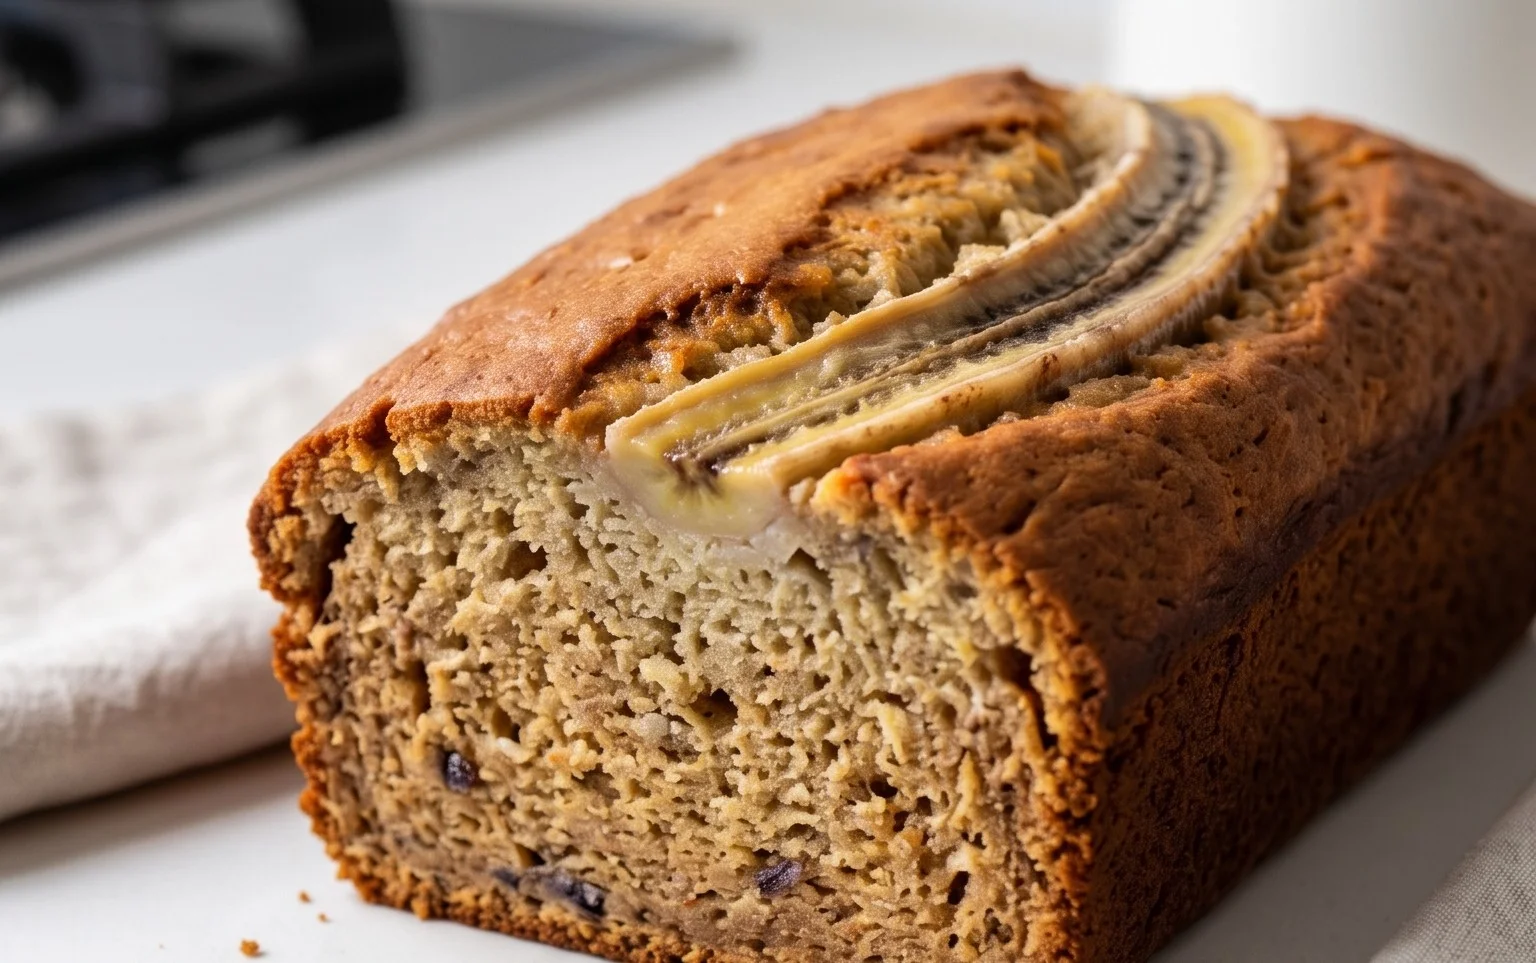
There’s something incredibly comforting about a warm slice of homemade banana bread. The sweet, fragrant aroma that fills your kitchen as it bakes is just the begin extractning of the delight. Whether you’re a seasoned baker or just starting out, this recipe is foolproof and delivers consistently moist, flavorful, and utterly delicious banana bread every single time. It’s perfect for breakfast, a mid-afternoon snack, or even a simple dessert. The key to truly exceptional banana bread lies in using ripe bananas – the spottier and browner, the better! This sweetness and moisture from the overripe bananas are what make this recipe shine. Don’t be tempted to use underripe bananas; they simply won’t provide the depth of flavor and tender texture we’re aiming for.
Ingredients:
Instructions:
Step 1: Prepare Your Baking Environment and Mash the Bananas
Preheat your oven to 350°F (175°C). Grease and flour a 9×5 inch loaf pan, or line it with parchment paper, leaving some overhang on the sides to make lifting the bread out easier. This ensures your beautiful loaf won’t stick. Next, let’s talk about the star of the show: the bananas. Take your ripe bananas and mash them in a medium bowl. You can use a fork, a potato masher, or even your hands (though a fork is usually best for consistency). Aim for a mostly smooth consistency with a few small chunks remaining for texture. Overripe bananas are essential here; they should be soft and have plenty of brown spots.
Step 2: Cream the Butter and Sugar, then Add Eggs and Vanilla
In a large mixing bowl, cream together the softened unsalted butter and granulated sugar. You can use an electric mixer (stand mixer or hand mixer) or a sturdy whisk and some elbow grease. Beat them until the mixture is light and fluffy, which usually takes about 2-3 minutes. This process incorporates air, which helps create a lighter texture in your finished bread. Next, add the large eggs, one at a time, beating well after each addition until fully incorporated. Scrape down the sides of the bowl as needed to ensure everything is well combined. Stir in the vanilla extract until just mixed.
Step 3: Combine Dry Ingredients and Add to Wet Ingredients
In a separate medium bowl, whisk together the all-purpose flour, baking soda, and salt. Whisking these dry ingredients together before adding them to the wet ingredients helps to distribute the leavening agent (baking soda) and salt evenly throughout the flour, preventing pockets of saltiness or uneven rising. Now, gradually add the dry ingredients to the wet ingredients. Mix on low speed or stir with a spatula until just combined. Be careful not to overmix. Overmixing can develop the gluten in the flour too much, resulting in a tough banana bread. A few streaks of flour are okay at this stage.
Step 4: Incorporate the Mashed Bananas and Pour into the Pan
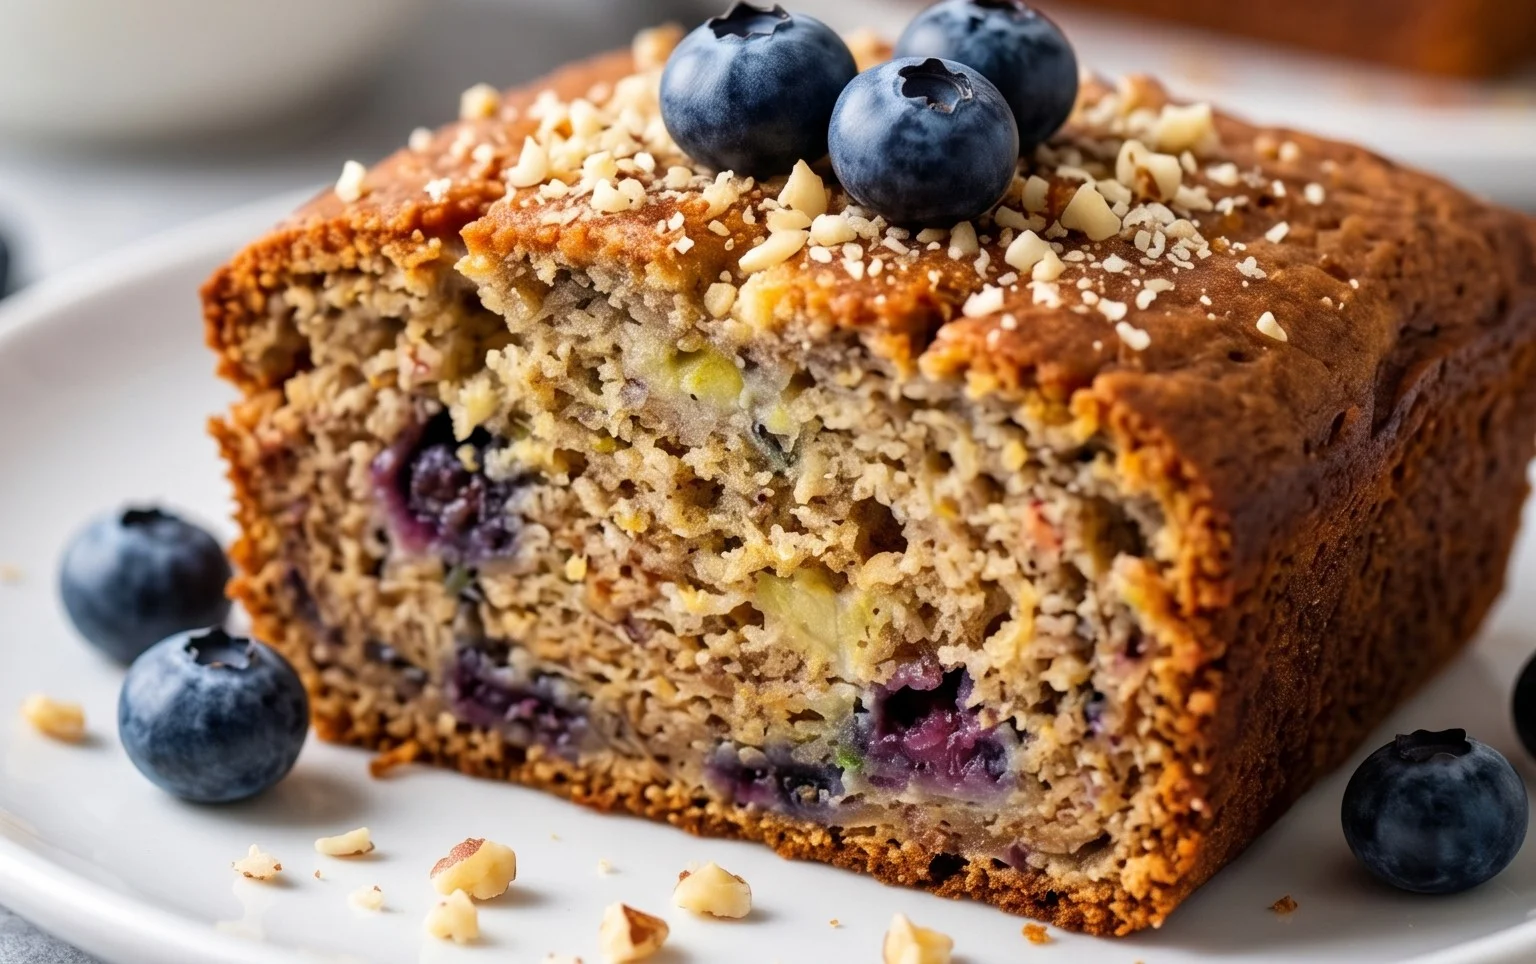
Gently fold in the mashed bananas into the batter. Again, mix until just combined. You want the banana to be evenly distributed but don’t overwork the batter. At this point, you can also add any optional add-ins like chocolate chips, nuts, or dried fruit, if desired, folding them in gently. Pour the batter into your prepared loaf pan. Use a spatula to spread the batter evenly. You can also tap the pan gently on the counter a couple of times to release any large air bubbles.
Step 5: Bake to Golden Perfection
Place the loaf pan in the preheated oven and bake for 50-60 minutes, or until a toothpick inserted into the center of the bread comes out clean. The baking time can vary depending on your oven, so it’s important to start checking around the 50-minute mark. If the top of the bread starts to brown too quickly before the inside is cooked, you can loosely tent it with aluminum foil. Once baked, remove the banana bread from the oven and let it cool in the pan for about 10-15 minutes. This allows the bread to set up properly before you attempt to remove it.
Step 6: Cool and Enjoy!
After the initial cooling period in the pan, carefully lift the banana bread out using the parchment paper overhang (if you used it) or invert the pan onto a wire rack. Let the banana bread cool completely on the wire rack before slicing. Slicing too early can cause it to crum extractble. Once fully cooled, slice it with a serrated knife for clean cuts. Enjoy your delicious, homemade banana bread on its own, toasted, or with a smear of butter. It’s truly a taste of home.
Conclusion:
You’ve now got the keys to unlocking the ultimate banana bread experience! This recipe truly stands out because it delivers a wonderfully moist crum extractb, a perfectly balanced sweetness, and that irresistible aroma that fills your kitchen. The secret lies in the ratio of ingredients and the simple technique that ensures a foolproof bake every time. Whether you’re a seasoned baker or just starting out, you’ll find this best banana bread recipe to be your go-to for a delicious treat.
Enjoy it warm, straight from the oven, with a generous spread of butter. It’s also fantastic slightly cooled, perhaps with a dollop of cream cheese frosting or a drizzle of honey. Don’t be afraid to get creative with variations! Fold in chocolate chips for a decadent twist, add chopped nuts for a delightful crunch, or even a sprinkle of cinnamon for extra warmth. I truly encourage you to give this recipe a try – you won’t be disappointed!
Frequently Asked Questions:
Q: My banana bread came out dry. What did I do wrong?
A: Dry banana bread is often a result of overbaking or using not ripe enough bananas. Ensure your bananas are very speckled or even mostly brown for maximum moisture and sweetness. Also, try to avoid opening the oven door too early in the baking process, and test for doneness with a toothpick inserted into the center – it should come out with a few moist crum extractbs attached, not completely clean.
Q: Can I make this recipe healthier?
A: Absolutely! You can substitute half of the all-purpose flour with whole wheat flour for added fiber. Reducing the sugar slightly is also an option, as the ripe bananas provide significant sweetness. For a dairy-free version, use plant-based milk and oil instead of butter.
Best Banana Bread Recipe
Moist and delicious banana bread, perfect for using up ripe bananas.
Ingredients
-
1/2 cup unsalted butter, at room temperature
-
1 cup granulated sugar
-
2 large eggs
-
2 cups all purpose flour
-
1 tsp baking soda
-
1/2 tsp salt
-
3 medium bananas
-
1 tsp vanilla extract
Instructions
-
Step 1
Preheat oven to 350°F (175°C). Grease and flour a 9×5 inch loaf pan. -
Step 2
In a large bowl, cream together the softened butter and sugar until light and fluffy. -
Step 3
Beat in the eggs one at a time, then stir in the vanilla extract. -
Step 4
In a separate bowl, whisk together the flour, baking soda, and salt. -
Step 5
Gradually add the dry ingredients to the wet ingredients, mixing until just combined. Do not overmix. -
Step 6
Mash the bananas well and fold them into the batter. -
Step 7
Pour the batter into the prepared loaf pan and bake for 50-65 minutes, or until a wooden skewer inserted into the center comes out clean. -
Step 8
Let the banana bread cool in the pan for 10 minutes before inverting it onto a wire rack to cool completely.
Important Information
Nutrition Facts (Per Serving)
It is important to consider this information as approximate and not to use it as definitive health advice.
Allergy Information
Please check ingredients for potential allergens and consult a health professional if in doubt.