Easy Homemade Fruit Leather – Sweet & Healthy Treat
Homemade fruit leather recipes are an absolute game-changer for snack time! There’s something incredibly satisfying about transforming fresh fruit into these vibrant, chewy, and intensely flavorful strips. We all know how much kids (and let’s be honest, adults too!) adore those store-bought fruit snacks, but the truth is, homemade fruit leather blows them out of the water. What makes this treat so special is the pure, unadulterated taste of real fruit, without any of the added sugars or artificial ingredients you often find in commercial versions. Imagin extracte the burst of your favorite berry or the tropical sweetness of mango, concentrated into a delightful, portable snack. This homemade fruit leather recipe is not only healthier but also allows you to customize flavors to your heart’s content, making it a truly personal and delicious creation.
Homemade Fruit Leather Recipe
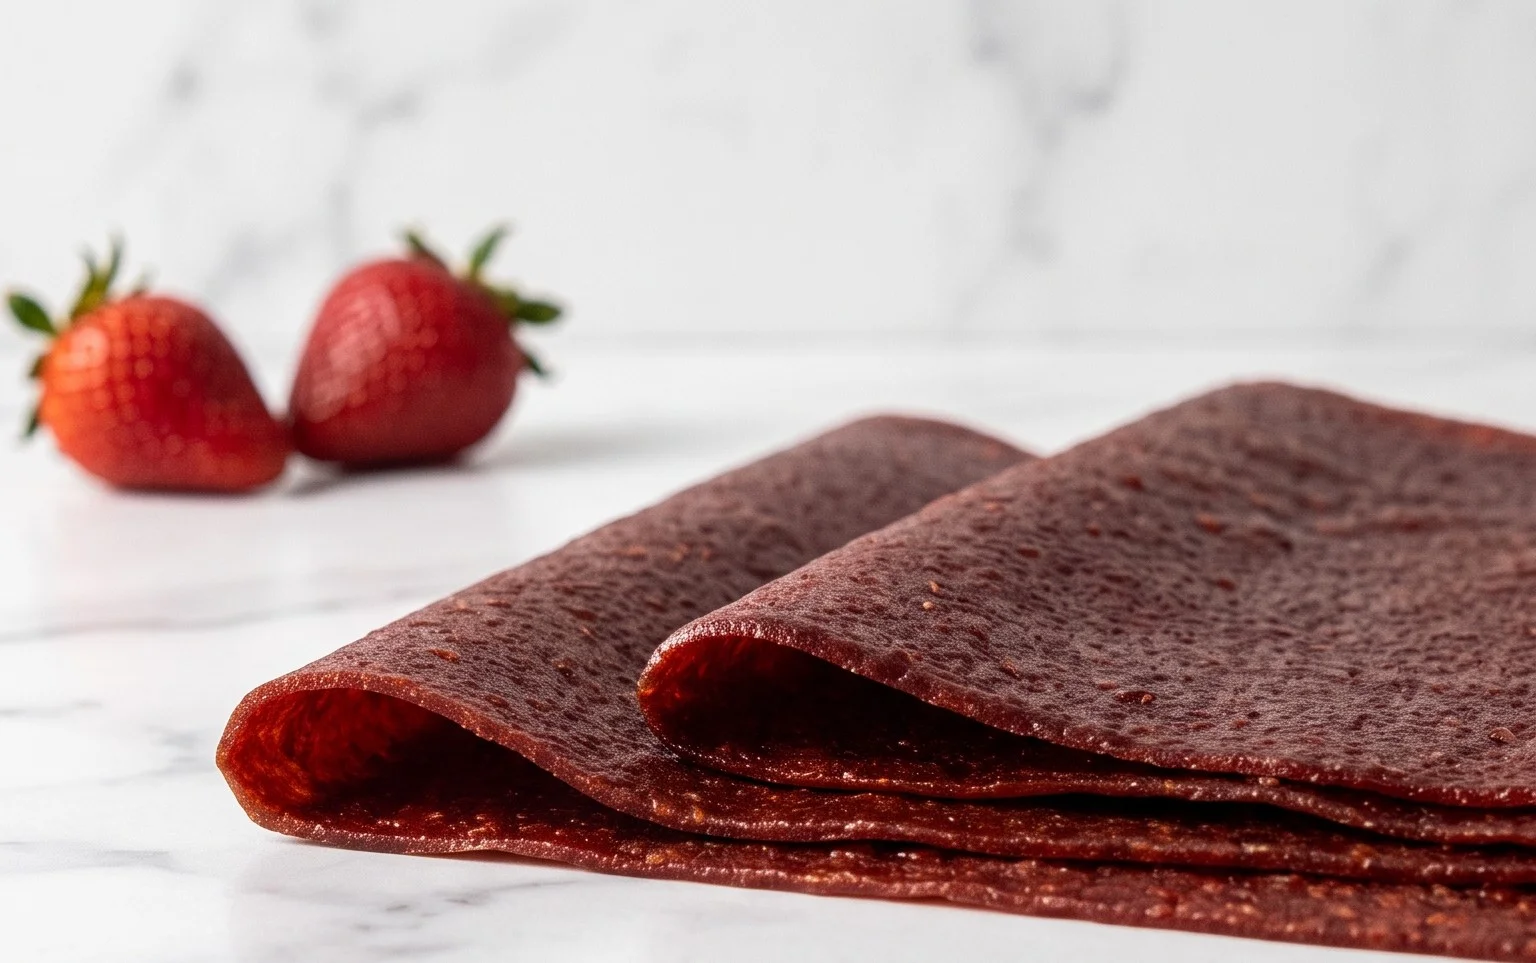
There’s something incredibly satisfying about creating your own snacks from scratch, and fruit leather is a prime example. It’s a wonderfully chewy, intensely flavorful treat that’s infinitely customizable. Forget those artificially flavored store-bought versions; homemade fruit leather is packed with the pure taste of fruit, and the process is surprisingly simple and rewarding. My kids devour it, and I love knowing exactly what goes into it. It’s a fantastic way to use up ripe fruit, and the tangy sweetness is utterly addictive. Let’s dive into how we can make this delicious, healthy snack together!
Ingredients:
Preparing Your Fruit
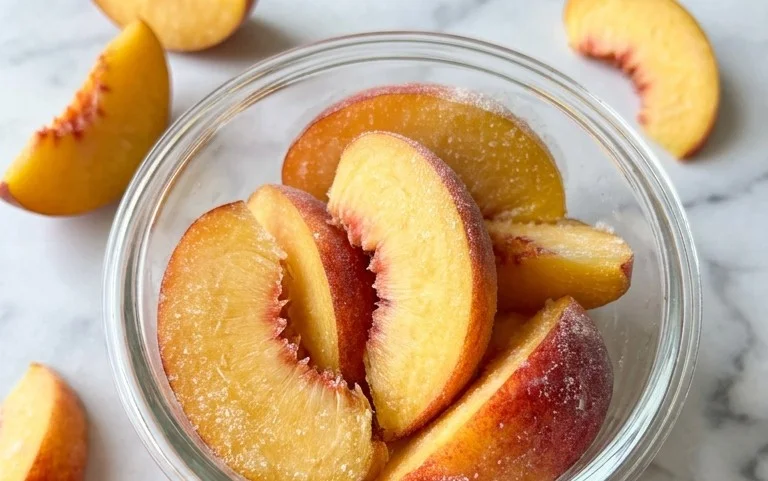
The first step to amazing fruit leather is choosing and preparing your fruit. The riper, the better! Overripe fruit is naturally sweeter and has more flavor, which means you might need less added sugar. For this recipe, we’ll assume we’re using about 2 cups of beautifully ripe strawberries, hulled and roughly chopped. If you’re using larger fruits like peaches or apples, you’ll want to peel and core them before chopping. For tougher fruits like apples, a quick steam or a short simmer can help them break down more easily. Berries are generally straightforward – just wash them, remove any stems, and chop if they’re particularly large. The goal is to have pieces that will blend smoothly.
Blending the Base
Once your fruit is prepped, it’s time to create our vibrant fruit puree. This is where the magic starts to happen. Carefully transfer your chopped fruit into a blender or food processor. Add the 3 tablespoons of white sugar. The amount of sugar is a guideline; if your fruit is exceptionally sweet, you might want to start with 2 tablespoons and taste before adding more. Conversely, if your fruit is a little tart, you might lean towards 4 tablespoons. The lemon juice is crucial here. It doesn’t just add a bright, zesty note that cuts through the sweetness; it also acts as a natural preservative and helps the fruit leather set. Add the juice from half a lemon to the blender. Now, blend everything until it’s completely smooth. You want a silky puree with no chunks or seeds remaining. If your blender is struggling, you can add a tablespoon or two of water, but try to keep it thick for the best leather consistency.
The Baking Process
Now comes the part where we slowly dehydrate our fruit puree into delicious, chewy fruit leather. This requires a bit of patience, but the result is absolutely worth it.
Step 1: Preheat and Prepare Your Baking Sheet
Preheat your oven to its lowest setting. This is usually around 170-200°F (75-95°C). A low, slow bake is key to drying out the fruit without cooking it or burning it. Line a large baking sheet with parchment paper or a silicone baking mat. Make sure the parchment paper or mat covers the entire surface of the baking sheet, as you’ll be spreading the fruit puree quite thinly.
Step 2: Spread the Fruit Puree
Pour your smooth fruit puree onto the prepared baking sheet. Using a spatula or the back of a spoon, spread the puree evenly across the entire surface of the parchment paper or mat. Aim for a thickness of about ¼ inch. Try to get it as uniform as possible, as this will ensure even drying. If you have thicker spots, they’ll take longer to dry, and you might end up with unevenly textured fruit leather.
Step 3: The Slow Bake
Place the baking sheet in the preheated oven. Now, we wait. The baking time can vary significantly depending on your oven’s temperature, the thickness of your fruit layer, and the moisture content of your fruit. It can take anywhere from 4 to 10 hours. Resist the urge to check too frequently in the first few hours. You want to allow the moisture to evaporate slowly.
Step 4: Checking for Doneness
You’ll know your fruit leather is ready when it’s no longer sticky to the touch but is still pliable. When you gently press the surface, it should feel dry and firm, not wet or gooey. If you’re unsure, you can lift a corner with a spatula; it should peel away cleanly from the parchment paper. If it’s still too sticky, continue baking and check every hour. You can also prop the oven door open slightly with a wooden spoon to allow more moisture to escape, which can speed up the drying process, especially in the later stages. Be careful not to over-bake, or it will become brittle and break easily.
Step 5: Cooling and Cutting
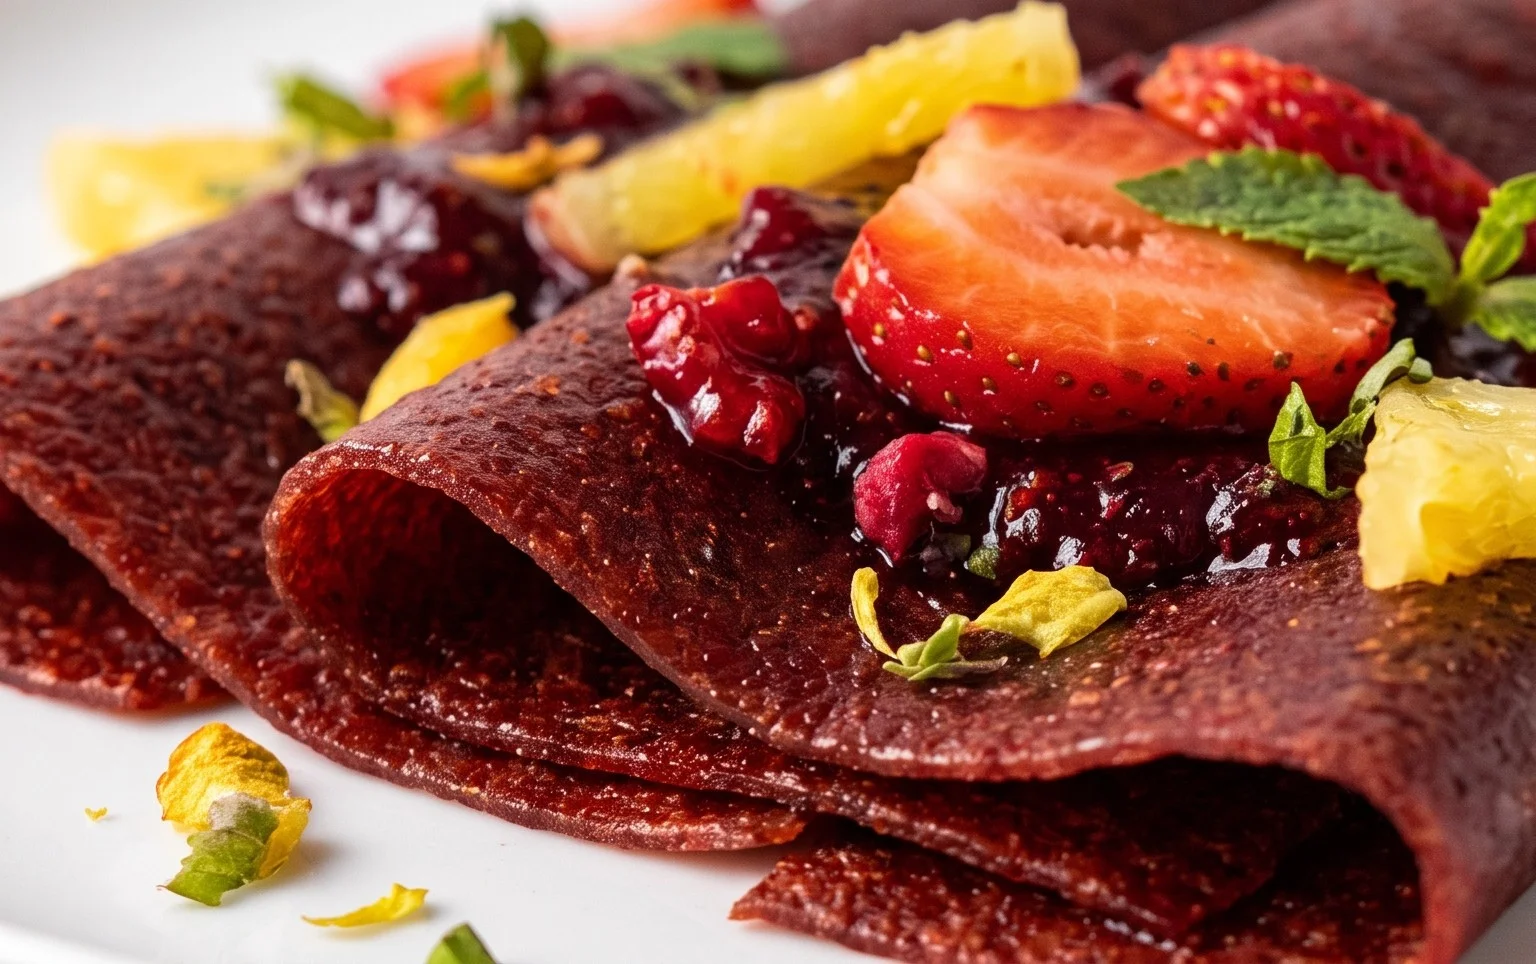
Once your fruit leather has reached the desired consistency, carefully remove the baking sheet from the oven. Let it cool completely on the baking sheet. This is important because the fruit leather will continue to firm up as it cools. Once it’s cool to the touch and no longer feels warm, you can peel the entire sheet of fruit leather off the parchment paper. Then, using a sharp knife or pizza cutter, slice it into strips or fun shapes. I like to roll mine up into little spirals, which makes them easy to store and grab.
Storing Your Homemade Fruit Leather
To store your delicious homemade fruit leather, you can wrap individual pieces tightly in parchment paper or plastic wrap to prevent them from sticking together. Store them in an airtight container at room temperature for a week or two, or in the refrigerator for longer storage. If you live in a humid climate, it’s best to store it in the refrigerator to prevent it from becoming sticky. Enjoy your healthy, homemade fruit leather as a lunchbox treat, a post-workout snack, or whenever that sweet craving strikes!
Conclusion:
Making your own fruit leather is such a rewarding and delicious endeavor! This Homemade Fruit Leather Recipe is fantastic because it’s incredibly simple, uses just a few wholesome ingredients, and allows you to control the sweetness and types of fruit. It’s a perfect way to preserve seasonal produce and create a healthy, chewy treat that everyone will love. Imagin extracte the satisfaction of pulling perfectly pliable, intensely flavored fruit leather from your oven or dehydrator! It’s a wonderful activity to do with kids, too. I truly encourage you to give this recipe a try; you’ll be amazed at how easy it is to create something so special from scratch. Experiment with different fruit combinations and discover your own signature flavor!
Serving Suggestions: Fruit leather is brilliant on its own as a healthy snack. Pack it in lunches, take it on hikes, or enjoy a piece as a sweet pick-me-up. It’s also a fun addition to charcuterie boards or can be cut into fun shapes for a festive touch. For a more decadent treat, try rolling it around a small piece of cheese or drizzling a thin layer of dark chocolate over cooled leather.
Variations: The possibilities are almost endless! Beyond the classic berry or apple fruit leather, consider peaches, plums, mangoes, or even a tropical blend of pineapple and banana. You can add a pinch of cinnamon, nutmeg, or a touch of gin extractger for warmth. For a tangy twist, a squeeze of lemon or lime juice can elevate the fruit’s natural flavors. Some even add a hint of vanilla extract for a comforting aroma.
Frequently Asked Questions:
What’s the best way to store homemade fruit leather?
Store your Homemade Fruit Leather Recipe creations in an airtight container at room temperature for up to a week, or in the refrigerator for longer storage (several weeks). You can also wrap individual pieces tightly in parchment paper or plastic wrap before placing them in a container. If you live in a very humid climate, refrigeration is recommended to prevent stickiness.
Can I make fruit leather without a dehydrator?
Absolutely! You can easily make fruit leather in your oven. Simply spread the fruit puree thinly on a baking sheet lined with parchment paper and bake at the lowest possible temperature (usually around 170°F or 75°C) for several hours, or until the fruit leather is no longer sticky to the touch. Keep a close eye on it to prevent burning.
My fruit leather is sticky, what did I do wrong?
A sticky fruit leather usually means it wasn’t dried long enough. It needs to be pliable but not leave residue on your fingers when touched. Ensure you are drying it thoroughly. Also, the thickness of your puree layer can affect drying time; aim for a consistent, thin layer for even drying. If it’s already made and a bit sticky, you can try putting it back in the oven or dehydrator for a little while longer.
Homemade Fruit Leather
A simple and delicious way to preserve fresh fruit by turning it into a chewy, sweet fruit leather.
Ingredients
-
2 cups fruit, chopped
-
3 tbsp white sugar
-
½ whole lemon, just the juice
-
1 cup apple puree
-
¼ cup water
-
1 tsp vanilla extract
Instructions
-
Step 1
Preheat oven to the lowest possible temperature (around 170°F or 75°C). -
Step 2
Line a baking sheet with parchment paper or a silicone baking mat. -
Step 3
Combine the chopped fruit and water in a saucepan. Cook over medium heat until the fruit is softened and breaks down easily, about 10-15 minutes. -
Step 4
Puree the cooked fruit mixture in a blender or food processor until smooth. Stir in the sugar, lemon juice, apple puree, and vanilla extract. -
Step 5
Pour the mixture onto the prepared baking sheet, spreading it into a thin, even layer. -
Step 6
Bake for 4-6 hours, or until the fruit leather is no longer sticky to the touch and can be easily peeled from the parchment. -
Step 7
Let cool completely on the baking sheet, then cut into strips or squares.
Important Information
Nutrition Facts (Per Serving)
It is important to consider this information as approximate and not to use it as definitive health advice.
Allergy Information
Please check ingredients for potential allergens and consult a health professional if in doubt.