Sweet Potato Tortillas Gluten-Free Vegan Wraps
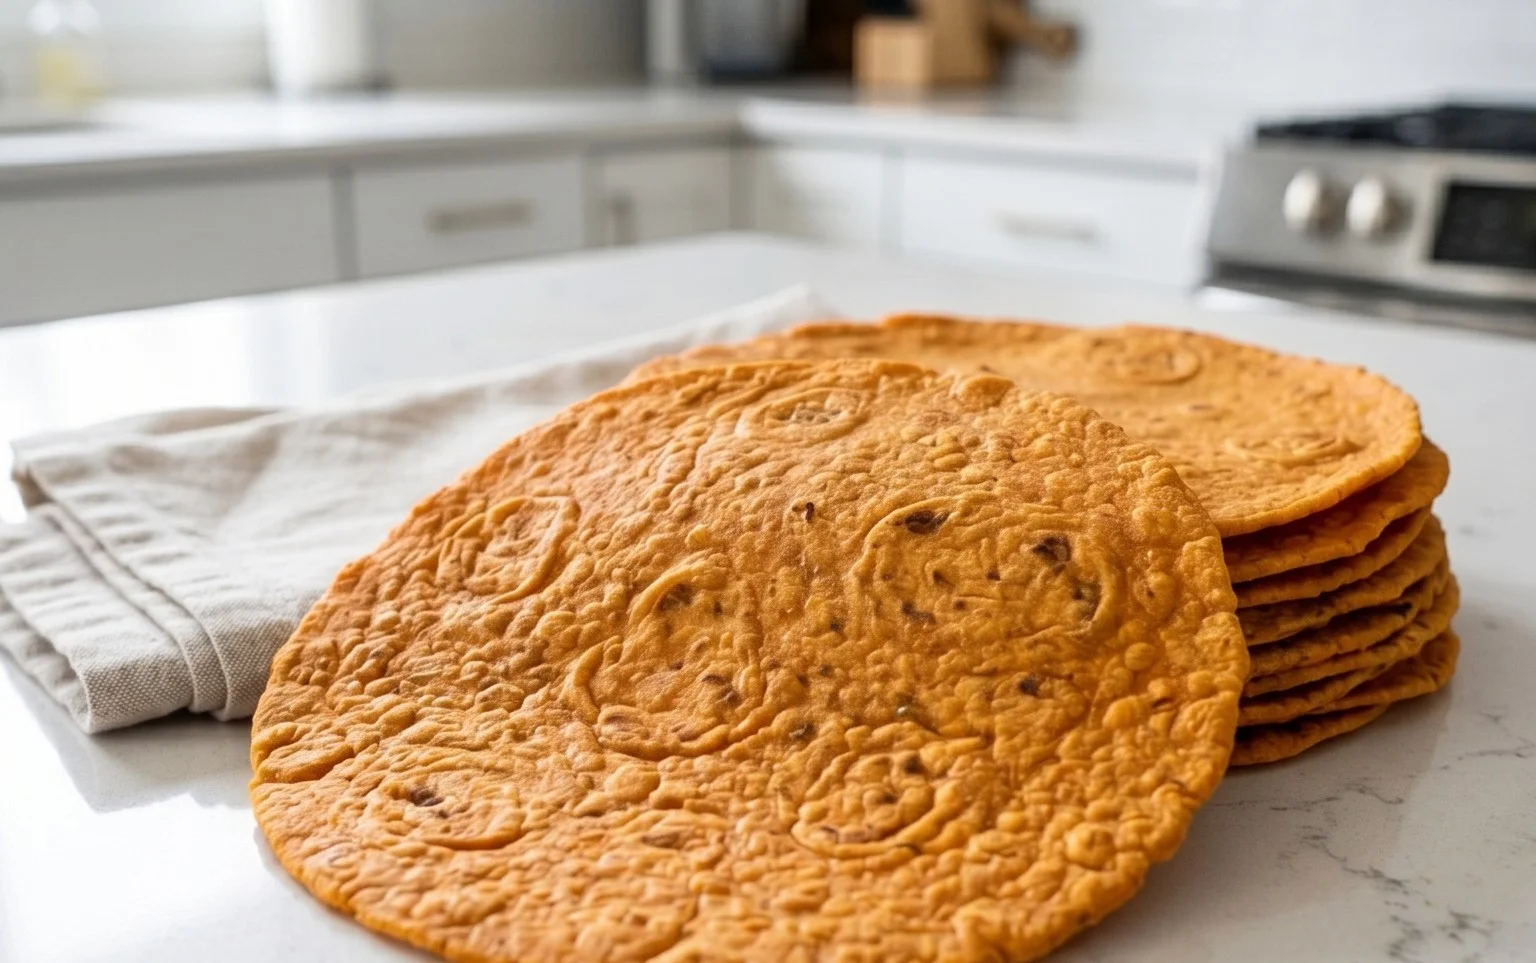
Sweet Potato Tortillas (Gluten-Free Vegan Wraps) are about to become your new kitchen obsession. If you’ve been searching for a versatile, wholesome, and utterly delicious base for your favorite fillings, look no further. These vibrant wraps offer a delightful twist on traditional tortillas, infusing them with the natural sweetness and beautiful hue of sweet potatoes. People are falling in love with these because they’re not just about catering to dietary needs; they’re a flavor sensation in their own right. What makes these sweet potato tortillas truly special is their incredible texture – wonderfully pliable, never crum extractbly, and perfectly sturdy enough to hold all your culinary creations, from breakfast burritos to hearty dinner wraps. Plus, knowing they’re both gluten-free and vegan makes them an inclusive win for everyone at the table. Get ready to elevate your wrap game!
Sweet Potato Tortillas (Gluten-Free Vegan Wraps)
Welcome to a recipe that will revolutionize your wrap game! If you’re looking for a healthy, flavorful, and delightfully chewy gluten-free and vegan tortilla, you’ve landed in the right place. These sweet potato tortillas are not only a joy to make but also incredibly versatile. They’re perfect for breakfast burritos, savory lunch wraps, or even as a fun base for mini pizzas. The natural sweetness of the sweet potato adds a subtle complexity that complements a wide range of fillings, from spiced black beans and salsa to vibrant roasted vegetables and creamy avocado. Say goodbye to dry, crum extractbly gluten-free wraps and hello to a soft, pliable tortilla that holds its own.
The magic behind these tortillas lies in the combination of nutrient-rich sweet potato, the binding power of psyllium husk, and the tenderizing effect of vegan butter and a touch of sourdough starter. Even if you’re new to gluten-free baking or working with sourdough, don’t be intimidated! I’ve broken down the process into easy-to-follow steps, and I’ll offer some helpful tips along the way. Let’s get started on creating these delicious, guilt-free wraps that will impress even the most discerning palates.
Ingredients:
Cooking Instructions:
Step 1: Prepare the Sweet Potato Mash
The foundation of our delicious tortillas is perfectly cooked sweet potato. Begin extract by preparing your sweet potatoes. You want them to be cooked until very tender, but it’s crucial to avoid adding any extra liquid during the cooking process. Steaming or boiling them in their skins and then mashing is the ideal method. Once cooked, peel the sweet potatoes (if you haven’t already) and mash them thoroughly in a medium-sized bowl. Aim for a smooth, lump-free consistency. You can use a fork, a potato masher, or even a ricer for the smoothest result. This mashed sweet potato will provide moisture, flavor, and a lovely color to our tortillas. Make sure to let the mash cool slightly before proceeding to the next step. Warm mash is fine, but boiling hot mash can affect the texture of the dough.
Step 2: Combine Wet Ingredients and Seasonings
In the bowl with the slightly cooled sweet potato mash, add the vegan butter. If your vegan butter is firm, you might want to soften it slightly beforehand. If you’re using a neutral oil instead of butter, simply add it to the mash. Next, add the hot water. Start with 1 tablespoon and have the second one ready. The amount of water you’ll need can vary depending on the moisture content of your sweet potato mash. Stir everything together until the butter is melted and incorporated into the mash, creating a rich, creamy base. Now, it’s time to add the flavor! Sprinkle in the sea salt, black pepper, onion powder, and garlic powder. Mix well to ensure the seasonings are evenly distributed throughout the sweet potato mixture. This is where the savory notes start to come alive, balancing the natural sweetness of the potato.
Step 3: Incorporate the Gluten-Free Sourdough Starter and Psyllium Husk
This is where the gluten-free magic really happens! Gently fold in your gluten-free sourdough starter. If you don’t have a gluten-free sourdough starter, don’t worry! You can omit this ingredient and add an extra 1/4 cup of gluten-free flour blend and 1 tablespoon of apple cider vinegar to the wet ingredients. The sourdough starter adds a subtle tang and helps with fermentation, contributing to a better texture and flavor. Next, add the psyllium husk. Psyllium husk is a fantastic binder in gluten-free baking, mimicking the elasticity that gluten provides. Stir it in thoroughly. You’ll notice the mixture starting to thicken as the psyllium husk absorbs moisture.
Step 4: Add the Flour and Form the Dough
Now it’s time to bring it all together into a dough. Add 2 tablespoons of the arrowroot flour (or your chosen starchy flour) to the bowl. If you’re using the optional baking powder for extra puffiness, add it now. Mix everything together. The dough might seem a bit sticky at this stage. If it’s too wet to handle, gradually add the remaining tablespoon of arrowroot flour, or just enough to create a cohesive dough that’s still slightly tacky. You want a dough that is pliable and easy to work with, not dry and crum extractbly, nor overly sticky. Gently knead the dough in the bowl for about a minute, just until it comes together. Don’t over-knead, as this can make gluten-free baked goods tough. The goal here is simply to ensure all ingredients are well combined and the dough is smooth.
Step 5: Rest and Shape the Tortillas
Once your dough has come together, cover the bowl with a clean kitchen towel or plastic wrap and let it rest for about 10-15 minutes. This resting period allows the psyllium husk to fully hydrate and the dough to become more manageable. After resting, divide the dough into 4-6 equal portions, depending on how large you want your tortillas. Roll each portion into a ball. Lightly dust a clean surface and your rolling pin with a little arrowroot flour. Place one dough ball on the floured surface and gently flatten it with your hand. Then, using your rolling pin, roll it out as thinly as possible, aiming for a circular shape about 6-8 inches in diameter. If the dough sticks, dust lightly with more flour. The thinner you roll them, the more pliable and less bread-like your tortillas will be.
Step 6: Cook the Sweet Potato Tortillas
Heat a lightly oiled or ungreased non-stick skillet or griddle over medium heat. Once the skillet is hot, carefully place one of the rolled-out tortillas onto it. Cook for about 2-3 minutes per side, or until golden brown spots appear and the tortilla starts to puff up slightly. You’ll see small bubbles forming on the surface. Flip the tortilla with a spatula and cook the other side until it’s also lightly browned. Avoid overcooking, which can make them brittle. Once cooked, immediately transfer the tortilla to a plate and cover it with a clean kitchen towel or wrap it in foil. This steaming process helps keep them soft and pliable. Repeat this process with the remaining dough balls, stacking the cooked tortillas and keeping them covered as you go.
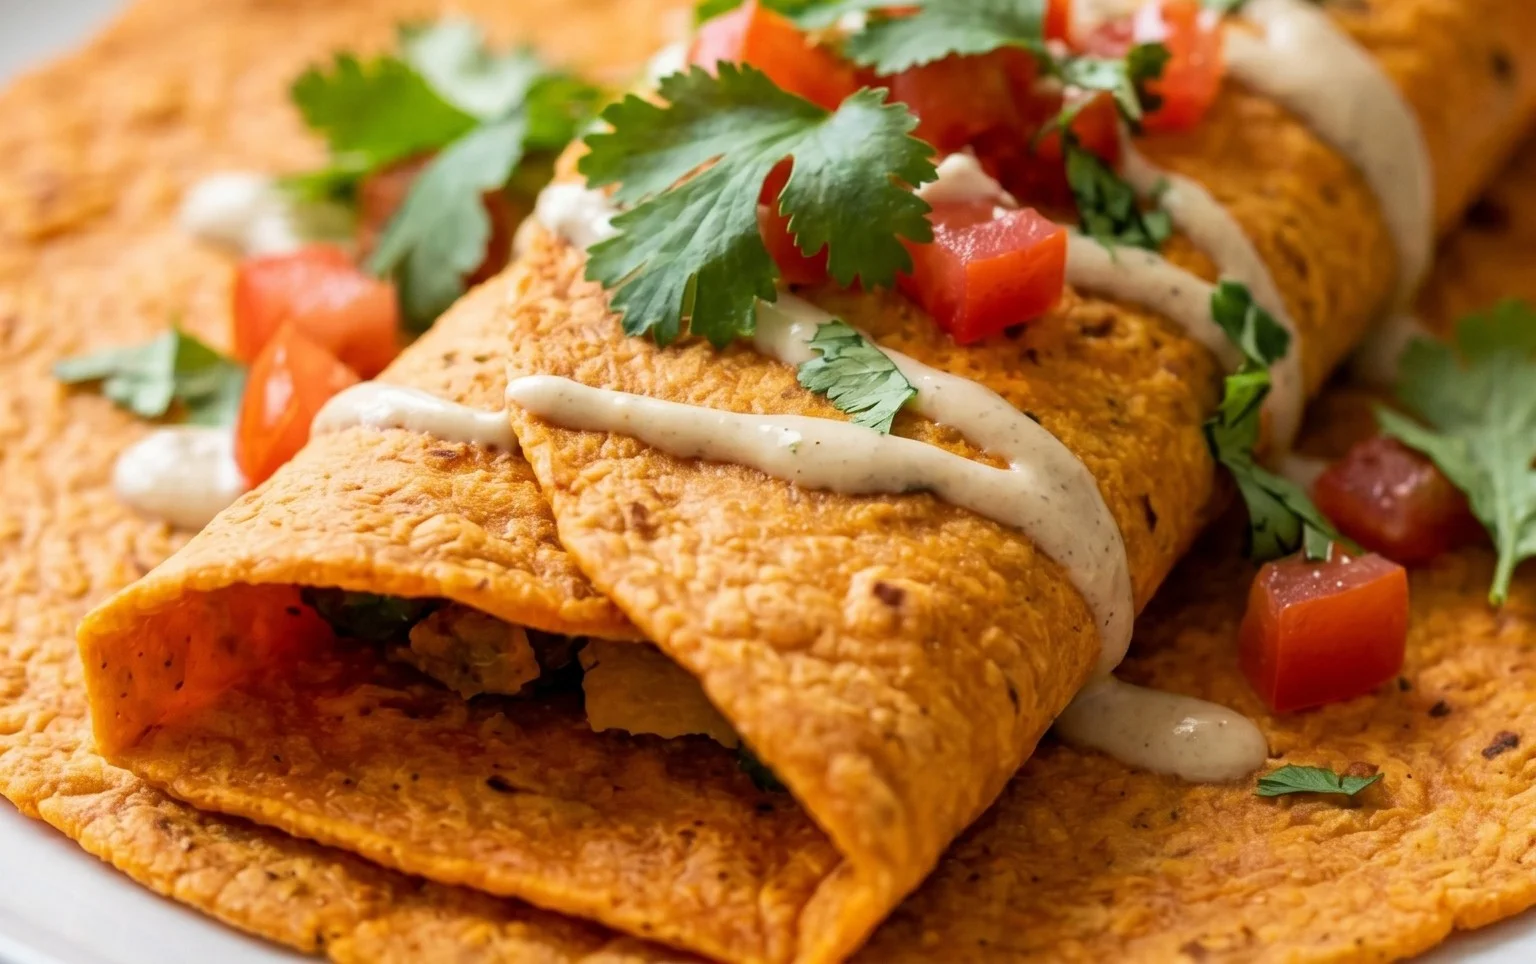
Enjoy your homemade Sweet Potato Tortillas! They are best served warm.
Conclusion:
There you have it – a simple yet incredibly satisfying recipe for Sweet Potato Tortillas! These gluten-free vegan wraps are a game-changer for anyone looking for healthier, more versatile meal options. The natural sweetness of the sweet potato, combined with the wholesome goodness of gluten-free flour, creates a delightfully soft and pliable tortilla that holds up beautifully to any filling. They are perfect for a quick lunch, a light dinner, or even a delicious snack. I encourage you to give these Sweet Potato Tortillas a try; I’m confident you’ll love their unique flavor and how easy they are to make!
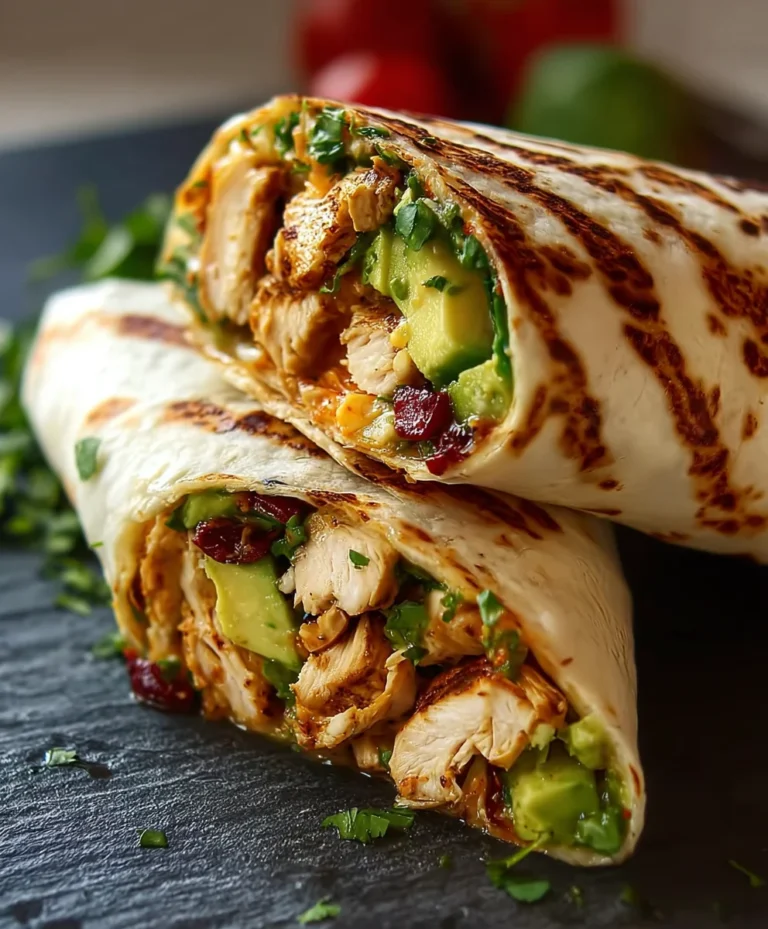
Get creative with your fillings! They are fantastic with classic taco or fajita fillings, but don’t stop there. Imagin extracte them piled high with spiced black beans and corn, or filled with shredded jackfruit and a tangy BBQ sauce. They also work wonderfully as a base for loaded breakfast burritos with tofu scramble and avocado, or as a delightful vehicle for hummus and fresh vegetables. Don’t be afraid to experiment with different spices in the dough itself, like a pinch of cumin or smoked paprika, to add another layer of flavor.
Frequently Asked Questions:
Q: Can I make these sweet potato tortillas ahead of time?
A: Absolutely! Once cooled, you can store them in an airtight container at room temperature for up to 2 days, or in the refrigerator for up to 5 days. For longer storage, they freeze beautifully. Simply stack them with parchment paper in between and store in a freezer-safe bag for up to 3 months. Reheat gently in a skillet or microwave.
Q: My tortillas are tearing when I try to roll them. What can I do?
A: This usually means the dough is a little too dry or not rested enough. Ensure you’ve added enough liquid (water or plant milk) until it forms a pliable dough. Letting the dough rest for 10-15 minutes after kneading can also help relax the gluten and make them more flexible. When rolling, ensure your surface and rolling pin are lightly floured, and roll them to a consistent thickness without being too thin.
Q: What kind of gluten-free flour blend works best?
A: A good all-purpose gluten-free flour blend that contains a mix of rice flour, potato starch, tapioca starch, and xanthan gum (if not already in the blend) usually works very well. Some blends might produce slightly different textures, so be prepared for minor adjustments to the liquid content if needed.
Sweet Potato Tortillas (Gluten-Free Vegan Wraps)
Delicious and versatile gluten-free vegan wraps made with sweet potato, perfect for any meal.
Ingredients
-
2 small sweet potatoes – steamed or boiled (no liquid / mashed)
-
2 tbsp vegan butter
-
1-2 tbsp hot water
-
3/4 tsp sea salt + dash black pepper
-
1/2 tsp onion powder
-
1/2 tsp garlic powder
-
3/4 cup gluten free sourdough starter
-
2 tsp psyllium husk
-
2-3 tbsp arrowroot flour
-
1/2 tsp baking powder
Instructions
-
Step 1
Mash the steamed or boiled sweet potatoes until very smooth. Ensure no liquid remains. -
Step 2
In a bowl, combine the mashed sweet potato, vegan butter, hot water, sea salt, black pepper, onion powder, and garlic powder. Mix well. -
Step 3
Add the gluten free sourdough starter, psyllium husk, and arrowroot flour to the wet ingredients. Mix until a dough forms. If the dough is too dry, add a tiny bit more hot water. If too wet, add a bit more arrowroot flour. -
Step 4
If using, stir in the baking powder for puffier tortillas. -
Step 5
Divide the dough into 4-6 equal portions and roll them into balls. -
Step 6
On a lightly floured surface (use arrowroot flour), roll each ball thinly into a tortilla shape. -
Step 7
Heat a lightly oiled skillet or griddle over medium heat. Cook each tortilla for 2-3 minutes per side, until lightly browned and cooked through.
Important Information
Nutrition Facts (Per Serving)
It is important to consider this information as approximate and not to use it as definitive health advice.
Allergy Information
Please check ingredients for potential allergens and consult a health professional if in doubt.