Vegan Gluten-Free Chickpea Brownies – Easy Recipe
Flourless chickpea brownies are about to revolutionize your dessert game! If you’ve ever craved a fudgy, intensely chocolatey treat but found yourself staring into a pantry devoid of flour, or if you’re navigating the world of vegan and gluten-free baking, then get ready to be amazed. These aren’t your average brownies; they’re a testament to how humble ingredients can transform into something truly extraordinary. Forget dry, crum extractbly disappointments – these flourless chickpea brownies are incredibly moist, dense, and utterly decadent, boasting a rich chocolate flavor that will have everyone asking for seconds. What makes them so special? The secret ingredient, of course! Chickpeas, when blended, create a surprisingly smooth and satisfying base that holds together beautifully without any gluten or dairy. They’re also packed with protein and fiber, making them a guilt-free indulgence you can feel good about. Prepare to fall in love with these surprisingly easy and incredibly delicious flourless chickpea brownies!
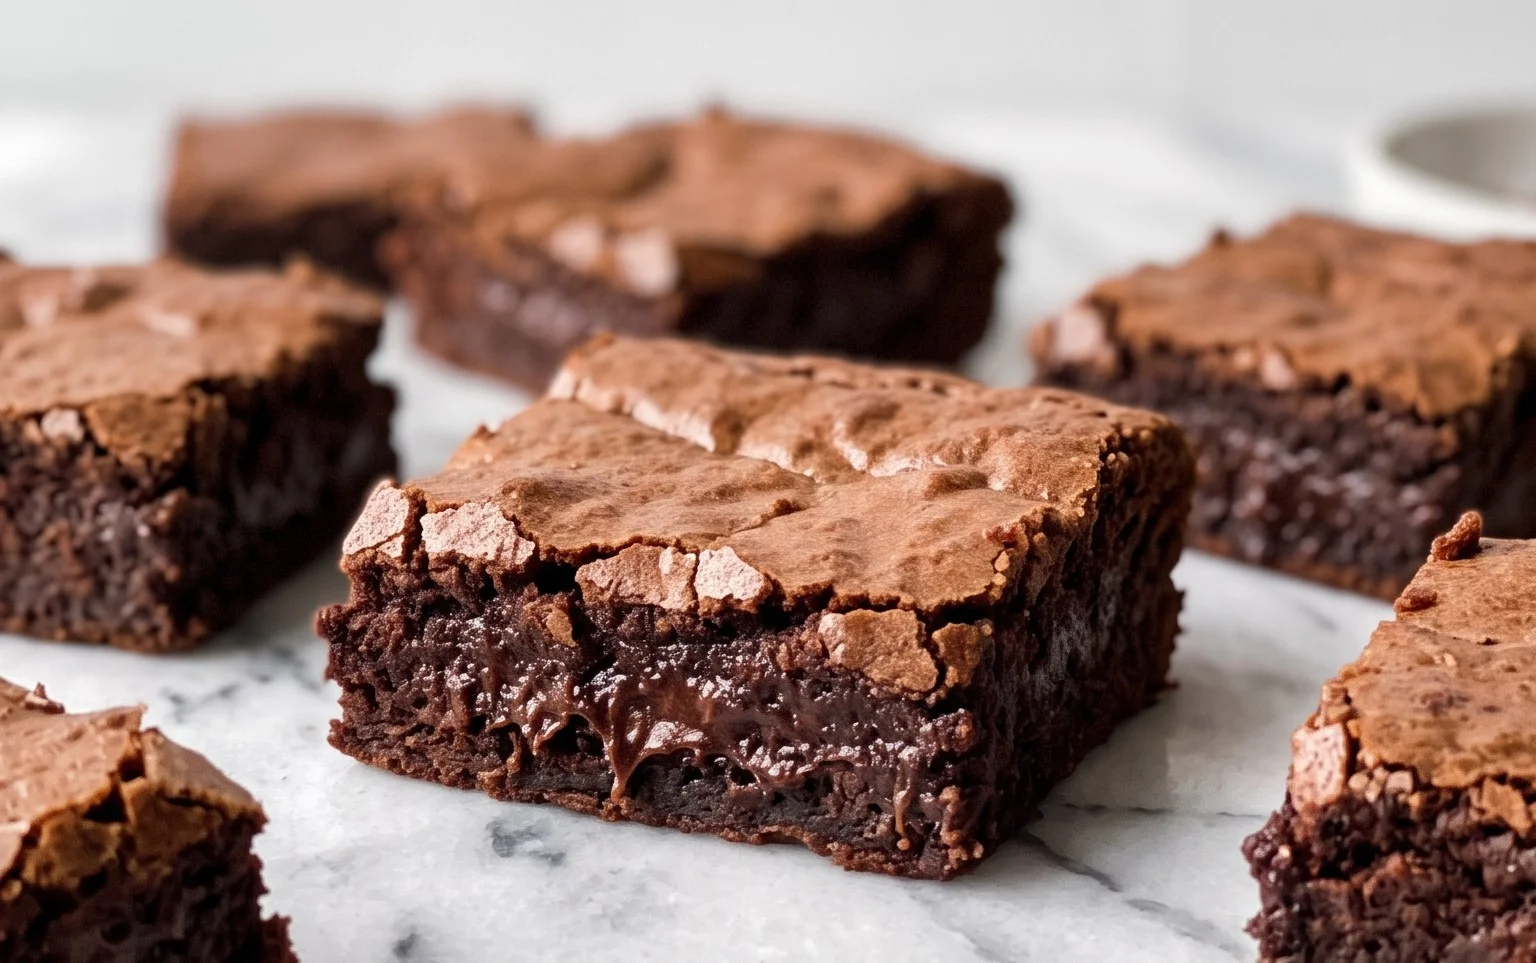
Flourless Chickpea Brownies (Vegan & Gluten Free)
Get ready to indulge in a truly decadent treat that’s surprisingly good for you! These Flourless Chickpea Brownies are a game-changer for anyone looking for a delicious, fudgy brownie fix without the gluten, dairy, or even the flour. Yes, you read that right – chickpeas are the secret ingredient, and they work magic to create a wonderfully moist and rich texture that you’ll hardly believe is plant-based and packed with wholesome goodness. They’re so easy to whip up, you’ll find yourself making them on repeat. Perfect for a guilt-free dessert, a satisfying snack, or even a breakfast treat if you’re feeling adventurous!
Ingredients:
Cooking Instructions
Let’s get started on these amazing brownies! The beauty of this recipe is its simplicity. We’re essentially blending everything together and baking. No complex creaming of butter and sugar, no sifting flour – just pure, delicious simplicity.
Step 1: Prepare Your Chickpeas and Wet Ingredients
First things first, grab your can of chickpeas. It’s crucial to drain and rinse them very, very well. This removes any residual canning liquid and the slight “beany” flavor that might otherwise come through. Rinse them under cold running water until the water runs clear. You can even give them a gentle rub with your fingers while rinsing to ensure they are completely clean. Pat them dry with a paper towel or a clean kitchen towel. The drier the chickpeas, the better the texture of your brownies will be. Now, let’s get our food processor ready. Add the drained and rinsed chickpeas to the bowl of your food processor. Along with the chickpeas, add your ½ cup of almond butter. If your almond butter is particularly thick or stiff, you might want to give it a quick stir before measuring to ensure it’s easily pourable. Then, pour in your ½ cup of pure maple syrup. This is where we get that lovely sweetness and moisture. Finally, add the 1 tablespoon of vanilla extract. Vanilla is a flavor enhancer, and it will really make those chocolatey notes sing.
Step 2: Blend to a Smooth Batter
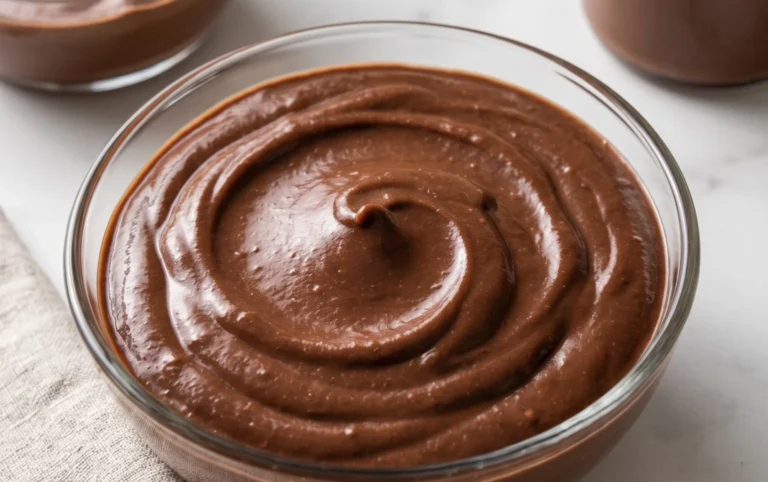
Now it’s time to bring all those wet ingredients and chickpeas together. Process the mixture in your food processor until it’s as smooth as possible. This might take a couple of minutes, and you’ll likely need to stop and scrape down the sides of the bowl a few times. You want to achieve a really smooth, creamy batter. The goal is to completely pulverize the chickpeas so that their texture is undetectable in the final brownie. Don’t rush this step! A smooth batter is key to achieving that fudgy, decadent texture we’re aiming for. You should see a thick, homogenous paste forming. If your food processor is struggling, you can add a tiny splash (literally, 1 teaspoon at a time) of water or non-dairy milk to help it along, but be careful not to add too much, as we don’t want a runny batter.
Step 3: Incorporate the Dry Ingredients
Once your chickpea mixture is beautifully smooth, it’s time to add the dry ingredients that will give our brownies their structure and flavor. Add the ½ teaspoon of baking powder, which will provide a little lift, and the ½ teaspoon of baking soda, which will react with the cocoa powder and help with browning and texture. Sprinkle in the ½ teaspoon of sea salt. Salt is a flavor equalizer and is crucial for balancing the sweetness and enhancing the chocolate flavor. Now, add the ⅓ cup of unsweetened cocoa powder. This is where the deep, rich chocolate flavor comes from. Make sure you’re using unsweetened cocoa powder; if you use sweetened, your brownies might turn out too sweet. Pulse the food processor a few times to just combine these dry ingredients with the wet mixture. We don’t want to overmix at this stage, as that can sometimes lead to tougher brownies.
Step 4: Fold in the Chocolate Chips
This is my favorite part! Remove the blade from your food processor. Now, add the ¾ cup of mini chocolate chocolate chips to the batter. Using a spatula or a wooden spoon, gently fold in the chocolate chips. You want to distribute them evenly throughout the batter, but again, avoid overmixing. Some people like to reserve a handful of chocolate chips to sprinkle on top before baking for an extra chocolatey boost and a beautiful finish. I often do this! The mini chips melt beautifully into the brownie and create lovely pockets of gooey chocolate goodness.
Step 5: Bake Your Decadent Brownies
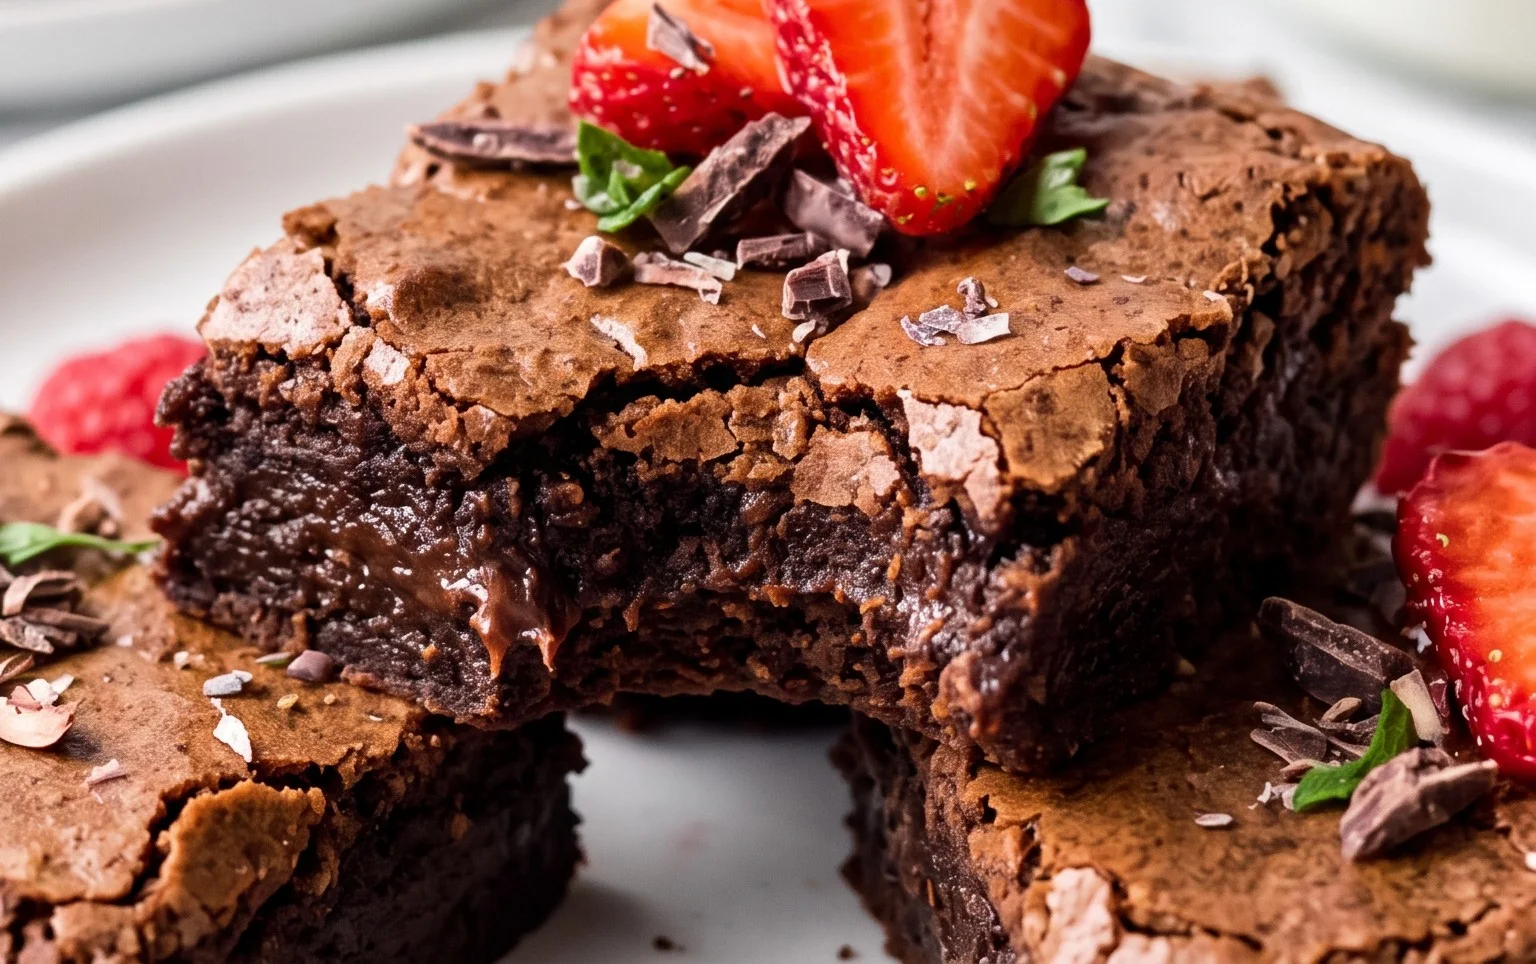
Preheat your oven to 350°F (175°C). Line an 8×8 inch baking pan with parchment paper, leaving some overhang on the sides. This will make it super easy to lift the brownies out once they’re baked. Pour the brownie batter into the prepared pan and spread it out evenly with your spatula. Make sure the batter is pushed into the corners. If you reserved extra chocolate chips, now is the time to scatter them over the top. Place the pan in the preheated oven and bake for 25-30 minutes. The exact baking time will depend on your oven. You’ll know they’re done when a toothpick inserted into the center comes out with moist crum extractbs attached, but not wet batter. Be careful not to overbake them, as this can result in dry brownies. Once baked, remove the pan from the oven and let them cool completely in the pan on a wire rack. This is a crucial step for texture development! Resist the urge to cut them while they’re warm; they’ll be much fudgier and hold their shape better when fully cooled. Once cooled, use the parchment paper overhang to lift the entire brownie slab out of the pan. Then, cut them into squares. Enjoy your delicious, guilt-free, flourless chickpea brownies! They store well in an airtight container at room temperature for a few days or in the refrigerator for up to a week.
Conclusion:
And there you have it – a wonderfully rich and fudgy brownie that’s not only flourless and gluten-free but also completely vegan! These flourless chickpea brownies are a game-changer for anyone looking for a healthier, more inclusive dessert option. They prove that you don’t need traditional flour or dairy to achieve that decadent chocolate experience we all crave. The chickpeas lend a surprising moisture and subtle earthiness that complements the deep chocolate flavor beautifully, while also providing a boost of plant-based protein and fiber. They truly are a guilt-free indulgence!
These brownies are incredibly versatile. Serve them warm, perhaps with a scoop of your favorite vegan ice cream, or let them cool completely for a chewier texture. They’re perfect for potlucks, family gatherings, or simply as a treat to brighten your day. Don’t be afraid to get creative with variations! You can easily stir in vegan chocolate chips for extra gooeyness, chopped nuts for added crunch, or even a pinch of cayenne pepper for a hint of spice. I truly encourage you to give this recipe a try; I’m confident you’ll be delighted with the results!
Frequently Asked Questions:
Can I taste the chickpeas in the brownies?
You’ll be pleasantly surprised to find that the flavor of the chickpeas is almost entirely masked by the rich cocoa and chocolate. They contribute a wonderful moistness and a subtle, pleasant earthiness that enhances the overall flavor profile without being overpowering.
What if I don’t have oat flour?
If you don’t have oat flour, you can easily make your own by blending rolled oats in a high-speed blender until they reach a flour-like consistency. Alternatively, you could try using almond flour or a gluten-free all-purpose blend, though this might slightly alter the texture and moisture content.
How should I store these flourless chickpea brownies?
These brownies can be stored in an airtight container at room temperature for up to 3 days, or in the refrigerator for up to a week. For longer storage, you can wrap them individually and freeze them for up to 3 months. Thaw at room temperature or gently warm them before enjoying.
Flourless Chickpea Brownies (Vegan & Gluten Free)
Decadent and fudgy vegan and gluten-free brownies made with chickpeas, almond butter, and rich cocoa powder.
Ingredients
-
15.5 ounces chickpeas (1 can)
-
½ cup almond butter
-
½ cup pure maple syrup
-
1 tablespoon vanilla extract
-
⅓ cup cocoa powder
-
½ teaspoon baking powder
-
½ teaspoon baking soda
-
½ teaspoon sea salt
-
¾ cup mini chocolate chocolate chips
Instructions
-
Step 1
Preheat your oven to 350°F (175°C). Line an 8×8 inch baking pan with parchment paper. -
Step 2
Drain and rinse the chickpeas thoroughly. Add the rinsed chickpeas to a food processor and process until smooth, scraping down the sides as needed. -
Step 3
Add the almond butter, maple syrup, and vanilla extract to the food processor with the chickpeas. Process until well combined and smooth. -
Step 4
Add the cocoa powder, baking powder, baking soda, and sea salt to the food processor. Process again until the batter is smooth and consistent. -
Step 5
Gently fold in ¾ cup of mini chocolate chocolate chips, reserving a few for topping if desired. -
Step 6
Spread the batter evenly into the prepared baking pan. -
Step 7
Bake for 20-25 minutes, or until a toothpick inserted into the center comes out with moist crumbs (not wet batter). -
Step 8
Let the brownies cool completely in the pan on a wire rack before cutting into squares.
Important Information
Nutrition Facts (Per Serving)
It is important to consider this information as approximate and not to use it as definitive health advice.
Allergy Information
Please check ingredients for potential allergens and consult a health professional if in doubt.